How to replace JVC TS-CL110U lamp enclosure for your projection TV.
JVC TS-CL110U Lamp Enclosure.
Step 1.- Before you start doing anything, unplug the TV from the wall outlet. There are a few thousand volts going through your ballast, be very careful! It’s also a good idea to let the TV cool down for at least 15-20 minutes as the bulb itself can get extremely hot and you can severely burn your hand.
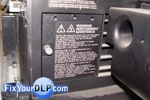
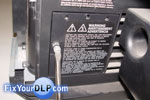
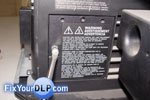
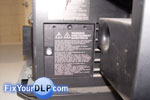
Step 2.- On the back of your TV locate the lamp door on the left side.
Use a flat screw driver to unlock it and remove it.
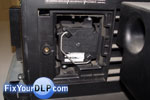
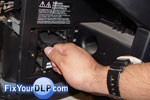
Step 3.- Inside you’ll be able to find the lamp enclosure.
Uninstall the two screws holding the enclosure in place.
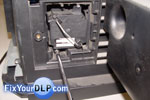
Step 4.- Pull it out from your TV using the metal handle.
The inside will look something like this.
Step 5.- Place the new enclosure inside.
Secure it in place using the screwdriver.
Step 6.- Place the lamp door before trying to turn the TV, that’s because there is a blue switch that needs to be pressed in order to turn on.
Step 7.- Reinstall the screw on the lamp door and your finished.




this was the easiest installment i have ever done. thank you