
Installing a replacement Sanyo PLC-XT10A projector lamp
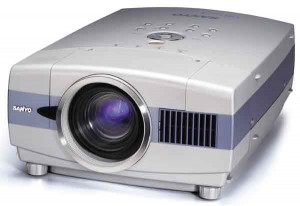 Replacing the Sanyo PLC-XT10A projector lamp
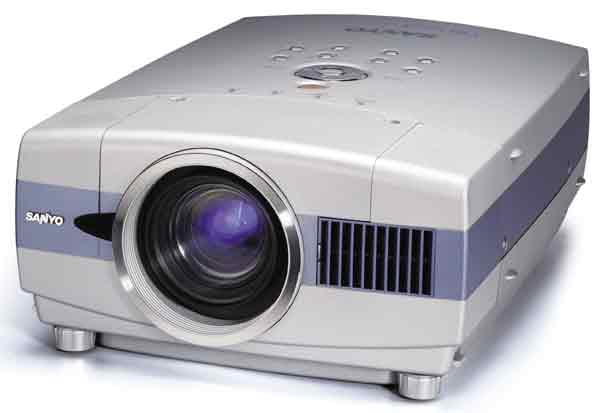
The lifespan of your Sanyo PLC-XT16 projector lamp lamp varies depending on how much the projector is used and if the filters are cleaned regularly. When it’s time to replace the lamp, the LAMP REPLACE indicator will flash yellow on the top of the Sanyo PLC-XT10A projector.
Follow our step-by-step guide for easy installation of a new Sanyo PLC-XT10A projector lamp.
Buying the right lamp
The Sanyo PLC-XT10A projector lamp uses the Sanyo POA-LMP59 (610 305 5602) from an authorized dealer and get the best lamp for your Sanyo PLC-XT10A projector. Beware of cheaper knock-off versions that can damage the sensitive mechanisms in your Sanyo PLC-XT10A. These counterfeit lamps are often sold at discounted prices and may appear to be a good deal. But they actually have a shorter life span and may be prone to exploding due to their inferior materials and worksmanship. Installing generic lamps also voids your warranty leaving you unprotected should something be damaged.
Find this lamp sold on Amazon by the following authorized dealers:
- Sanyo POA-LMP59 OEM Projector Lamp EQUIVALENT WITH Housing by DNGO
- POA-LMP59 Sanyo Projector Lamp Replacement. Projector Lamp Assembly with Genuine Original Philips UHP Bulb Inside.
- SANYO POA-LMP59 OEM PROJECTOR LAMP EQUIVALENT WITH HOUSING
Installing the Sanyo POA-LMP59
 1. Turn off the projector and unplug the AC cord. Allow the Sanyo PLC-XT10A projector to cool for one hour – it should be cool to the touch. Inside of the projector can be very hot since these machines operator under high temperatures.
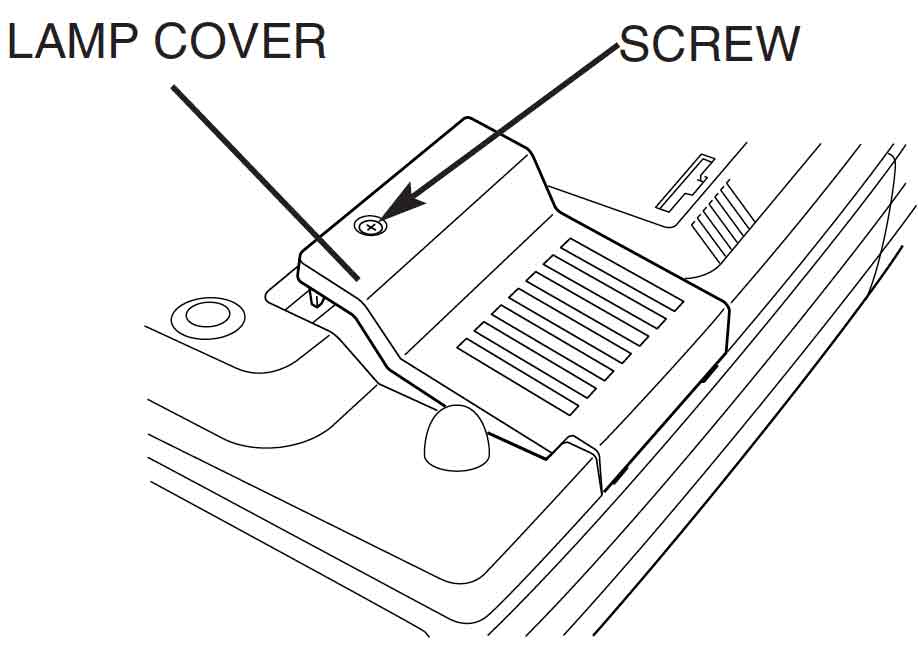
2. The lamp cover is Underneath the Sanyo PLC-XT10A projector you’ll find the Lamp Cover. Gently turn the projector upside down protecting the top of the project and lsen the cover screw.
2. Remove the two screws on either side of each the Sanyo POA-LMP59 projector lamp. Grab the handle on the lamp cage and gently lift out the lamp. Place to one side. Don’t throw this lamp into the regular garbage as it contains mercury — send it to a local recycling program where it can be disposed of properly.
3. Take the new Sanyo POA-LMP59 lamp cage by the handle and gently maneuver it into place. 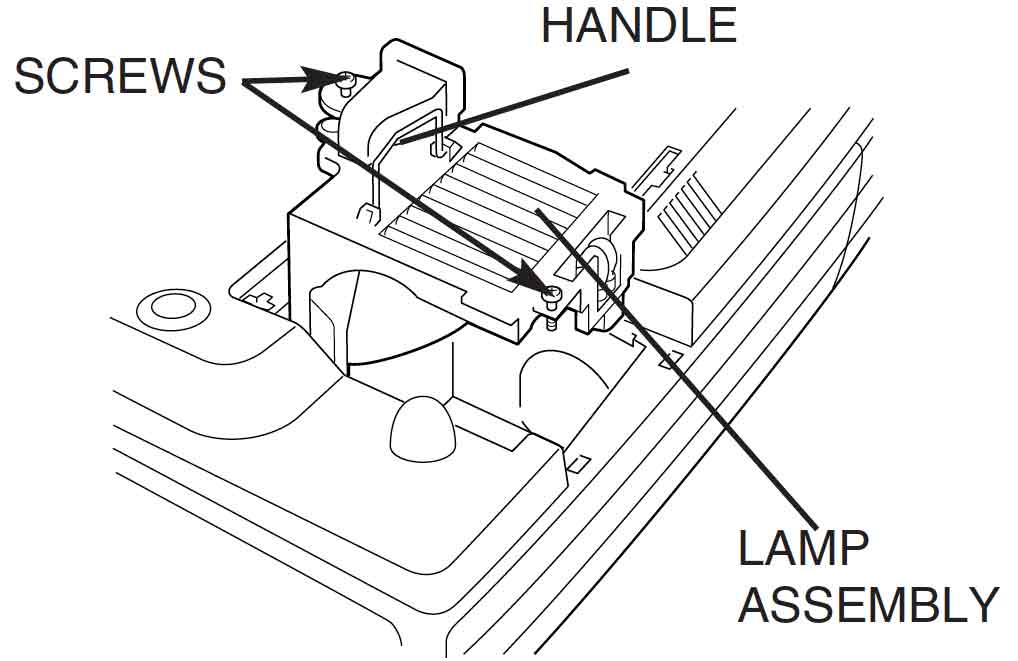
4. Caution: Don’t touch the screen or the actual bulb with your finger since the oil from your skin can cause a black spot on the bulb. The lamp should slide in easily – don’t force it. Once the lamp is in, tighten the two screws on the Lamp Assembly.
5. Replace the Lamp Hazard Cover and tighten the screw.
6. Re-connect the power cord and turn on the Sanyo PLC-XT16 projector in order to reset the Lamp Replace Counter.
NOTE: Your old Sanyo POA-LMP59 lamp should always be properly recycled. These lamps contain mercury and can’t be placed into common garbage.
Resetting the Lamp Replace Counter
The Lamp Replacement Counter always needs to be reset after installing a new projector lamp so it can track the age of your lamp and turn the Lamp Replace indicator on when the end of life for the Sanyo POA-LMP59 is approaching.
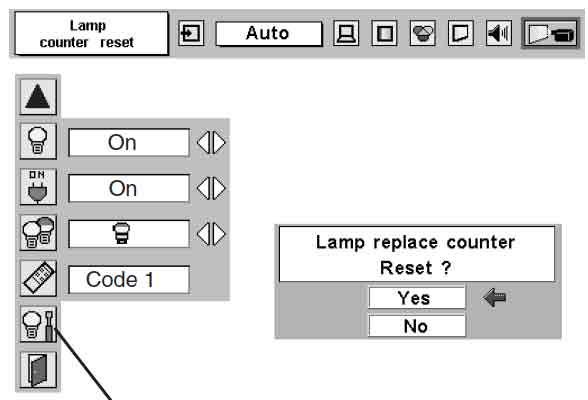
- Press the MENU Button to display the MAIN MENU. Press the POINT LEFT/RIGHT button and scroll right to select SETTING.
- Press the SELECT button to display the SETTING DISPLAY menu.
- Press the POINT DOWN button (a red arrow will appear).
- Move the red arrow to the LAMP AGE and then press the SELECT button.
- The message “Lamp replace counter reset?” appears. Move the arrow down to YES and press the SELECT button.
- Move the arrow to QUIT and press the SELECT button.
Extend the projector lamp life
Extend the life of your newly installed Sanyo POA-LMP59 by following these helpful tips:
- Wait at least five minutes before turning the Sanyo PLC-XT16 off.
- Don’t operate the projector continuously without letting it stand for at least one hour turned off every 24 hours.
- Cleaning the air filter regularly will also prolong the life of the and prevent the Sanyo PLC-XT16 projector from overheating.
- Use the ECO setting to reduce the brightness of the lamp and have a low consumption mode.
Leave a Reply