
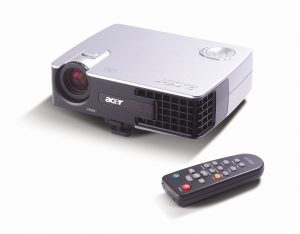
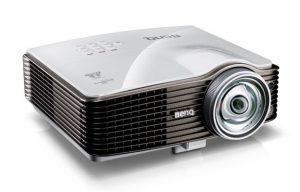
Replacing the Acer PH730 projector lamp
This guide  shows how to replace the Acer PH730 projector lamp.
When to replace
The Acer PH730 projector will detect the lamp life for the Acer PH730 projector lamp and show the warning message: Lamp is approaching the end of its useful life in full power operation. Replacement Suggested! Other signs of end of life include a faded picture or distorted colours on screen. The power lamp will also begin flashing amber. Replace the projector lamp immediately.
Buy this lamp on Amazon sold by these authorized dealers:
ACER PD727 Replacement Projector Lamp EC J2901 001
The importance of authentic
Counterfeit “compatible” lamps may appear to be a bargain but actually cost more in the long run. The few dollars you save with counterfeit “compatible” lamps are not worth it in the long run. Save yourself unnecessary headaches — buy a Acer EC.J3001.001 projector lamp from a recognized dealer. You’ll be getting a far superior product with a replacement guarantee and tech support.
Reasons for not buying counterfeit projector lamps:
- shorter lamp life than original lamps
- toxic materials and carcinogenic parts including Krypton-85
- prone to explosions
- incompatibility causing damage to the sensitive electronics in your projectors
- no guarantee or refunds when you buy from a reseller.
How to replace the projector lamp
The Acer PH730 projector uses the Acer EC.J3001.001 projector lamp. Before installation make sure the projector is cool to the touch before replacing the projector lamp. There is a risk of burning if the projector has not cooled sufficiently.
NOTE: Projector lamps contain mercury and should be properly recycled. Don’t put these lamps into regular garbage.
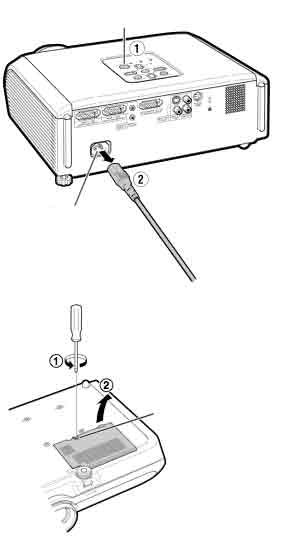
1. Turn the power off on the projector. Unplug it from the power source.
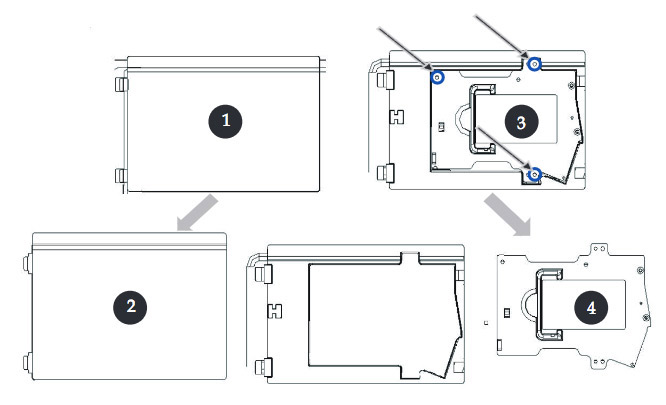
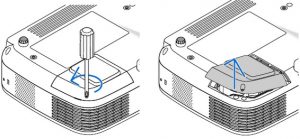
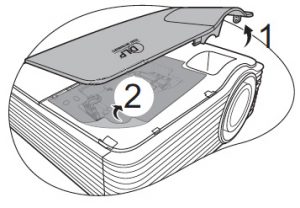
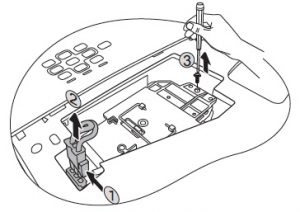
2. Push up and remove the projector lamp cover.
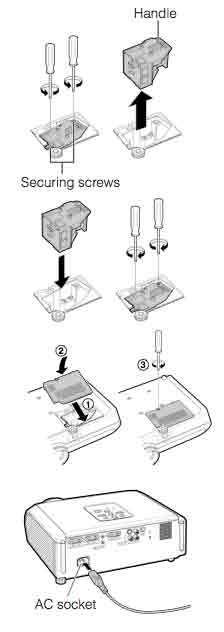
3. Remove the 3 screws from the Acer PH730 projector lamp.
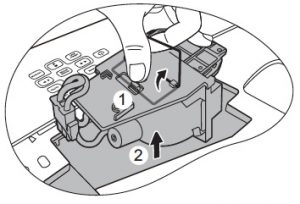
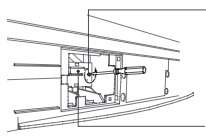
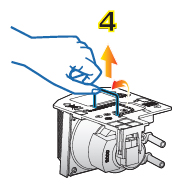
4. Lift the wire handle on the Acer EC.J3001.001 bulb and gently pull the lamp up to remove it. Be careful not to touch the actual lamp since your oil on fingertips can burn blackspots which will show up on the screen. Treat the lamp gently so it doen’t break. If it does break, here’s what to do. Place the new lamp into the Acer PH730 projector. Tighten the screws on the new Acer EC.J3001.001. Place the lid back onto the projector. You are now ready to reset the projector lamp timer.
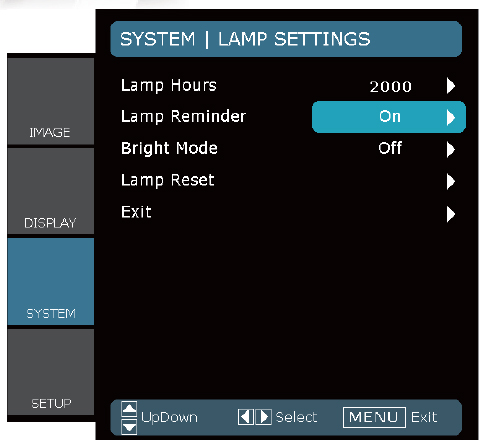
Resetting the projector lamp timer
 It’s important to always reset the lamp timer after replacing the projector lamp in your Acer PH730 projector. You want the projector to track how many hours the lamp has been used and send out warning messages when the Acer EC.J3001.001 reaches end of life.
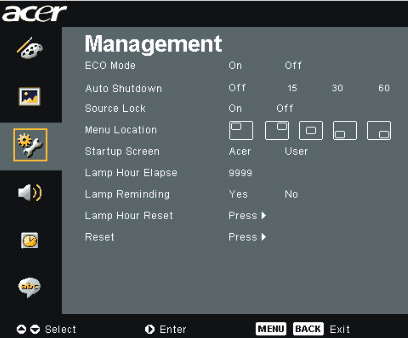
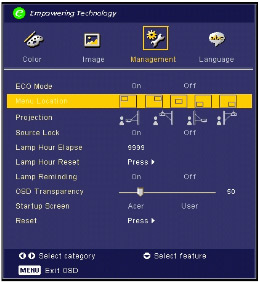
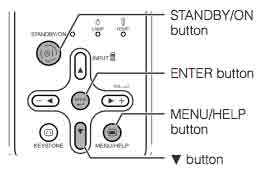
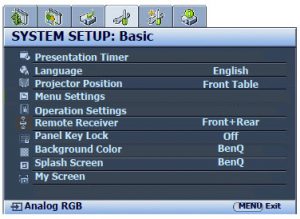
To reset the Projector Lamp timer:
- Open the MAIN MENU. Press ENTER.
- Scroll down to the MANAGEMENT menu. Press ENTER.
- Scroll down to the Lamp Hour reset option.
- Scroll over to PRESS.
- Choose “Yes ”to resert the lamp hourcounter to 0 hours.
- Press the right arrow.
- The lamp will be reset to zero.
Extending the projector lamp life
- Use the Eco Mode for more lamp hours.
- Keep your air filters clean to avoid overheating the projector.
- Make sure there is enough airflow around the Acer PH730 projector.
- Learn more with Top tips for extending DLP projector lamp life
Learn more tips for extending lamp life.
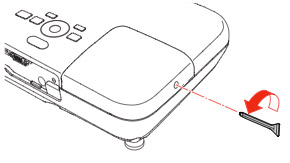 Loosen the lamp cover screw and slide the 750HD projector lamp cover off.
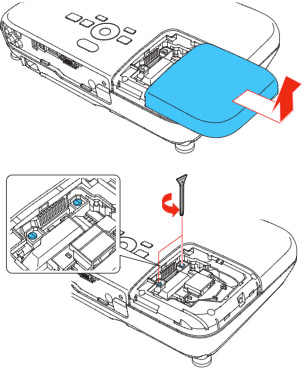 Loosen the two screws holding the
 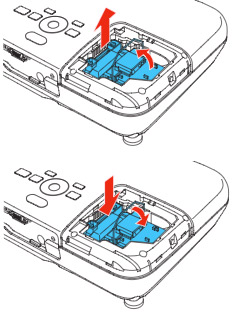 Grab the
 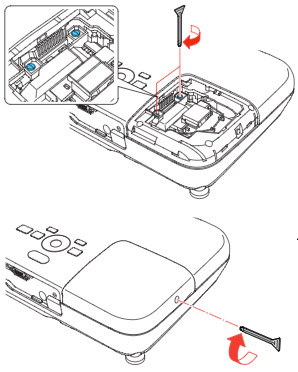 Tighten the screws on the new
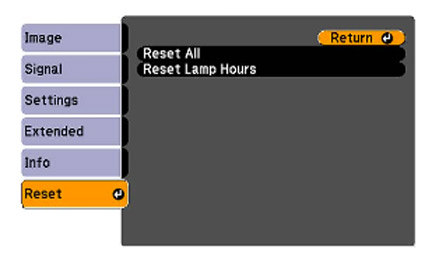
 These instructions show how to change the Dukane I-PRO 8762 projector lamp.
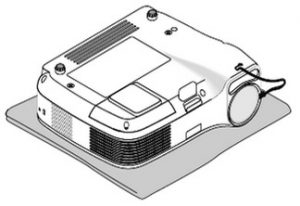
 Loosen the screw holding the projector lamp cover in place. Click the cover to remove the cover.
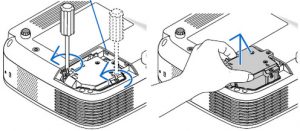 Remove the two screws holding the
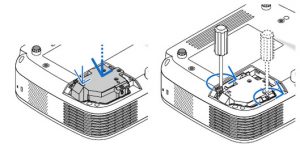
 This guide helps you replace the Acer PD322 projector lamp.
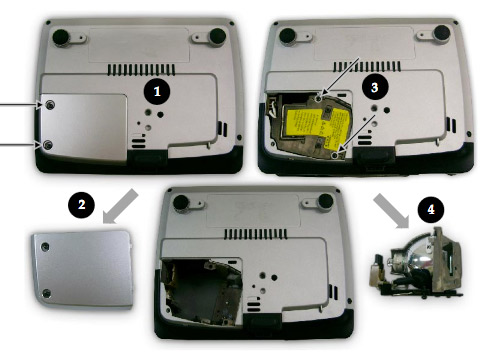
 This guide shows you for the quickly replace the Sharp XR-10S projector lamp.
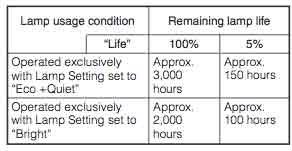
 Don’t call the technician. Follow this easy guide to replace the BenQ MW811 projector lamp.
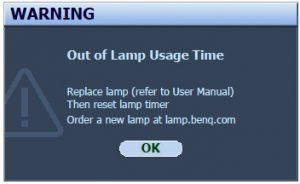 When the BenQ MW811 projector lamp is reaching end of life, three warning messages will appear on screen. The lamp indicator on the projector will start flashing orange. You may notice the image
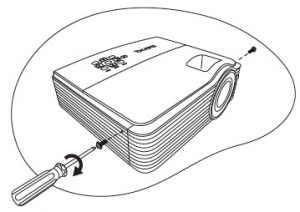

 When the
 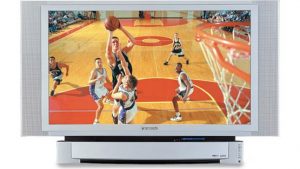 Install a replacement lamp in the Panasonic PT-50LC14 TV using this step-by-step guide.
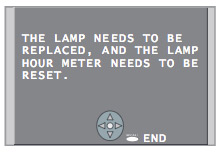 When the Panasonic PT-50LC14 TV lamp has reached end of life, the LAMP indicator light will be lit and a warning sign will appear on screen.
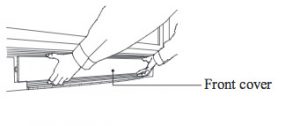 To remove the front cover, please your fingertips under the front cover and gently pull it away from the body of the TV.
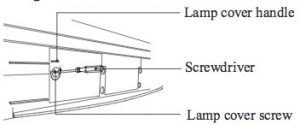
 Loosen the screw holding the
 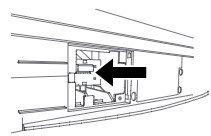 Insert the new lamp unit paying close attention to the direction of the new lamp. Press on the arrow mark making sure insertion is correct. Tighten the lamp unit/cover screw. Reset the lamp timer following the instructions that came with your new lamp.
 Adding multimedia can bring your worship to a new level. Here’s how to find the right church projector for your congregation.
 Lumens
 Resolution
 This guide walks you through installing a replacement Optoma Home Theater HD2200 projector lamp.
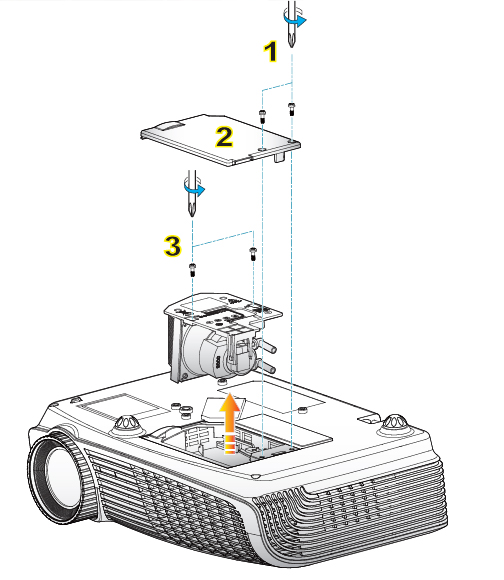
 Learn how to keep a healthy classroom when using a projector.
 Distance and light