
Replace the Dell 5100MP projector lamp
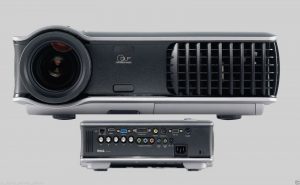 This guide shows how to replace the Dell 5100MP projector lamp
End of projector lamp warnings
It’s time for a new Dell 5100MP projector lamp when when you see “Lamp is approaching the end of its useful life in full power operation. Replacement suggested! www.dell.com/lamps.” Don’t wait to change the projector or it may explode.
Find this lamp on Amazon sold by these authorized dealers:
- Dell 310-6896 Original Lamp for Dell 5100MP Projectos
- DELL 310-6896 5100MP LAMP 725-10046 N8307 by Dell
- Dell 310-6896 – Original OEM Front Projector Lamp with Housing by Osram Lighting
- Dell 310-6896 Projector Lamp with High Quality Original Projector Bulb
The importance of authentic lamps
The Dell 5100MP projector needs an authentic projector lamp to keep working at its best. While counterfeits are tempting due to their bargain prices, they aren’t calibrated properly and can damage the sensitive optics in your Dell 5100MP projector. They also have much shorter life due to their tendency to explode and present a health hazard. Save yourself hassles and purchase an authentic projector lamp! Look for the seal of approval before purchasing.
Replacing the Dell 5100MP projector lamp
Your Dell 5100MP projector needs DELL 310-6896 . Before replacing the projector lamp follow these safety tips:
- Turn the projector off and disconnect the AC plug.
- Let the Dell 5100MP projector cool down for at least 30 minutes so it’s cool to the touch. Don’t attempt to change the lamp when the projector is still hot as you can get severely burned.
To change the lamp:
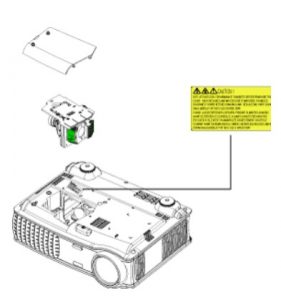
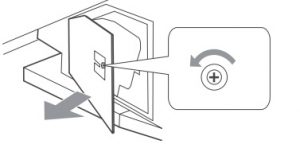
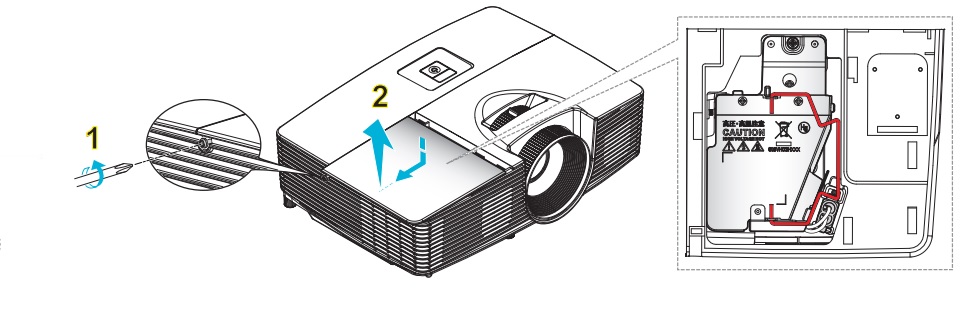
Loosen the two screws holding the Dell 5100MP lamp cover in place. Remove the cover and place to one side.
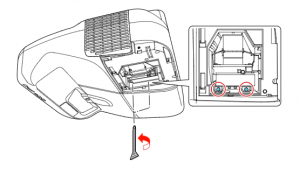
Loosen the two screws holding the DELL 310-6896 projector lamp in place.
Pull up the lamp by its metal handle.
NOTE: The DELL 310-6896 lamp contains mercury so must be properly recycled.
Place the new DELL 310-6896 into the Dell 5100MP projector making sure to line it properly. Tighten the two screws.
Replace the Dell 5100MP lamp cover and tighten the two screws.
You are now ready to reset the Lamp timer
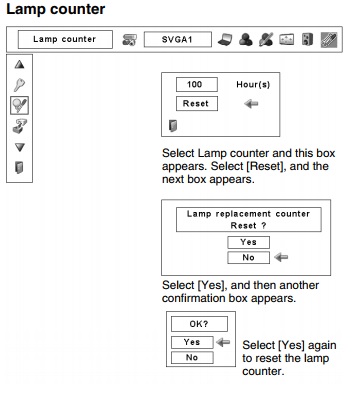
Resetting the Dell 5100MP lamp timer
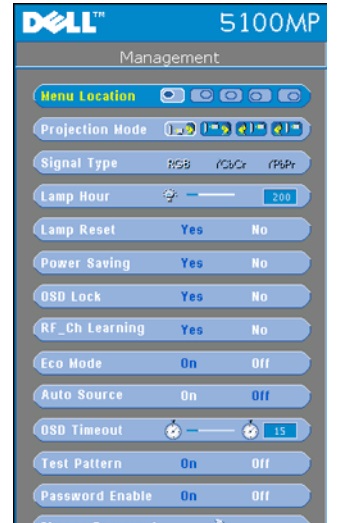
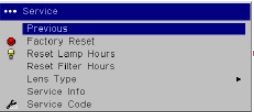
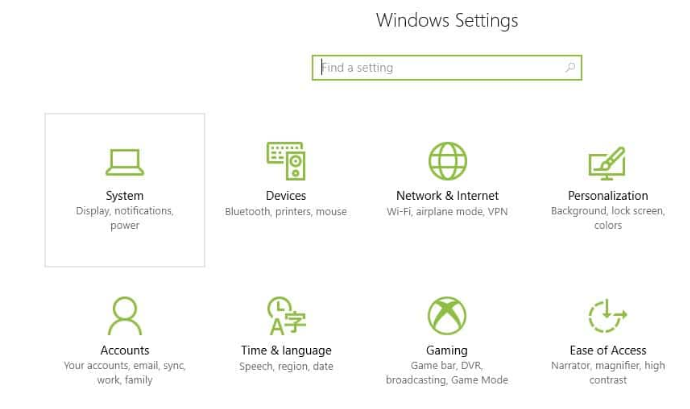
- To access the Main Menu press the left or right buttons on your projector’s control panel or remote control.
- Scroll over the the Management Menu. Press ENTER to access.
- Scroll down to the Menu Location icon. Press ENTER.
- Scroll over to the Lamp Reset icon. Press ENTER.
- Scroll down to answer YES and press ENTER to reset the projector lamp timer.
Tips for extending Dell 5100MP projector lamp life:
- Keep your air filters clean to avoid overheating the projector.
- Every 24 hours, turn off the projector and let it stand for 1 hour
- Make sure there is enough airflow around the Dell 5100MP projector particularly if it’s been permanently mounted.
- Learn more with Top tips for extending DLP projector lamp life.
Find this lamp on Amazon
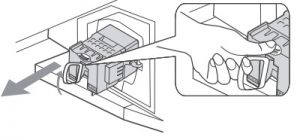 To remove the
 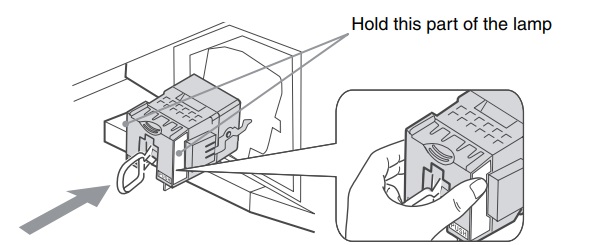 Place the
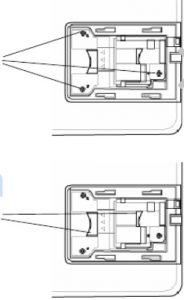
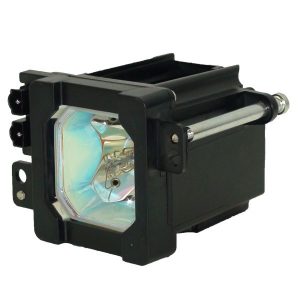
 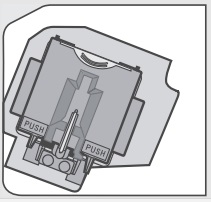 Follow the gutter in the compartment to mount the new lamp. See close up photo:
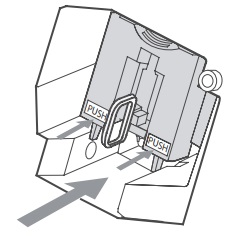 Slide it in slowly by pressing the PUSH part of the front corners of the lamp until it stops with a firm clicking sound to lock. To ensure the lamp is securely installed, press the area marked PUSH before closing the lamp cover.
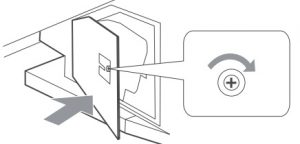 Place the outside lamp cover back in its place. Turn the screw with a screwdriver clockwise and secure the cover.
 Replace the Optoma HD141X projector lamp using this guide
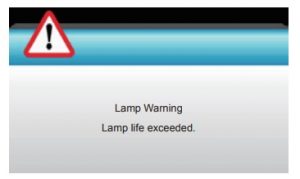
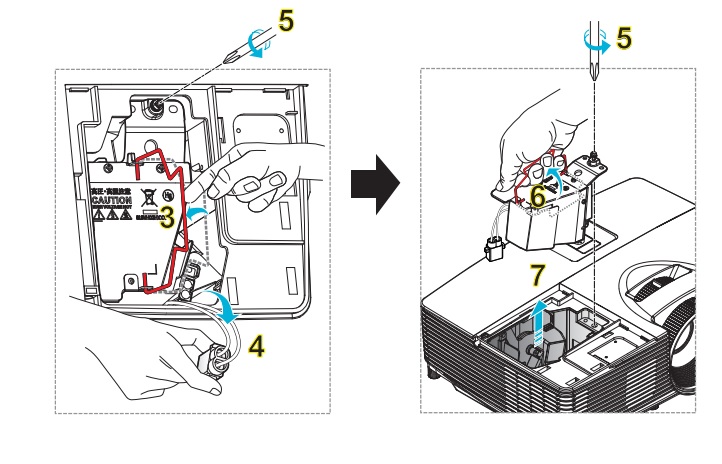 3. Lift the wire handle on the lamp.
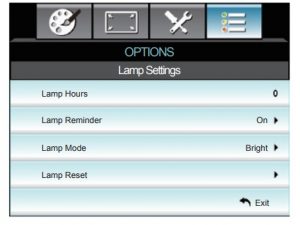
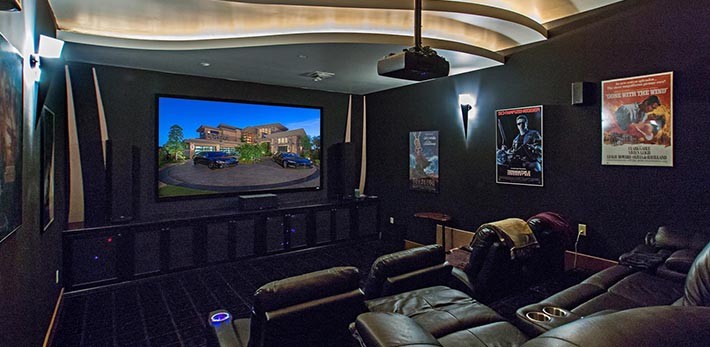
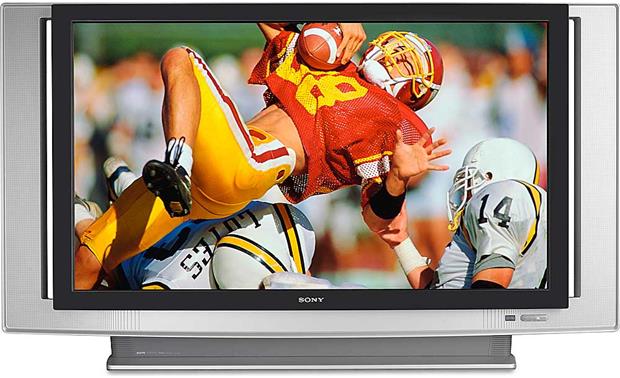
 Projectors have a bigger image that can be anywhere from double to quadruple the size of a flat screen TV for about the same price or even less.
 Set up is a simple and for a more sophisticated viewing you can easily install your
 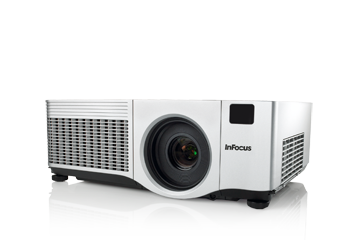 This guide shows how to install a new Infocus IN5106 projector lamp
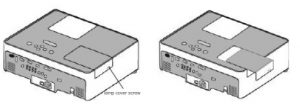
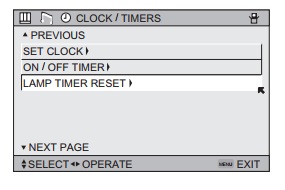
 Our step by step guide shows you change the JVC HD-52FA97 TV projector lamp


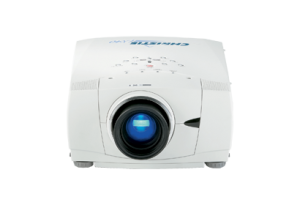 How to replace Christie LX55 projector lamp
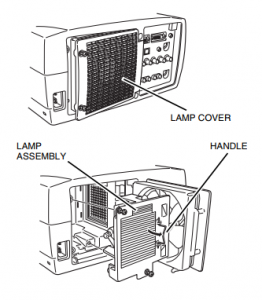
 Replace the Infocus IN5102 projector lamp using this guide
 Windows 10 has made it easier to connect
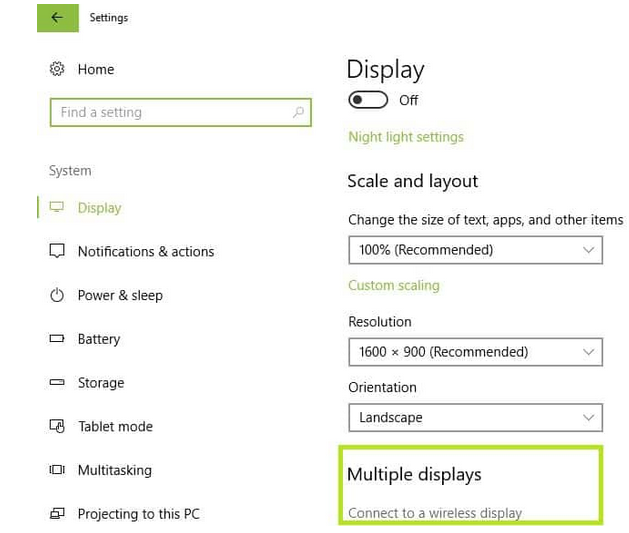
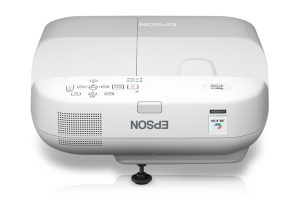 How to install a new Epson PowerLite 475W projector lamp.
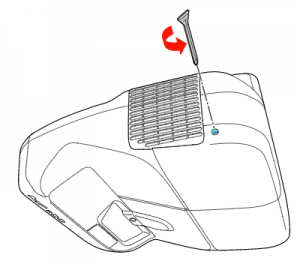 Loosen the screw holding the Epson PowerLite 475W projector lamp cover in place.
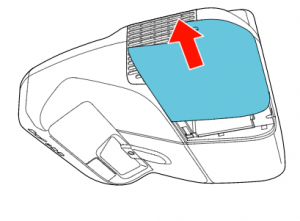 Slide the Epson PowerLite 475W lamp cover off and place it to one side.
 Slowly insert the
 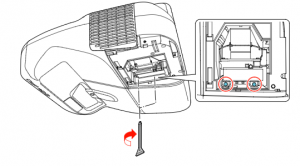 Tighten the screws on the newly installed