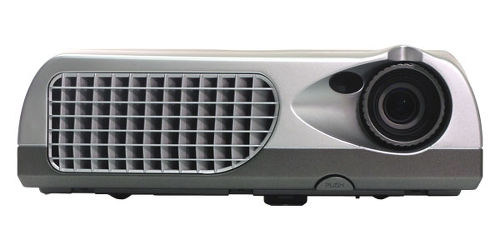
Install a replacement Infocus IN1126 projector lamp
 How to install a replacement Infocus IN1126 projector lamp
Replace the Infocus IN11264 projector lamp quickly by following this step-by-step guide.
Why go with authentic
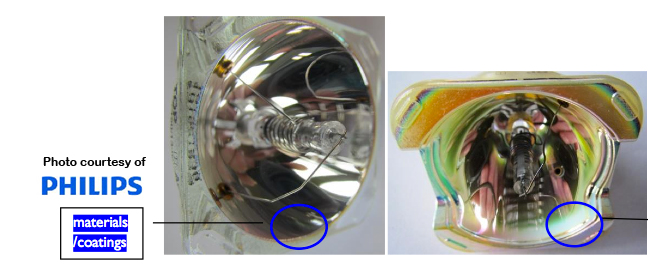
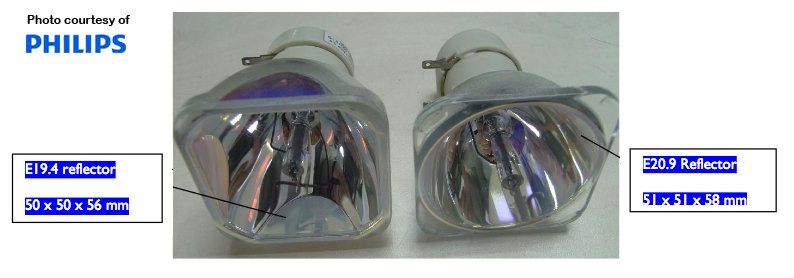
Buy an authentic replacement projector lamp and avoid the headaches associated with counterfeit lamps. Find the 6 most common problems associated with counterfeits at the end of this post
Top reasons to avoid counterfeit lamps:
- inferior parts
- prone to explosions
- may end up costing due to shorter lamp life
- needlessly exposes you to toxic materials
Buy from a legitimate source to keep your projector under warranty and working properly.
Install the replacement projector lamp
Your InFocus IN1126 projector needs the InFocus SP-LAMP-076 replacement projector lamp. Follow these important safety steps BEFORE installing the replacement
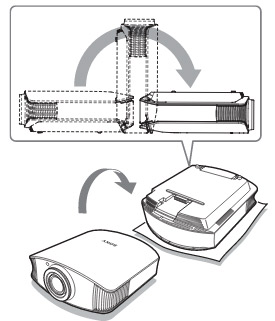
- Turn off the InFocus IN1126 projector and unplug the power cord.
- To avoid getting burned, let the projector fully cool before changing the lamp.
- Do not operate the projectors while any of the lamps are removed as this may result in malfunctions, fire hazard and other accidents.
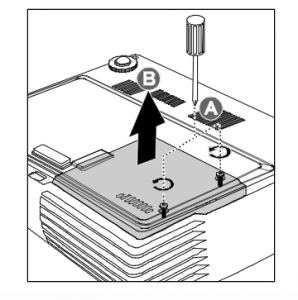
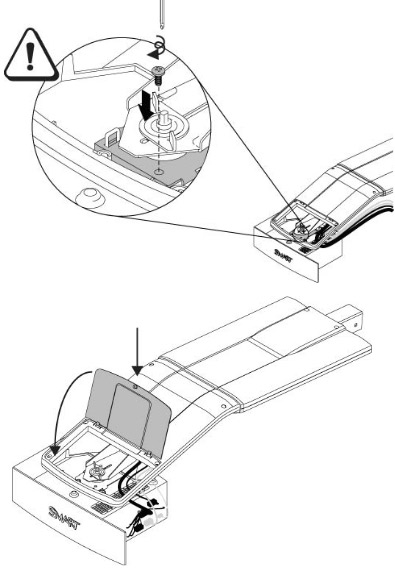
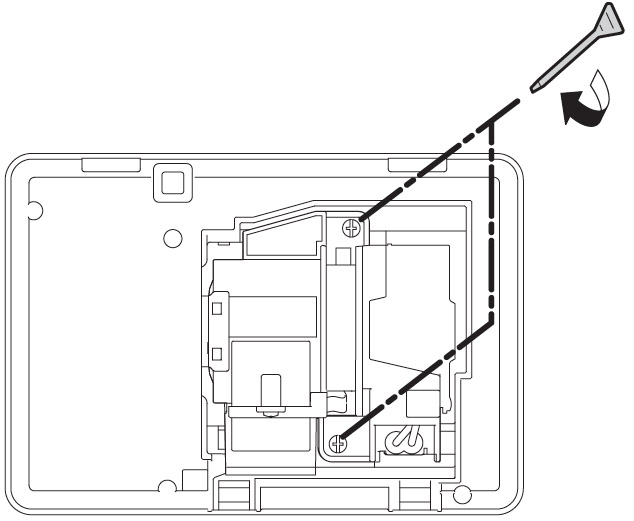
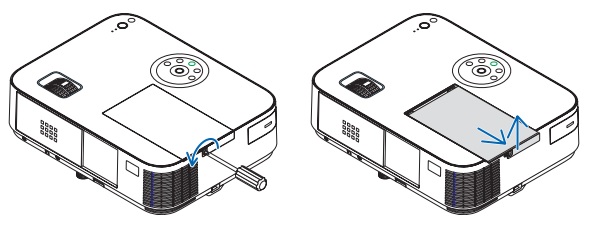
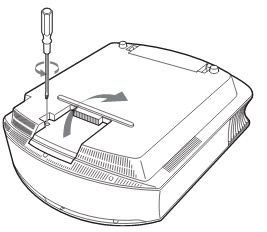
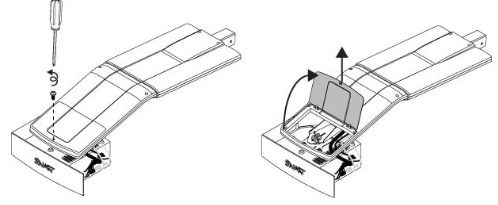
- Loosen the two captive screws on the lamp cover.
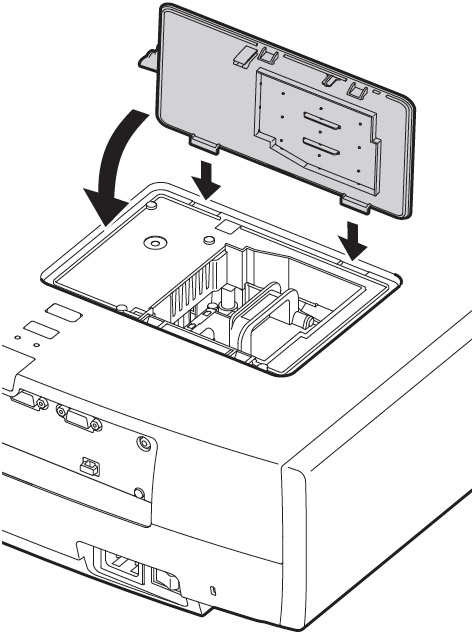
- Remove the lamp cover.
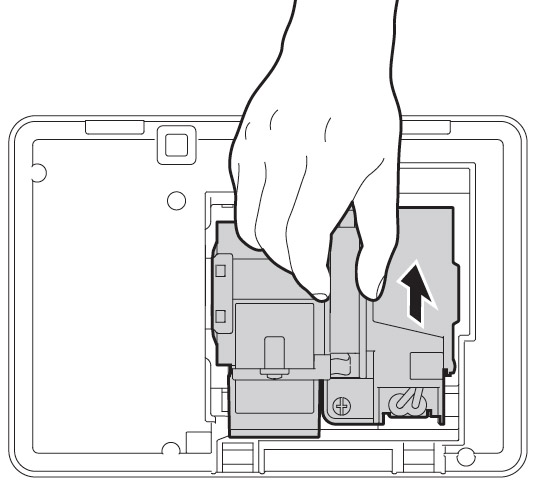
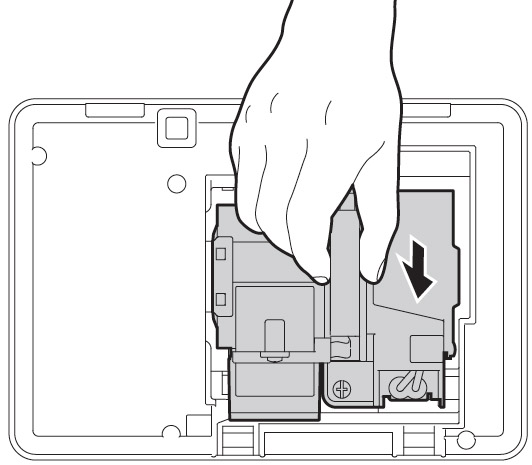
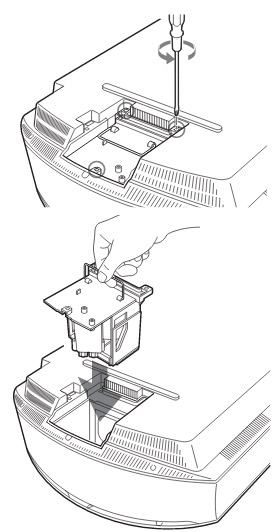
 Remove the two screws from the lamp module.
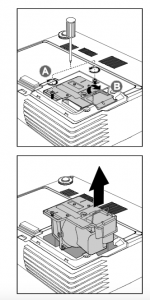
- Lift the module handle up. Pull firmly on the module handle to remove the lamp module.
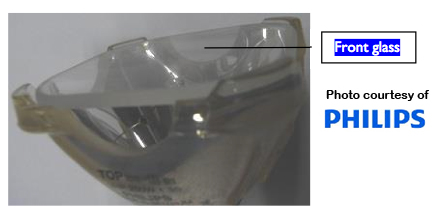
- NOTE: The InFocus SP-LAMP-076 contains mercury and should not be thrown into regular garbage. Recycle this used lamp!
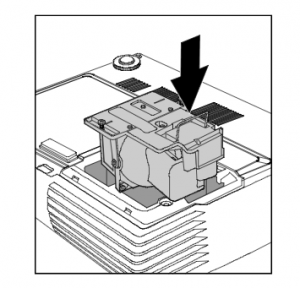
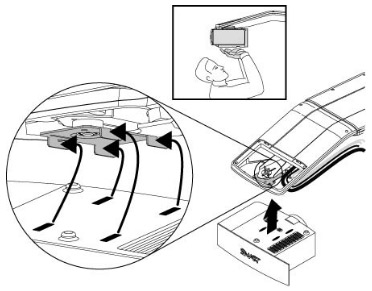
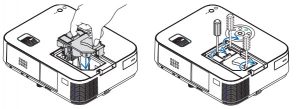
- Place the new lamp into the projector being sure to line it up properly. Align the lamp module with the connector and ensure it is level to avoid damage.
- Make sure the lamp is sitting securely in place and the lamp connector must be
- connected properly before tightening the screws.
- Tighten the two screws on the lamp.
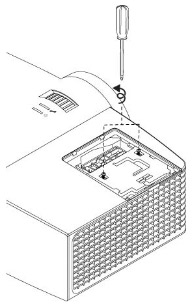
- Replace the lamp cover and tighten the screws.
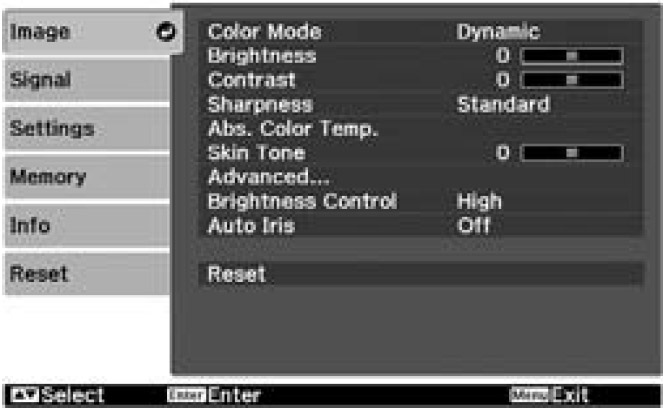
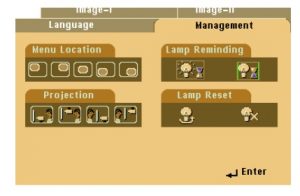
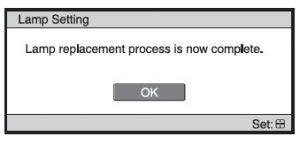
To reset the lamp timer:
- Press MENU
- Select INSTALLATION II/ ADVANCED. Press Enter
- Scroll down to select LAMP HOUR RESET. Press Enter
- Press the left arrow, then down arrow, then up arrow and double arrows
- Press the MENU button to get back to INSTALLATION II
Tips for longer lamp life
- Keep your air filters clean to avoid overheating the projector.
- Turn off the Infocus IN1126 and let it stand for at least one hour ever 24 hours.
- Make sure there is enough airflow around the projector particularly if it’s been permanently mounted.
- Top tips for extending DLP projector lamp life
 Follow this step-by-step installation guide for installing a new Optoma W501 projector lamp
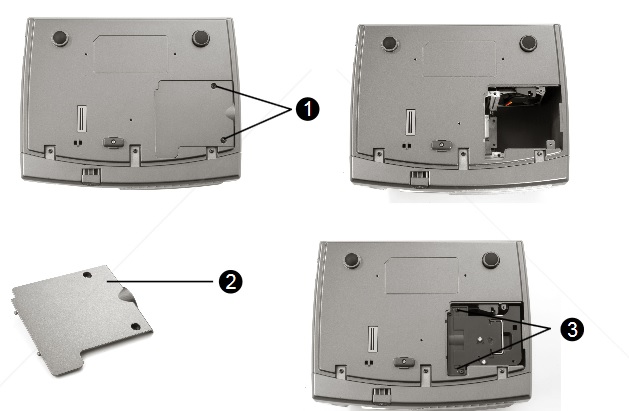
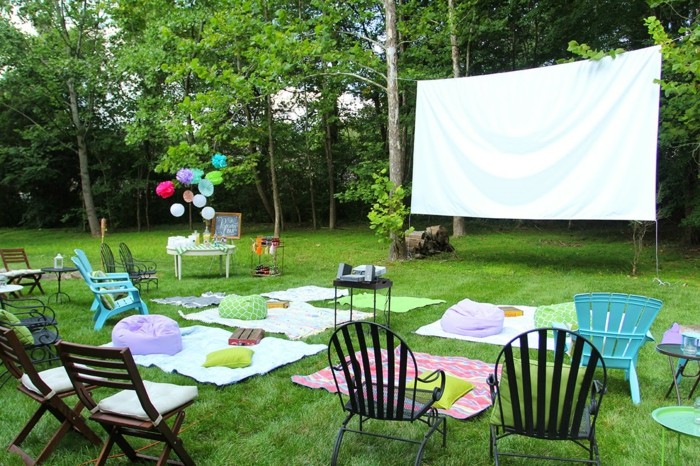
 The screen
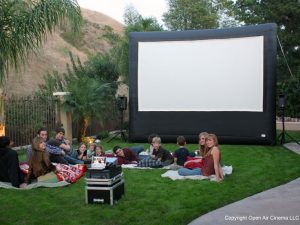

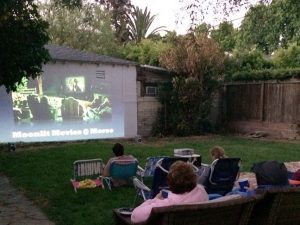
 Stay flexible. Don’t get too hung up on picture quality. You’re not going to get the same resolution as viewing indoors. It’s actually more important to have the image bright and crisp rather than a high resolution. Adjust the focus along with the keystone to compensate for the change in environment.
 Focus on the sound
 Relax and have fun!
 Location, location, location
 Protection, protection, protection

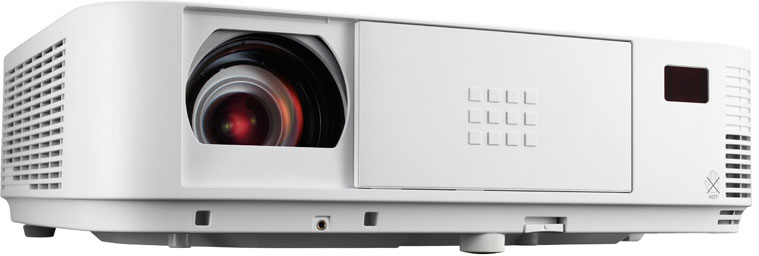 We have you covered when it’s time to change the NEC M403W projector lamp.
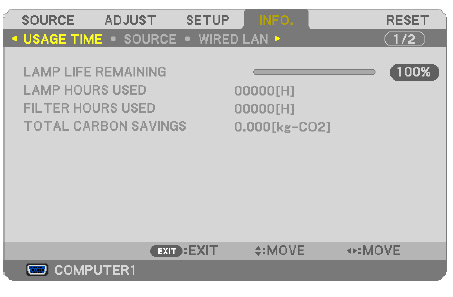
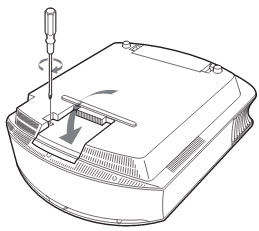
 Loosen the NEC M403W lamp cover screw.
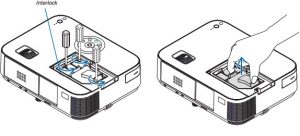
 Install a new lamp housing into the NEC M403W projector, gently pressing the projector lamp housing into the socket. . Tighten the screw on the projector lam
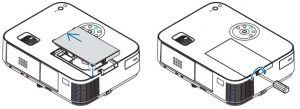 Re-attach the NEC M403W lamp cover by sliding the cover until it snaps into place. Tighten the screw on the lamp cover.
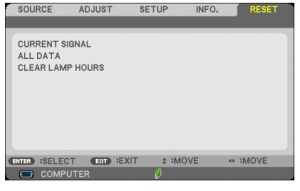
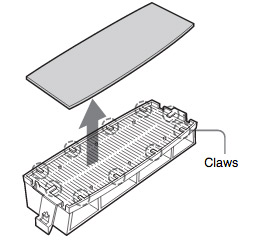 Remove the old Sony VPL-VW60 filter and put it to one side. Attach the new air filter so that is fits into the 10 claws properly on the holder.
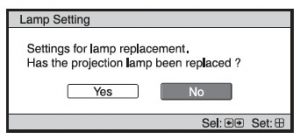


 he projector and without applying pressure, remove the screw holding the cable cover in place. Lift the cover off.
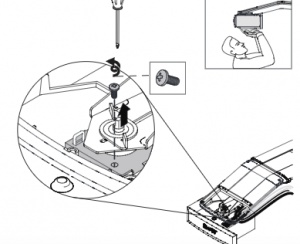 If you need access to the projector locking
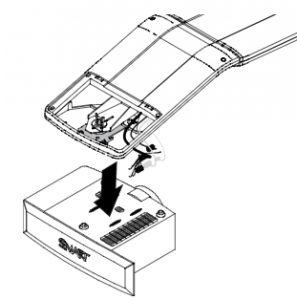 Take care as the projector will be loose once the screw on the mount have been loosened. Have the second person ready to hold the projector.
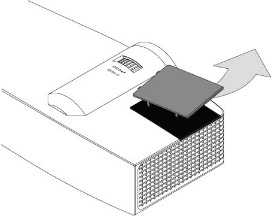
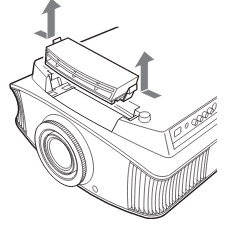
 Pull off the outer lamp cover with the your finger and set it aside.