 LP Lamp and Part Replacement Guides At FixYourDLP.com
|
Advertisement Discount-Merchant.com
OEM DLP lamps, Plasma & LCD parts. Same day shipping, lowest prices on the internet.
|
Samsung DLP Lamp BP96-00224 (A, B, C, D, E, J) How-To Replacement GuideFor Lamp Codes:
BP96-00224A / BP96-00224B / BP96-00224C / BP96-00224D / BP96-00224E / BP96-00224J
Tools Required: Standard Philips & Flathead screwdrivers, Pair of Pliers, A new Philips Lamp Time Required: About 15 minutes Abstract: This guide is being published to show how easy it is to replace your original Samsung BP96-00224 Series lamps. NORMAL DISCLAIMER: Click below to buy this lamp now: Do you have a Samsung DLP with a busted lamp? This explainer is a Do-It-Yourself guide to helping you replace a Samsung DLP lamp with an OEM part. You can replace a broken or defective Samsung DLP lamp. All you need is a Philips screw driver or a power tool with a Philips head. Installation time is about 15 minutes.
What? Replace your defective Samsung DLP Lamp
Step 1: Remove the pull out handle on the lamp enclosure. Just squeeze one end of the handle in and it will come loose.
Here is it removed:
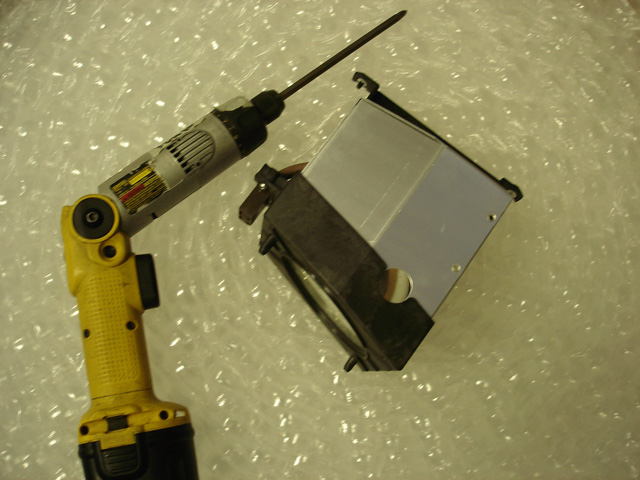
Step 2: Remove the two screws holding the metal lamp enclosure. One screw on either side (one side is
Now pull the metal enclosure straight up (or back in this case)
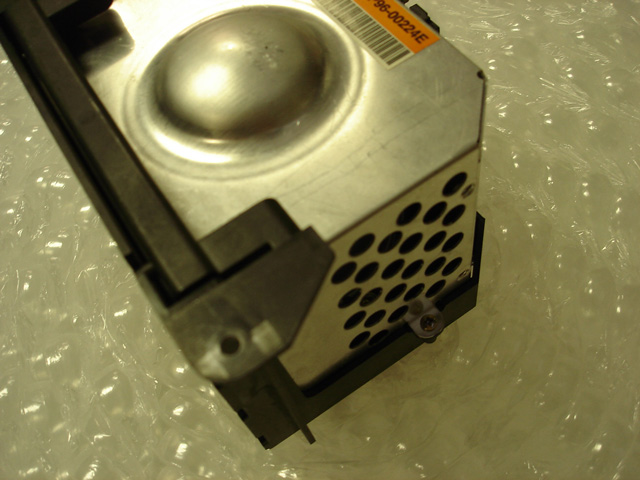
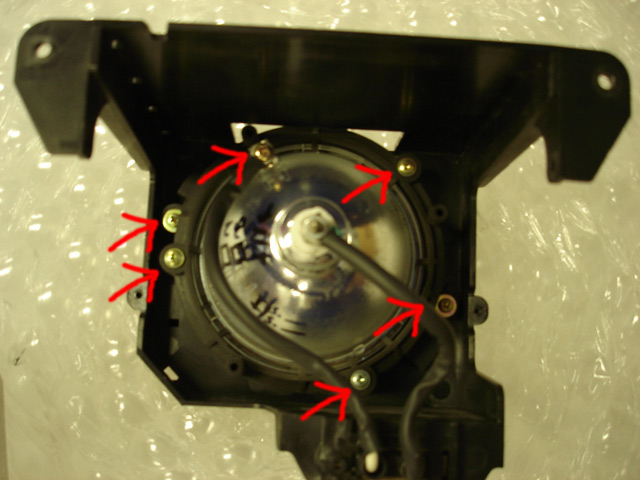
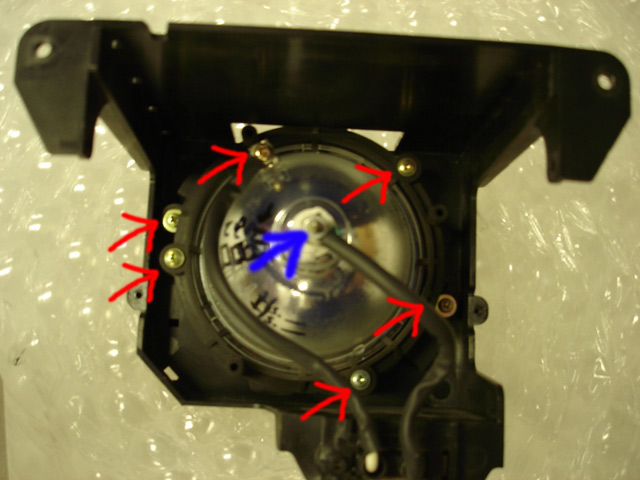
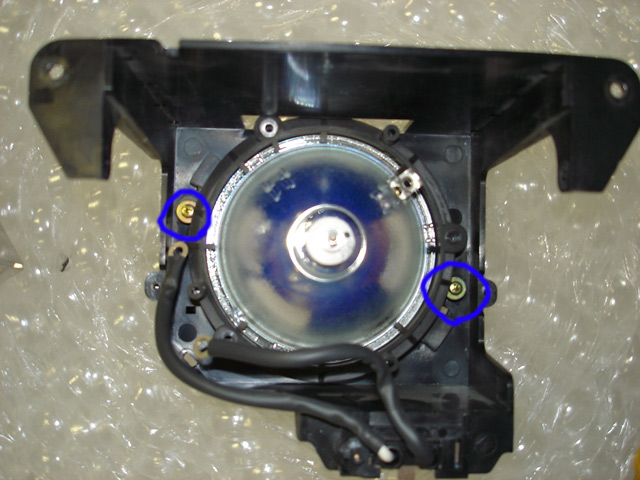
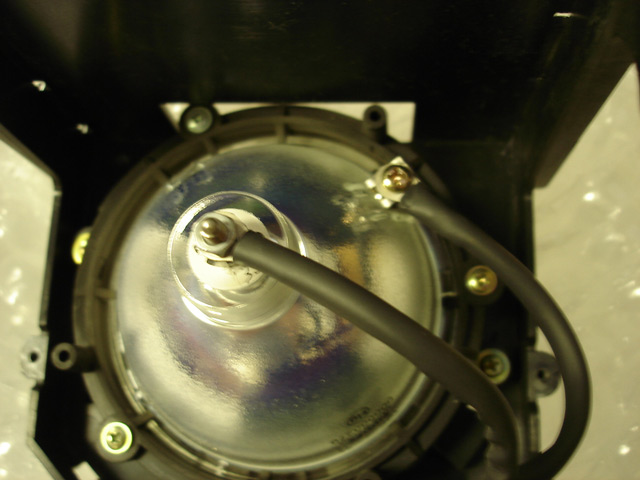
Step 3: Remove the six screws show in the picture below:
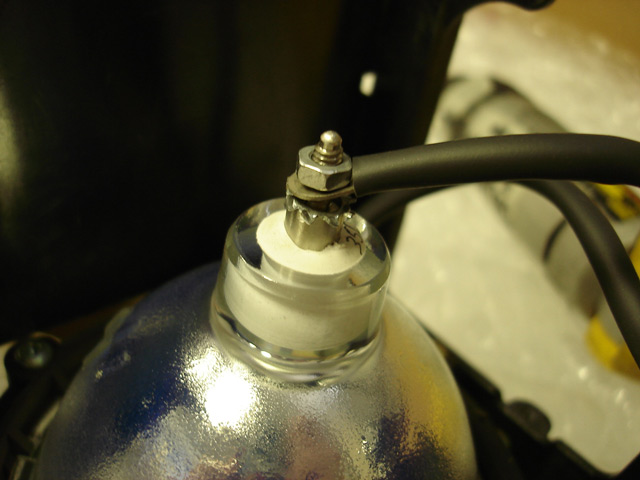
Don’t forget the nut right in the middle (blue arrow)…you should be able to unscrew this with your fingers:
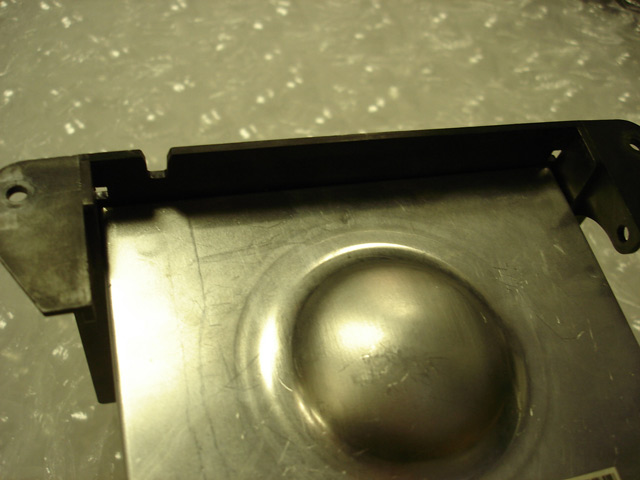
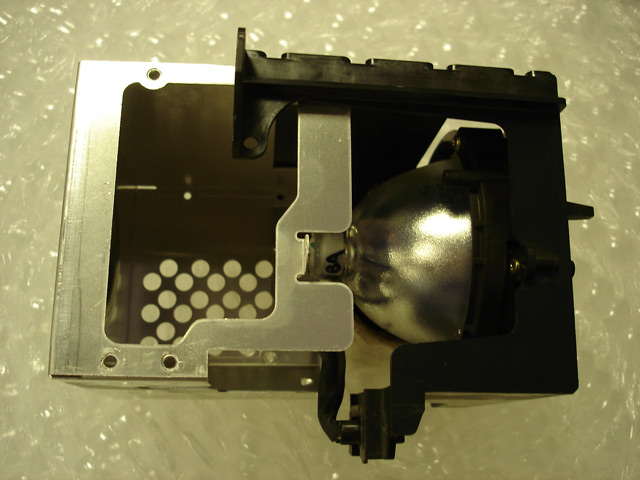
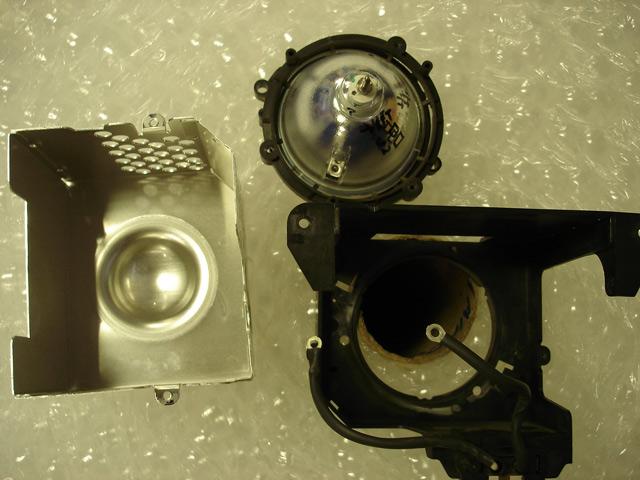
Step 4: Pull out the lamp. Be careful not to loose the washer under the nut. Here is the lamp enclosure
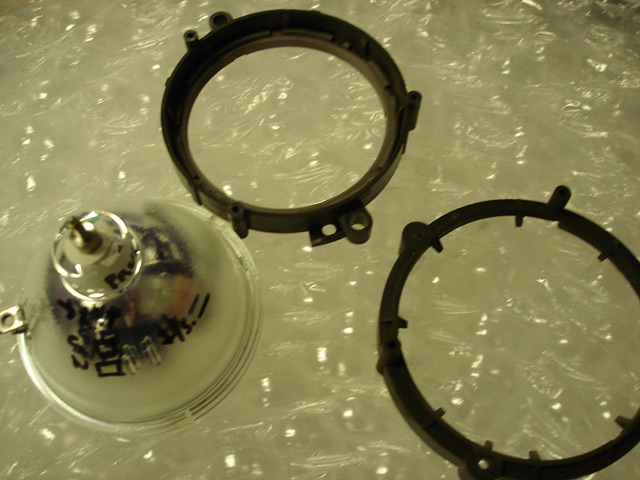
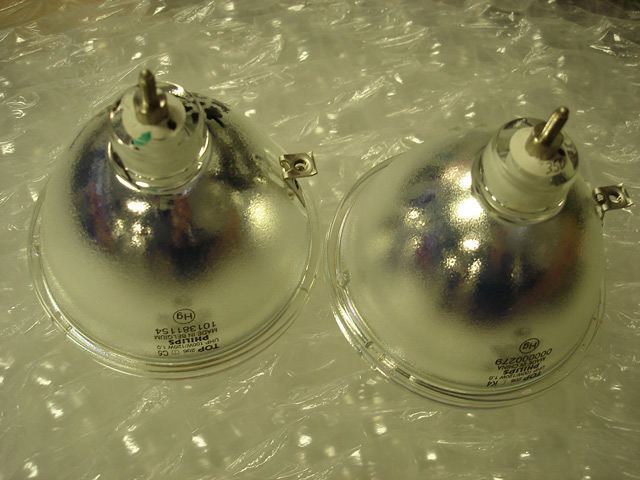
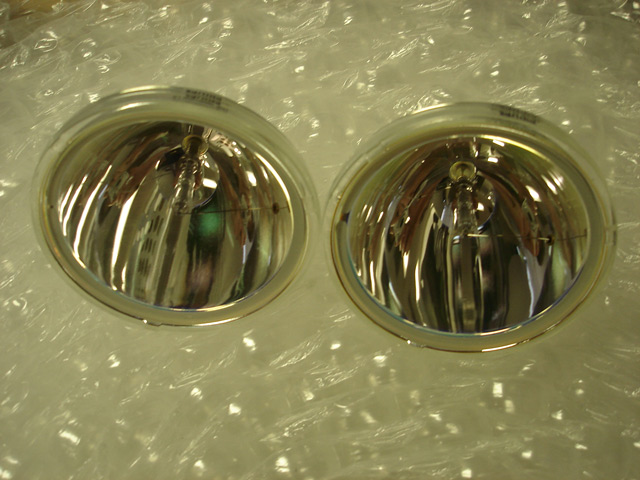
Step 4: Now just swap out the lamp! Here is the original lamp…
Original lamp again with the spacers separated
The original lamp is on the left side…our new Samsung part is on the right. Both made by Philips.
Here is another picture of the lamps side by side…you can’t tell which one is new and which one is defective.
Step 6: Assemble in reverse order. First screw these two to hold the spacers in place…
Now screw in the rest. Don’t forget the most important one…put the washer on the bottom and the
The location of the lamp connectors, relative to the enclosure is not important…notice the first picture above
Now place the metal cover back on after tighening all the screws, tighten the two screws on the metal enclosure, pop in the pull out tray…and you’re done!
It took me about 15 minutes from tray removal to tray re-install…it might take an inexperienced user 15-20 mins…
IMPORTANT: The bulb should be handled with a clean cloth to avoid any dirt or oil. Our hands are naturally oily…this is a no-no for these lamps. It doesn’t hurt to do a final wipe with a clean, non-abrasive, lint-free cloth before reinstalling your lamp. Click below to buy this lamp now:
|


FixYourDLP.com Blog | FixYourDLP.com Forum | Guides
FixYourDLP Flickr | FixYourDLP YouTube
Copyright ©2014 FixYourDLP.com. All content on this website is intended for information purposes only. FixYourDLP.com is not responsible, nor liable for any damage caused by the end-user, faulty lamps or parts. Please, always have a service center or a trained service technician advise you before beginning any repairs on your own.