This guide is being published to show how easy it is to replace your original Samsung Ballast for Television models HLT4675S, HLT5075S, HLT5675S, HLT6756W, HLR5067W, HLR5656W, HLR6767W, HLT5076S, HLT5676S, HLT6176S.
Click below to buy this ballast part now:
![]()
Lowest Prices Anywhere!
What else can cause a "Lamp" light to go on even though I've replaced my lamp with a new one?
1. Defective Lamp
2. Defective Colorwheel (For symptoms and replacement guide of your color wheel please click here)
3. Defective Ballast
4. Defective Main Power Supply
What are the main symptoms of a bad ballast?
1. The TV gives a "Lamp Replacement" code when powering on the TV even when the lamp has been replaced.
2. The TV does not make a "Click" noise or "Surge" when pressing the power button. The click noise is one of the fastest ways to decide whether the ballast or other components of your TV are bad rather than the lamp.
3. The TV makes rapid "Clicking" noises (3-5 clicks every 2-3 seconds). This means that your ballast is weak and can not fire the lamp.
What you'll need :
1. Standard Philips & Flathead screwdrivers
2. Pair of Pliers
3. A new ballast
4. 15 minutes of your time
IMPORTANT: Lamps and bulbs should be handled with a clean cloth at all times to avoid any dirt or oil. Our hands are naturally oily…this is a no-no for these lamps. It doesn’t hurt to do a final wipe with a clean, non-abrasive, lent free cloth before reinstalling your lamp. Discharge yourself from any electro-static charge before working on your ballast.
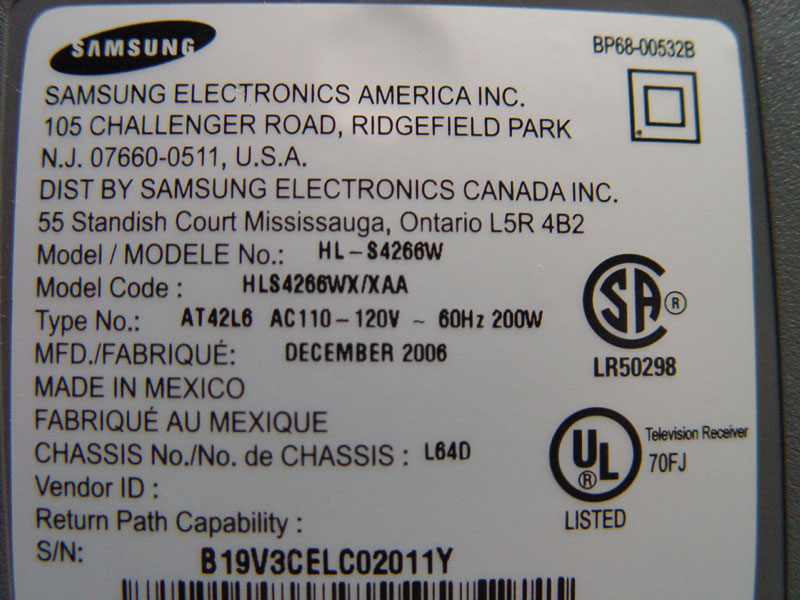
Make sure you have the correct part before proceeding. Your model number and part number may vary, however, the general process is the same. |
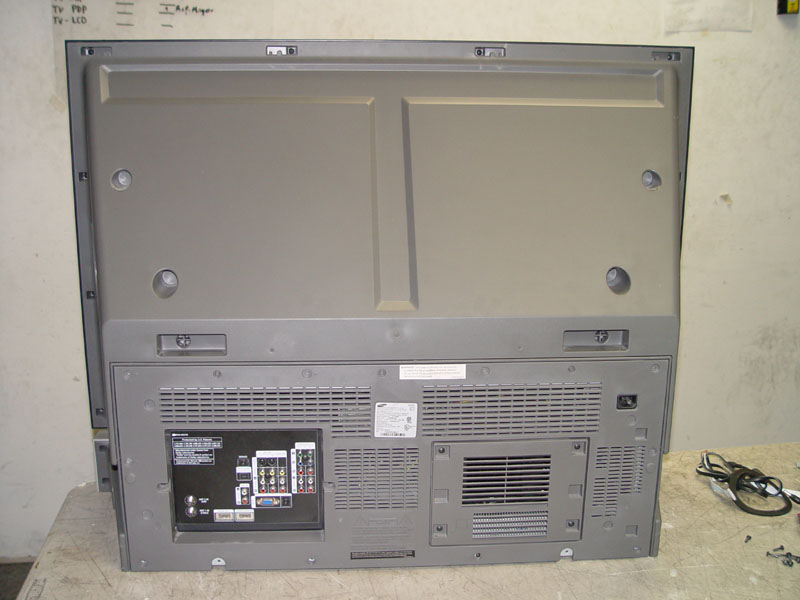
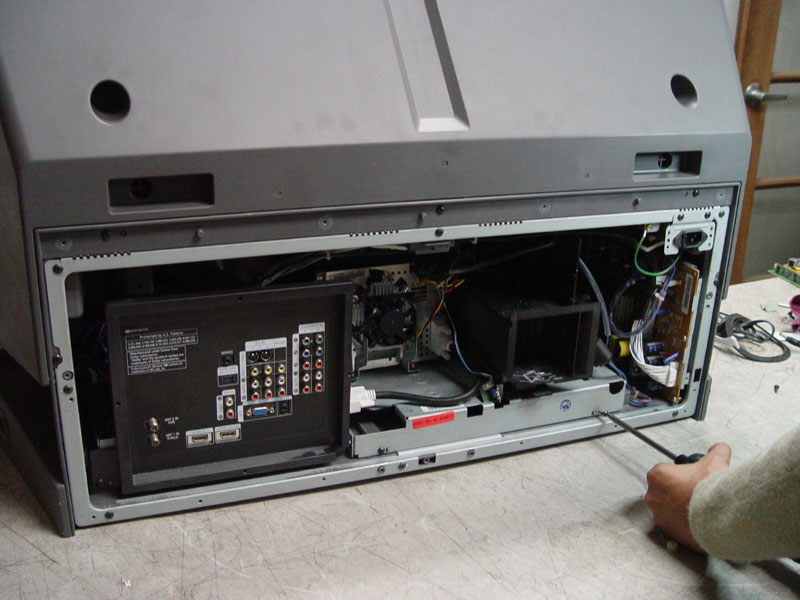
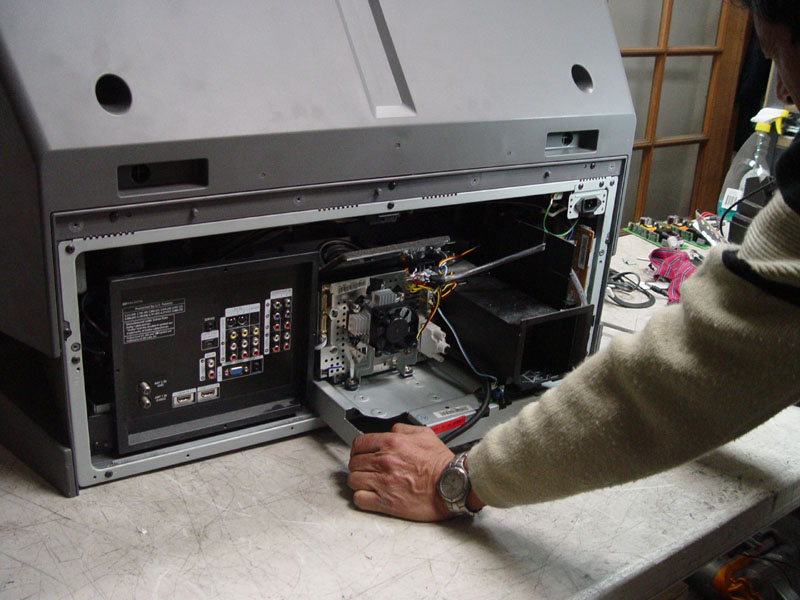
If you have the television on a raised surface, make sure the front of the television is facing the center of the table. The TVs are front heavy. |
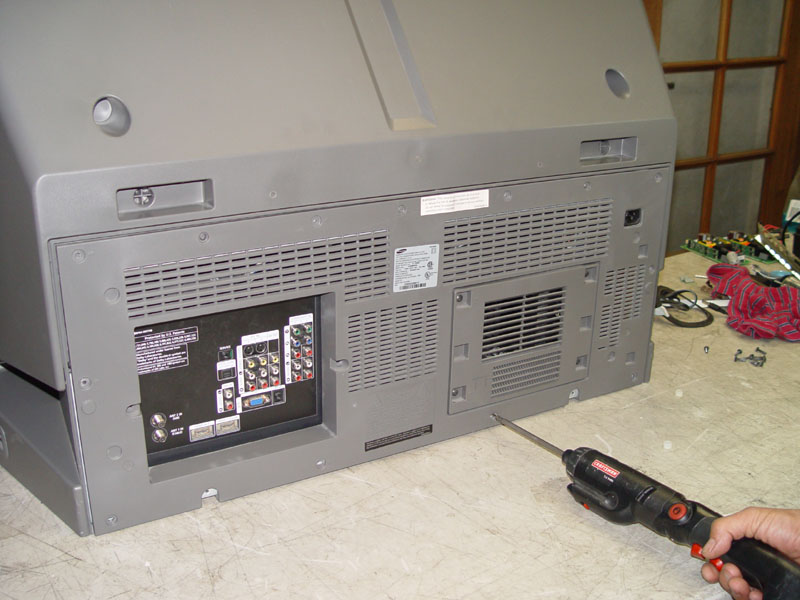
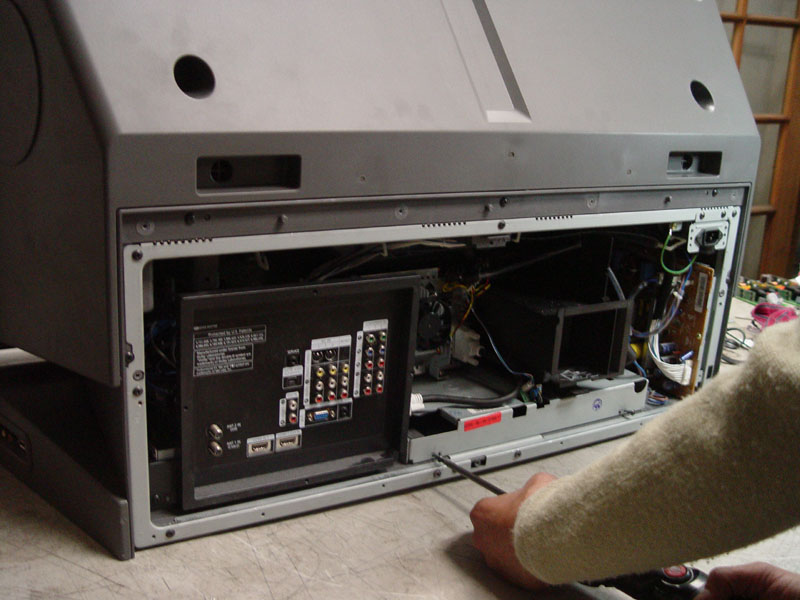
On the back side, unscrew the plastic panel as shown. |
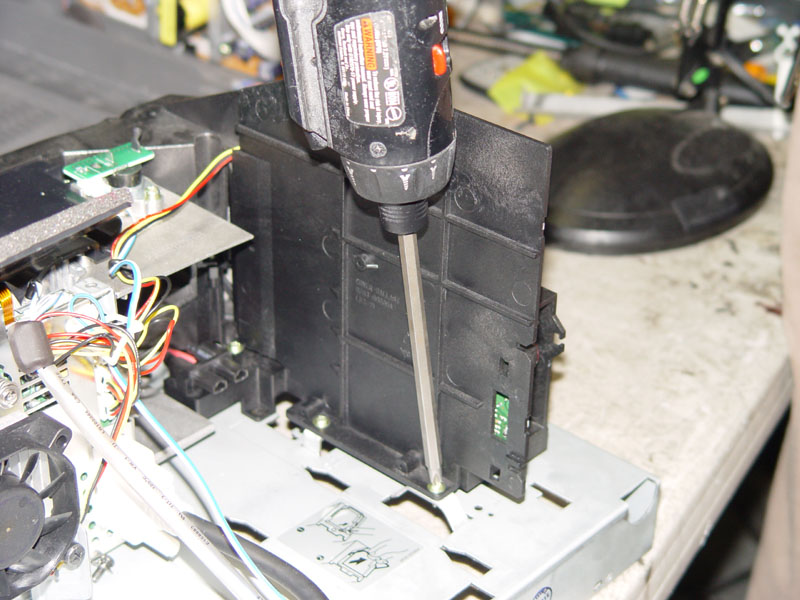
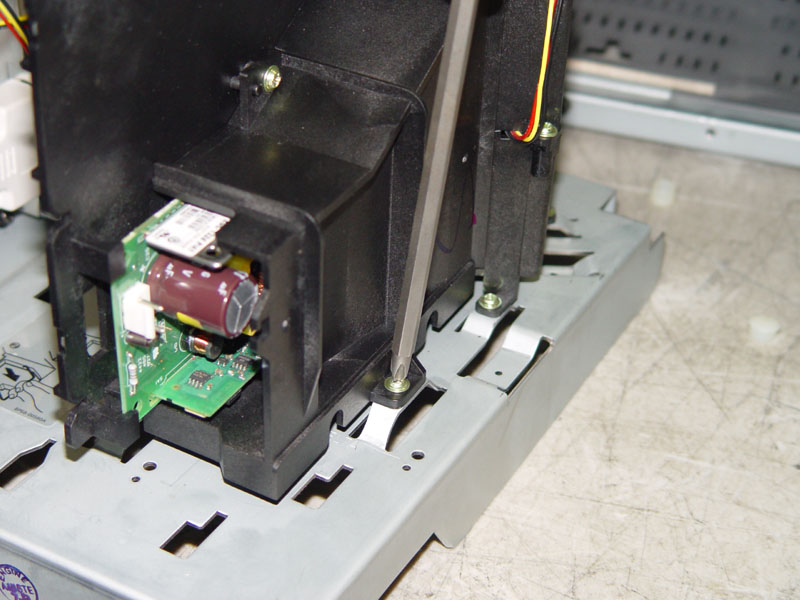
Now we unscrew the platform which holds the lighting engine in place. |
... |
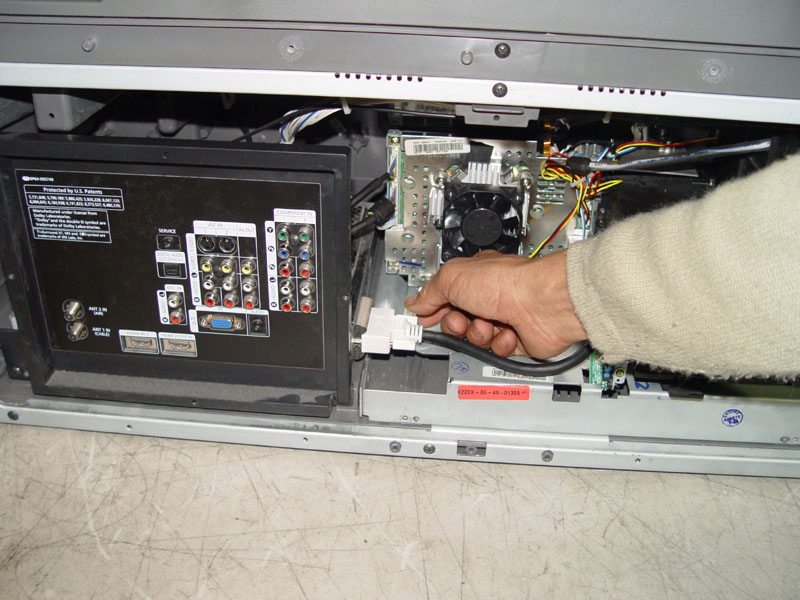
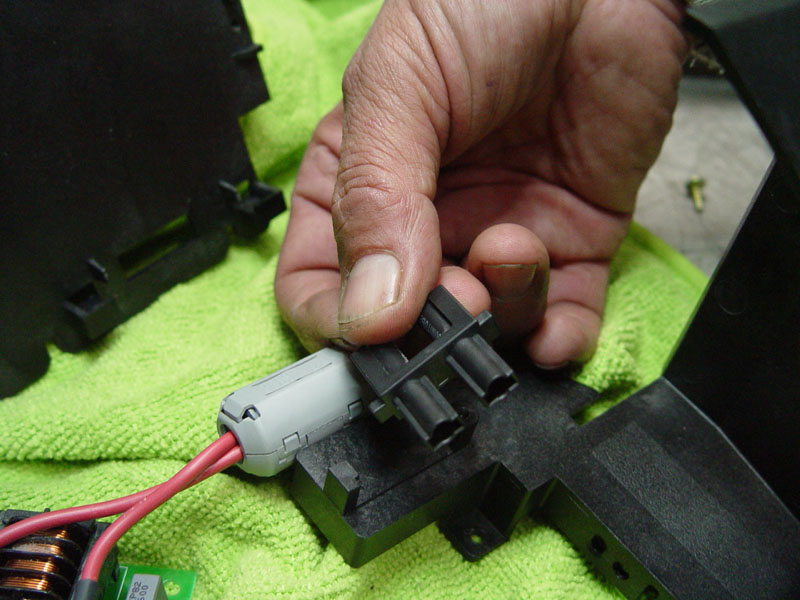
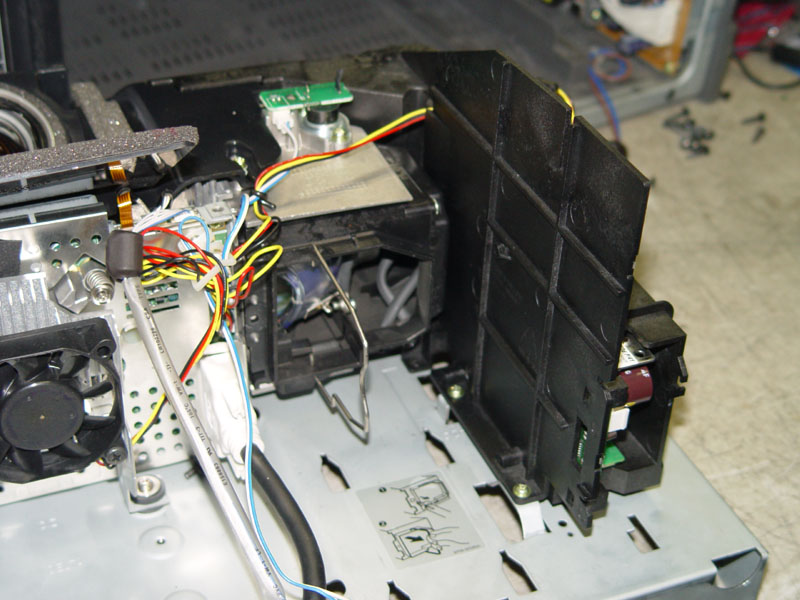
Detach the connectors. |
Disconnect the wires going into the digital board... |
... |
... |
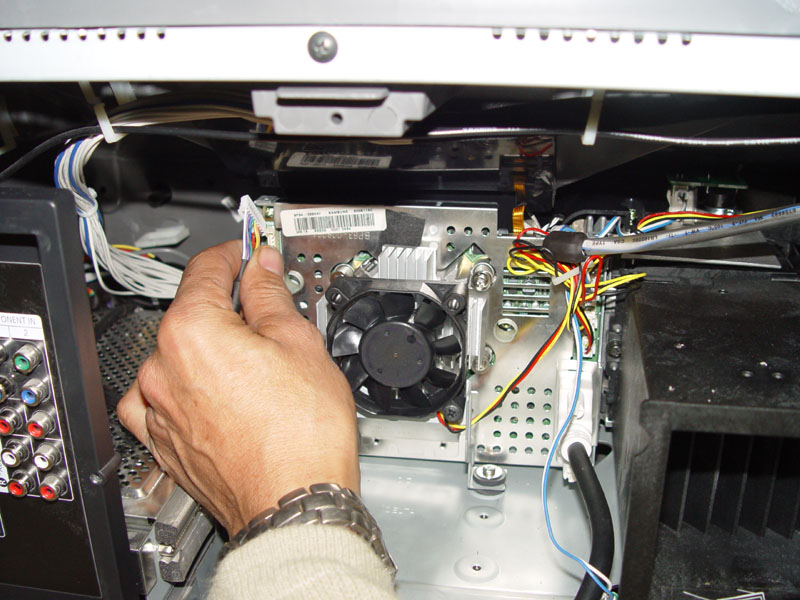
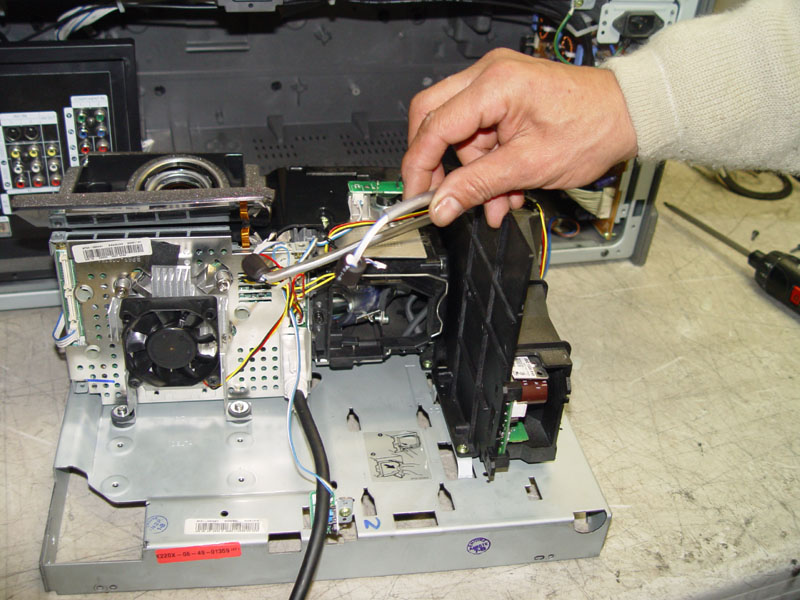
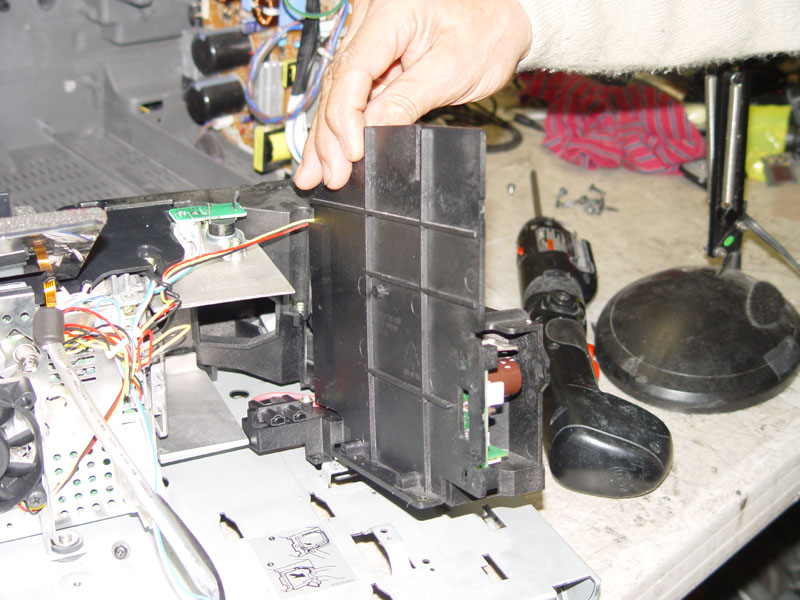
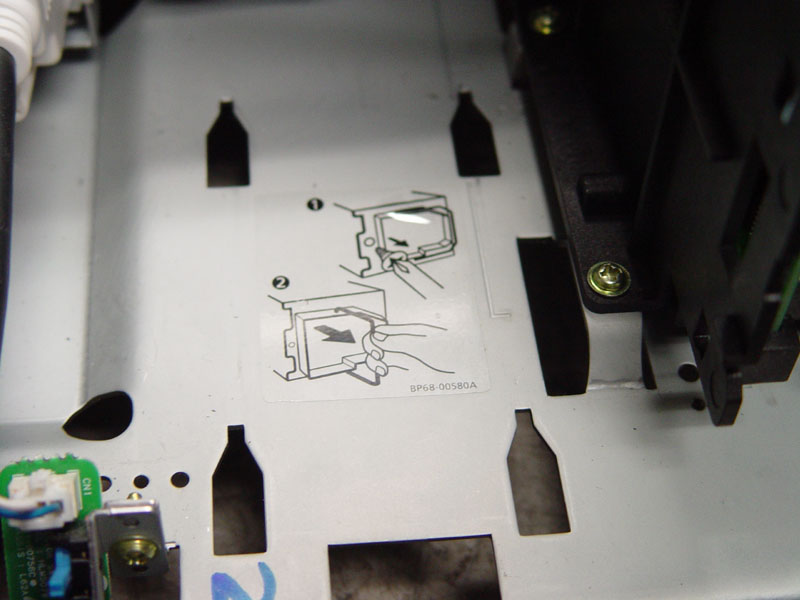
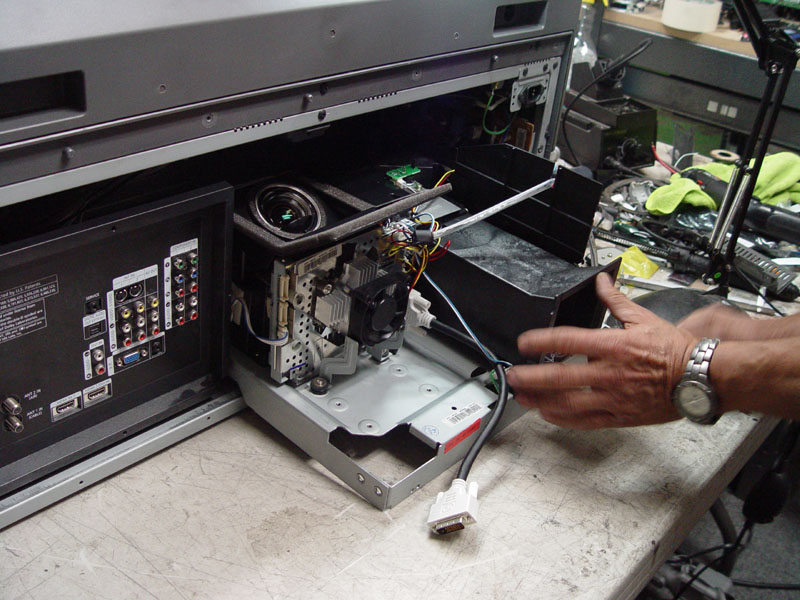
We first re-assure that all wires are disconnected, then we can slide the lighting engine out! |
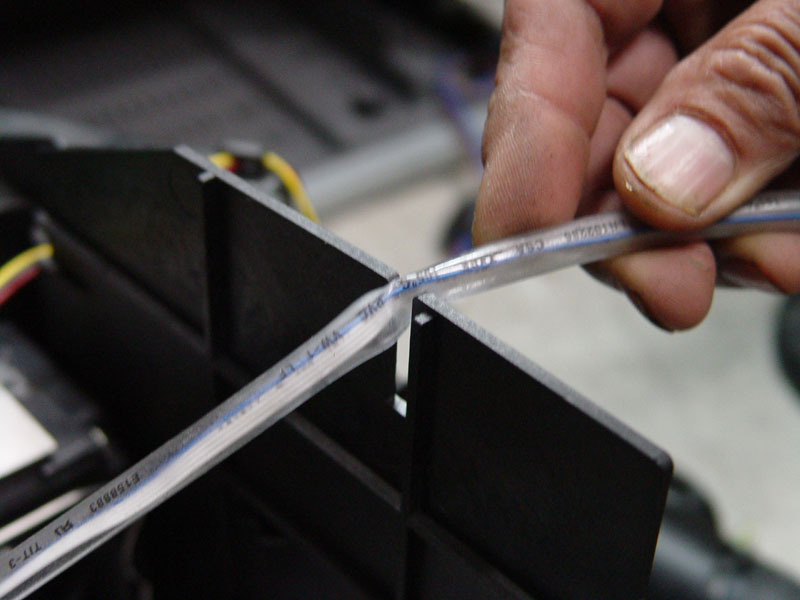
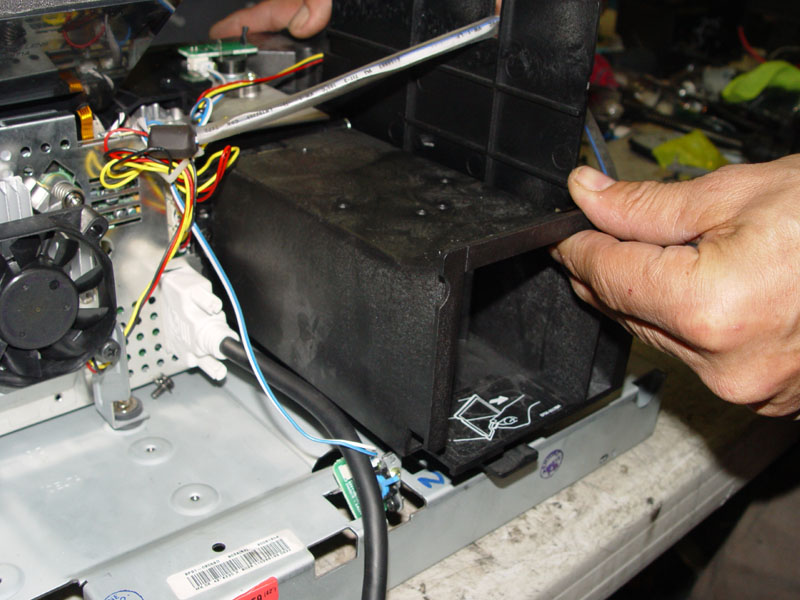
Pinch the plastic clip and pull to remove the ventilation housing... |
... |
Out we go.. |
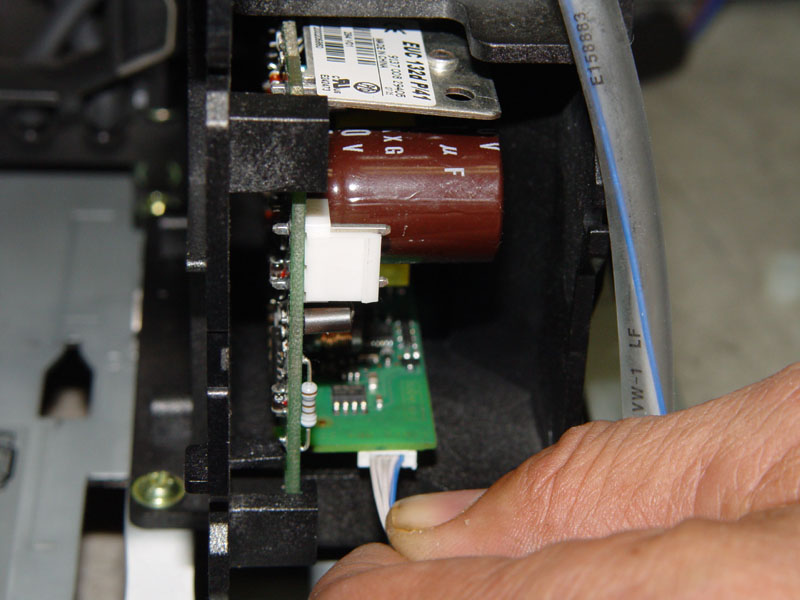
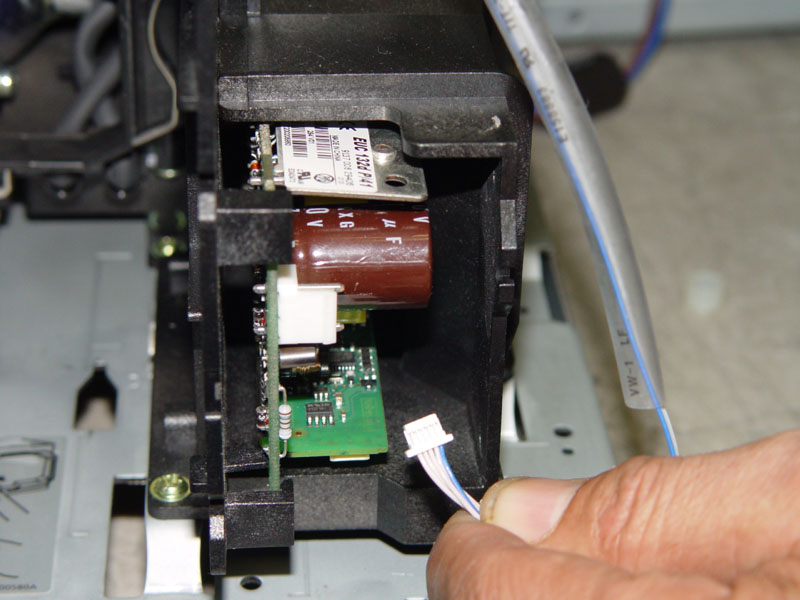
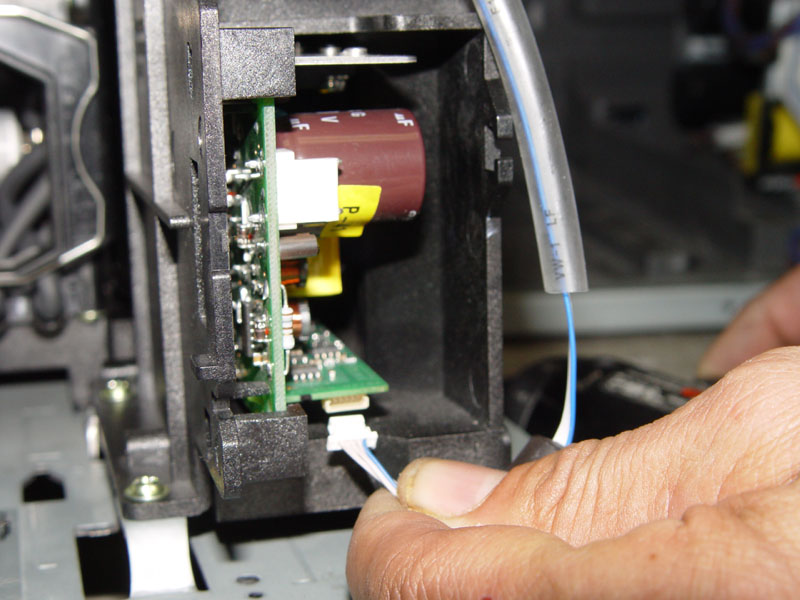
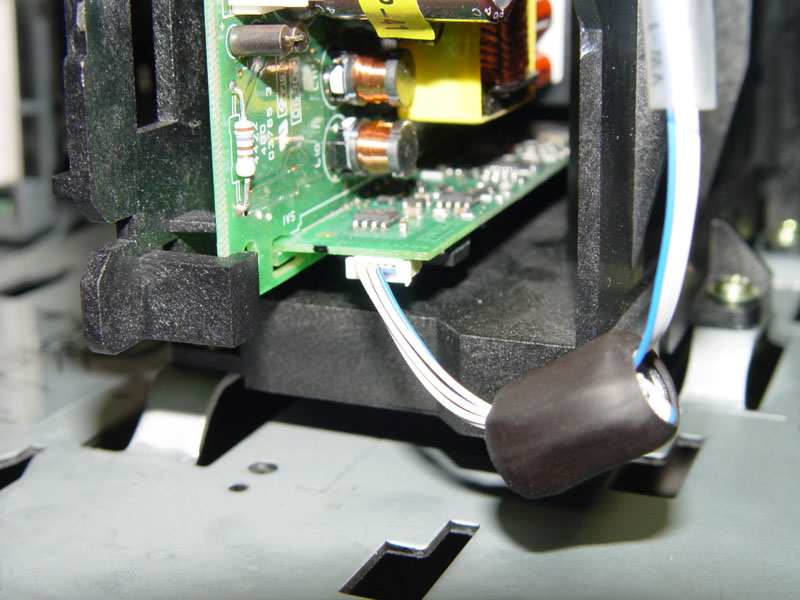
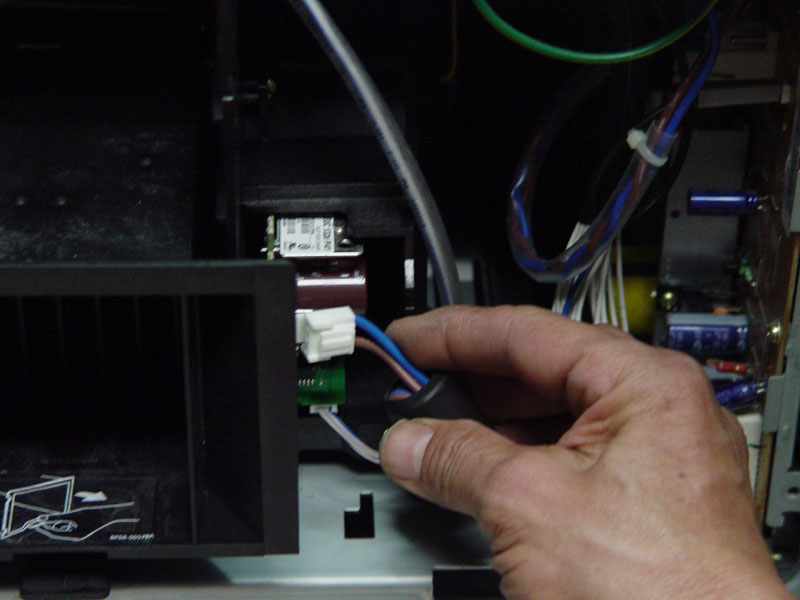
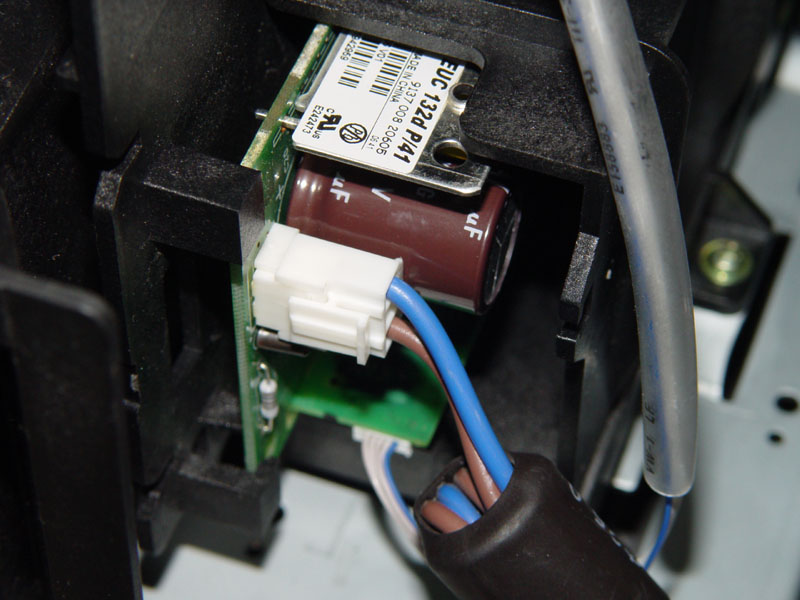
Pull the smaller connector (ballast control cable) out carefully. Be sure we don't damage the connector or the cable. |
... |
... |
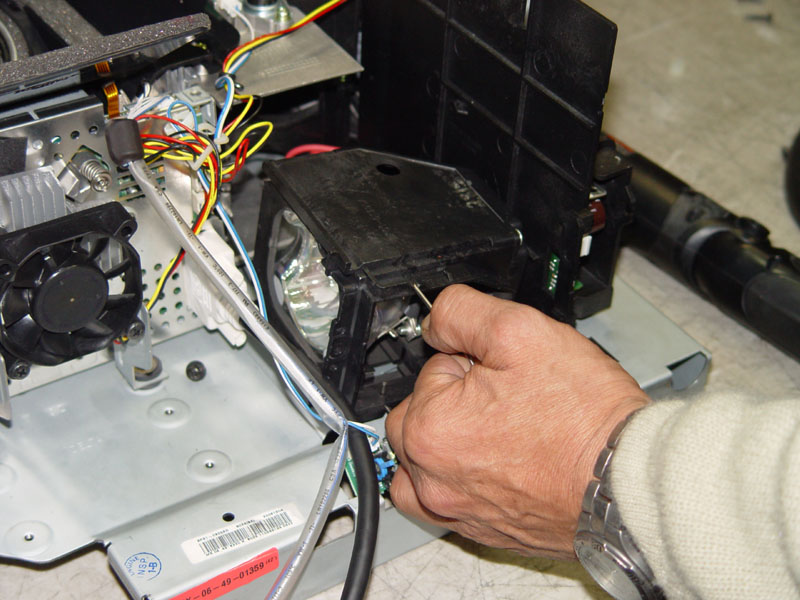
We carefully unscree the lamp... |
And remove the lamp enclosure... |
Here is the connecotr of the ballast (where the lamp plugs in)... |
We now remove the ballast housing by removing the philips screws holding it down... |
Now we slide it out... make sure there are no cables attached. **Normally the ballast has 2 connections to the digital board and power supply. The third connector goes to the lamp. Connector 1 powers the ballast, while connector 2 gives opperation instructions to the ballast. |
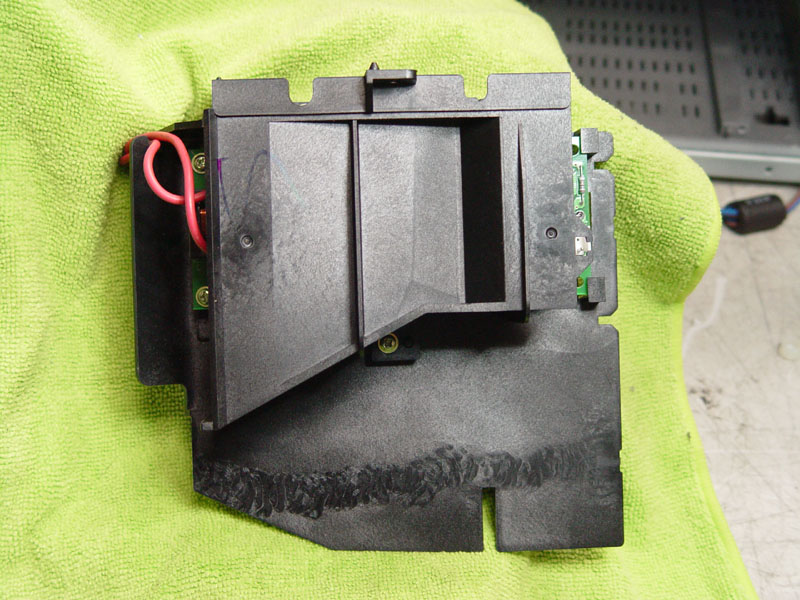
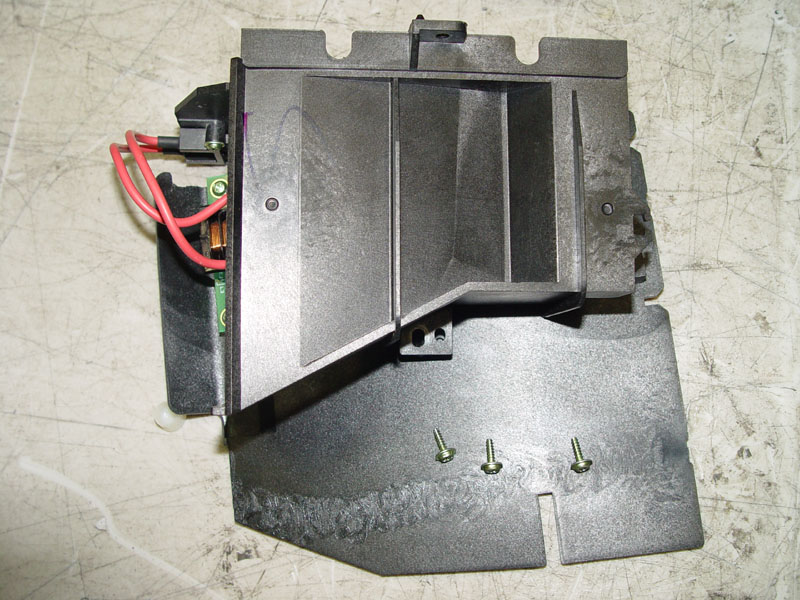
Now we need to remove the ballast from the housing... |
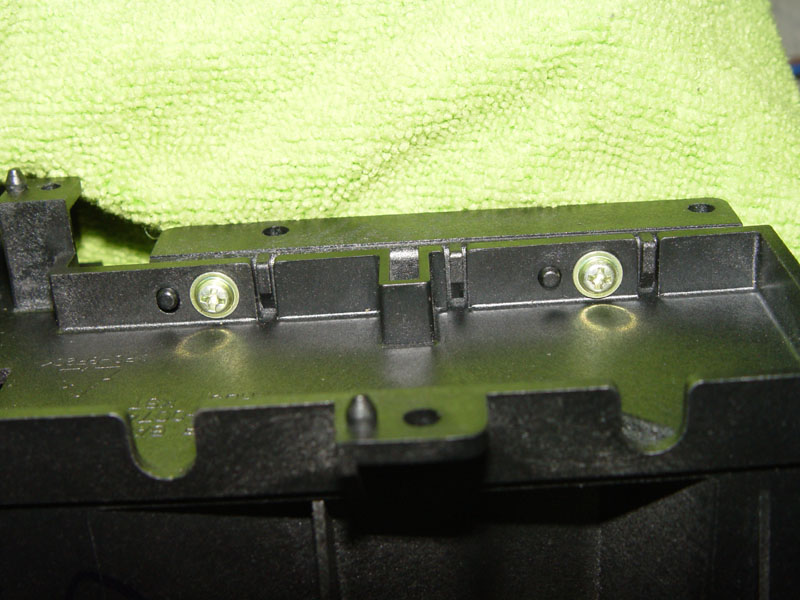
We remove the screws holding the ballast housing together... |
... |
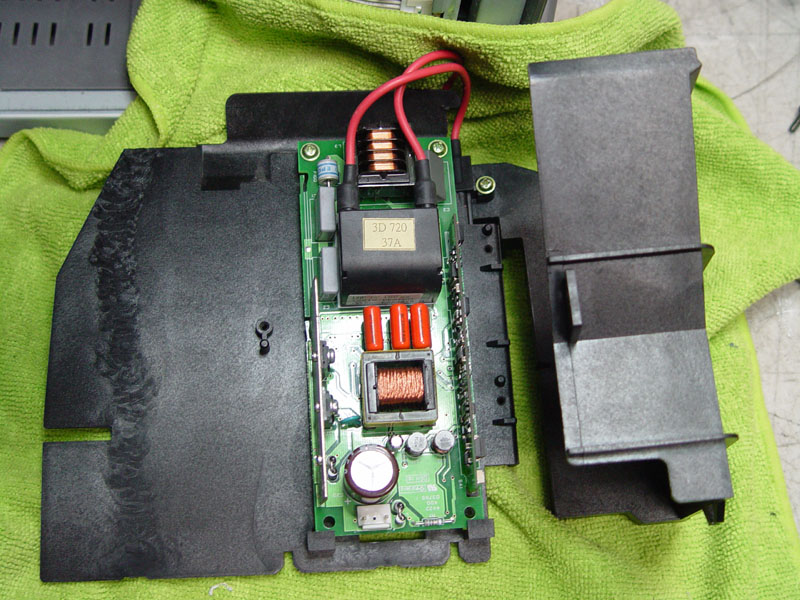
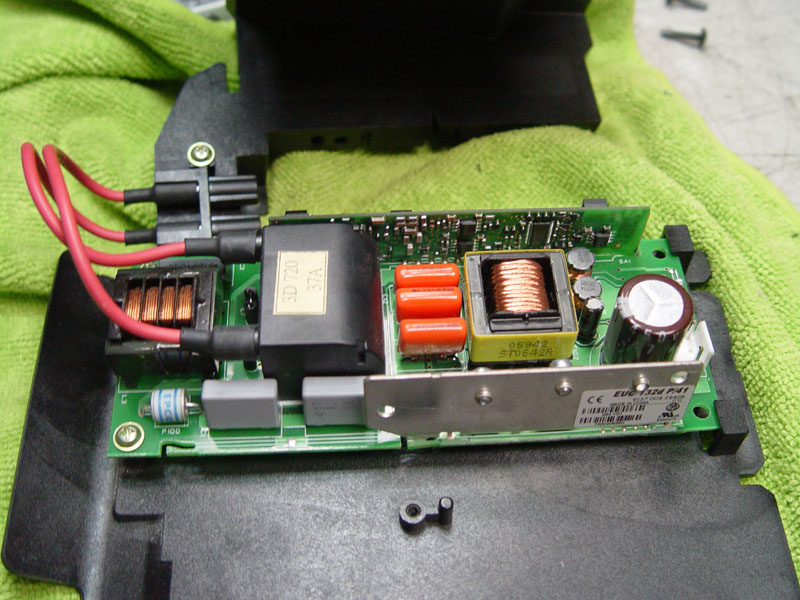
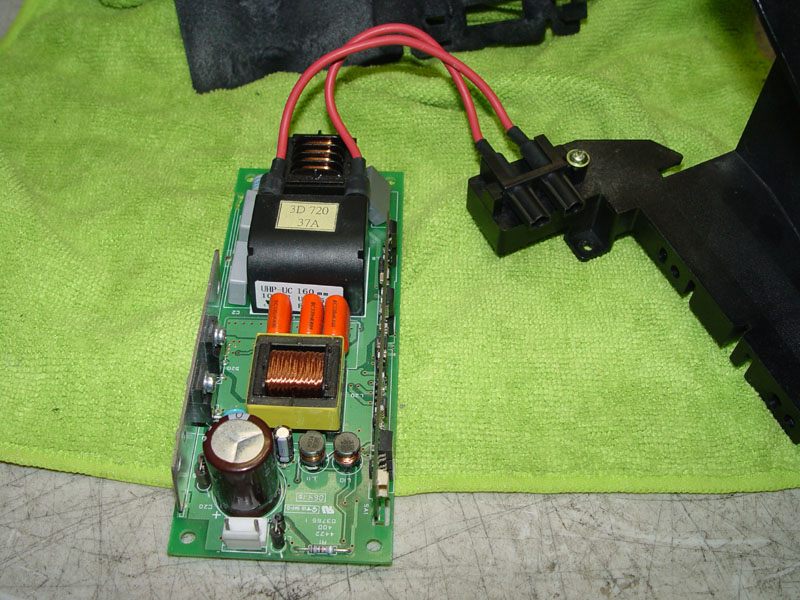
We unveil the ballast.. |
And begin to replace it with the new ballast... |
... |
... |
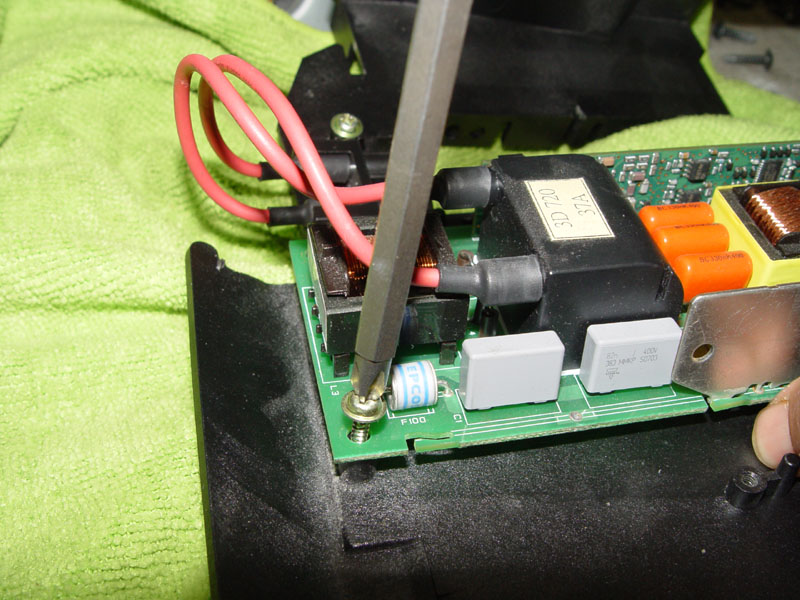
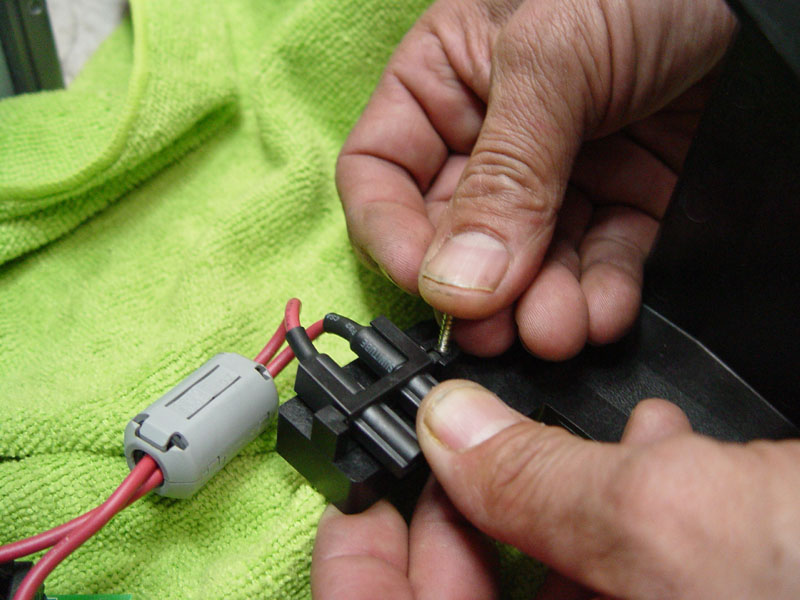
We will need to unscrew the connector in order to fully remove the ballast from the housing... |
... |
Now we take the same steps in order to replace the ballast... We install the connector of the new ballast first... |
... |
... |
And we carefully re-place the new ballast into the ballast housing... |
We close the enclosure and screw it back together as before... |
And we slide the enclosure back into place... |
Don't forget to put the screws back! |
 |
We make sure none of the cabling of the digital board was pinched or mis-routed before we continue... |
Now we begin to re-install the wiring on the ballast... |
Plug the small connector back in. There should be a slight click feel when it snaps into place. |
... |
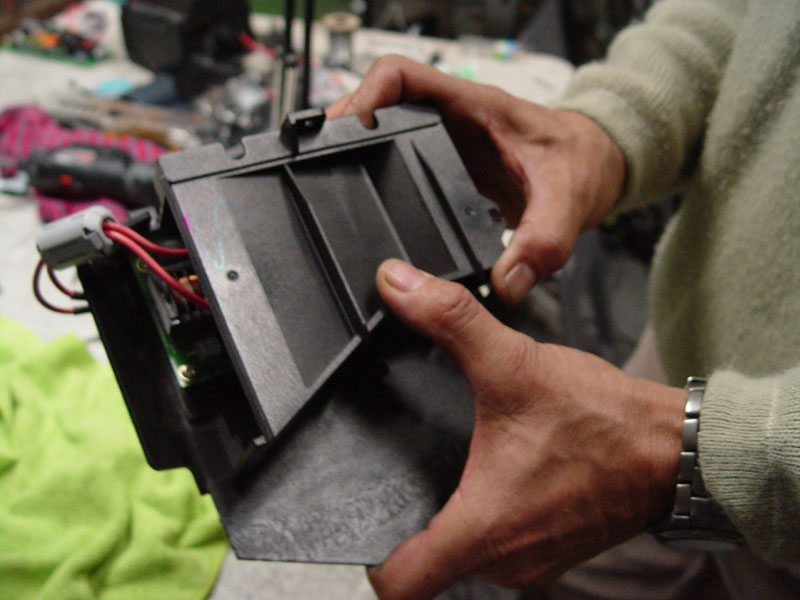
Now here is where the vent enclosure will be going.. |
We drop in the enclosure, and slide it back into place... |
... |
We now can re-connect the rest of the cables... |
Here goes the power connector of the ballast... |
Whalah! It's on... |
**Before replacing the back cover, make sure you have not forgoten any connectors or cables... Failure to connect all the required cables before powering on your TV can cause damage to some components within the TV set** |
1. Double Check The cables. Make sure they are all securely pluged into place before closing up your TV. 2. Make sure non of the cables or screws are pinched by other components. 3. Don't forget to replace the lamp and the close lamp access door completely before powering on your TV. Failure to close the lamp access door can cause your TV to give you a "Replace Lamp" error. |


Again, Discount-Merchant.com promises to be the low price leader in all Projection TV Lamps and TV Parts we carry…if this is not true, let us know and we’ll fix it!
Click below to buy this ballast part now:
![]()
Lowest Prices Anywhere!