
Sony XL-5100U “How-To” Guide – Replacement Projection LCD TV Lamp
This guide is being published to show how easy it is to replace your original Sony XL-5100U Lamp.
NORMAL DISCLAIMER:
— Do NOT purchase generic brand lamps such as LTI, APO or third-party manufacturers such as OSRAM. These lamps were NOT engineered with and for your TV…only your Philips lamp has been engineered to work flawlessly and output the best possible color. Above that, it just doesn’t make sense to choose an aftermarket lamp for a $5-$10 difference (and in many cases they are more expensive!!). Be a smart consumer and do your research! Discount-Merchant.com promises to be the low price leader in all Projection TV Lamps they carry…if this is not true, let us know and we’ll fix it!
Necessities:
1. Standard Philips & Flathead screwdrivers
2. Pair of Pliers
4. 15 minutes of your time
IMPORTANT: The bulb should be handled with a clean cloth at all times to avoid any dirt or oil. Our hands are naturally oily…this is a no-no for these lamps. It doesn’t hurt to do a final wipe with a clean, non-abrasive, lent free cloth before reinstalling your lamp…
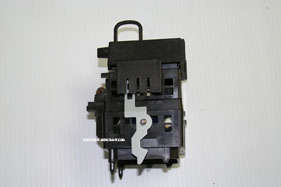
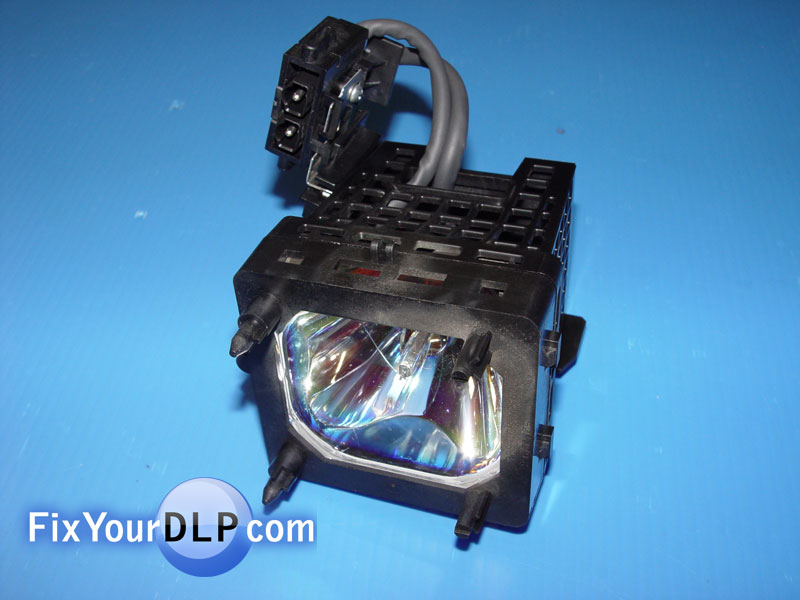
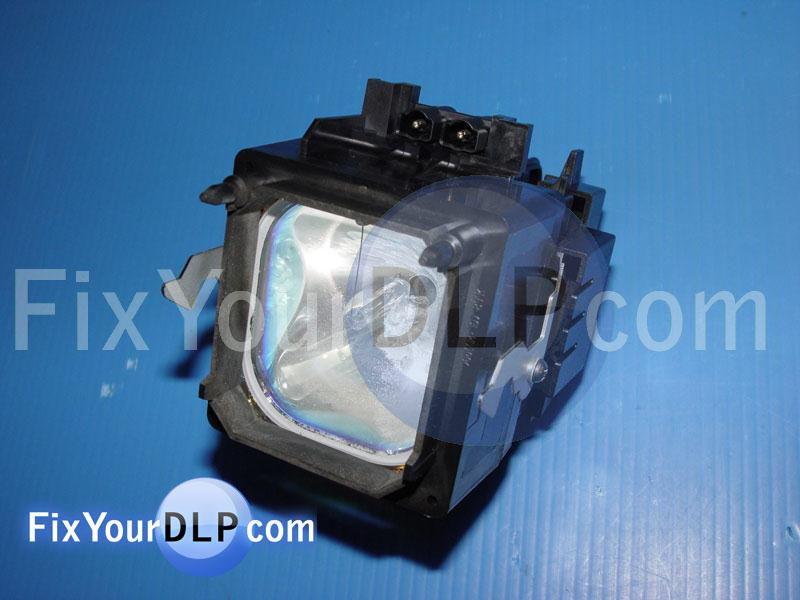
Here is the Sony Lamp Enclosure, remember you can click on any image to enlarge!

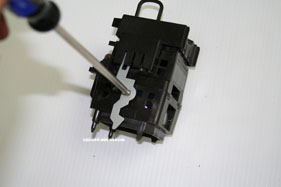
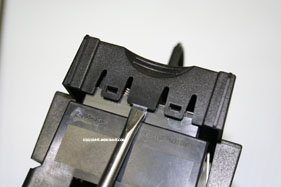
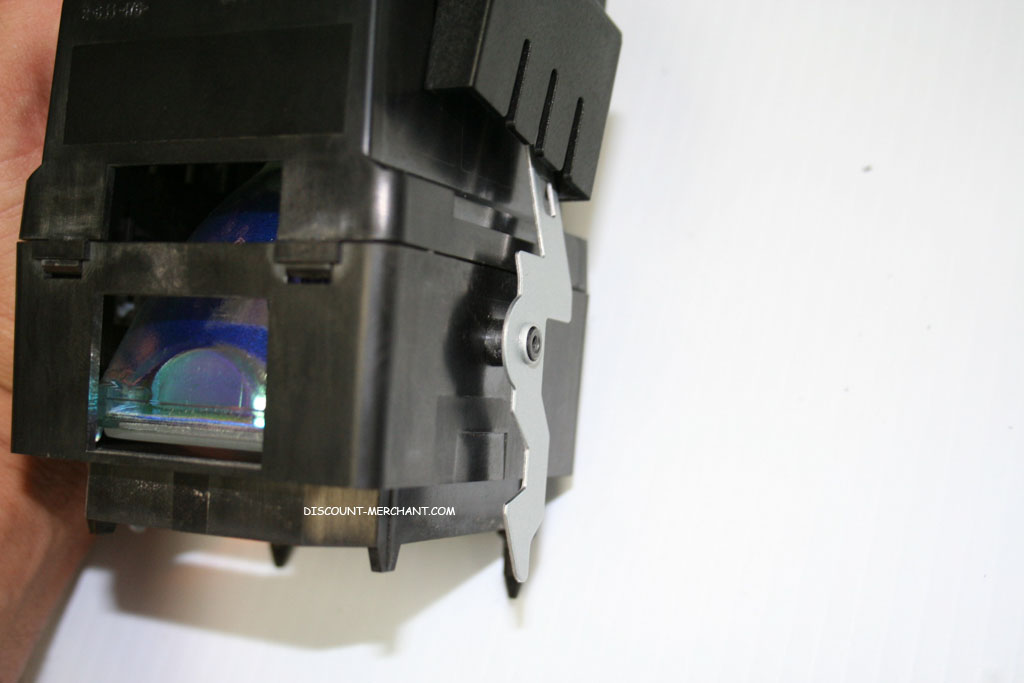
Step 1: First thing we need to remove the two screws holding down the metal clips…
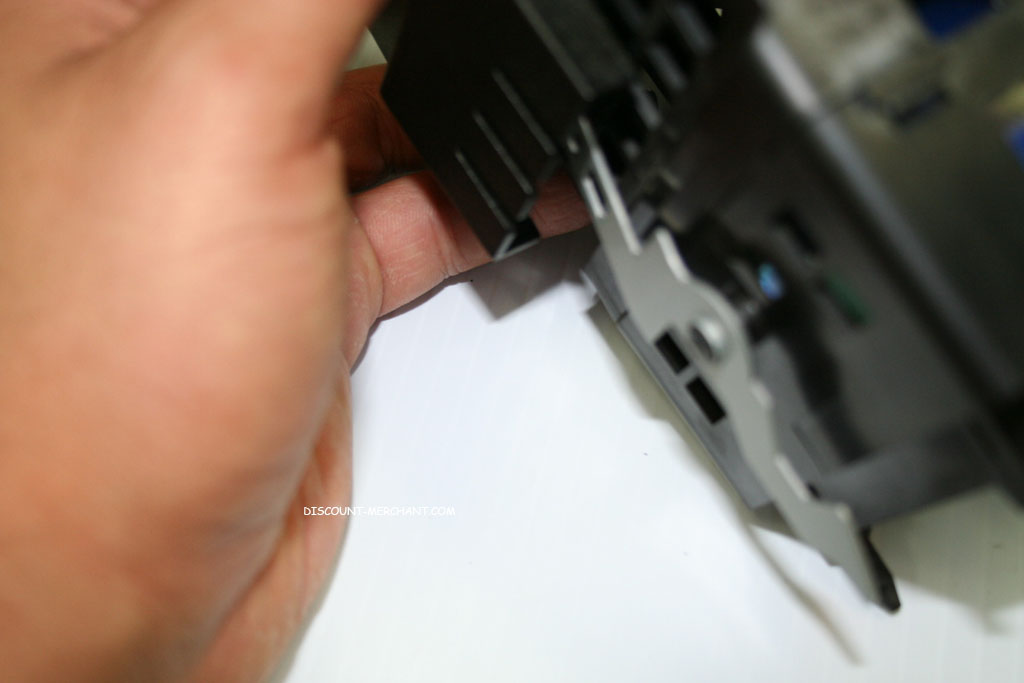
Gently pull the metal clip from the enclosure body to the side…here’s a close up picture.
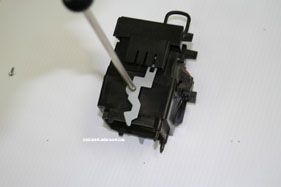
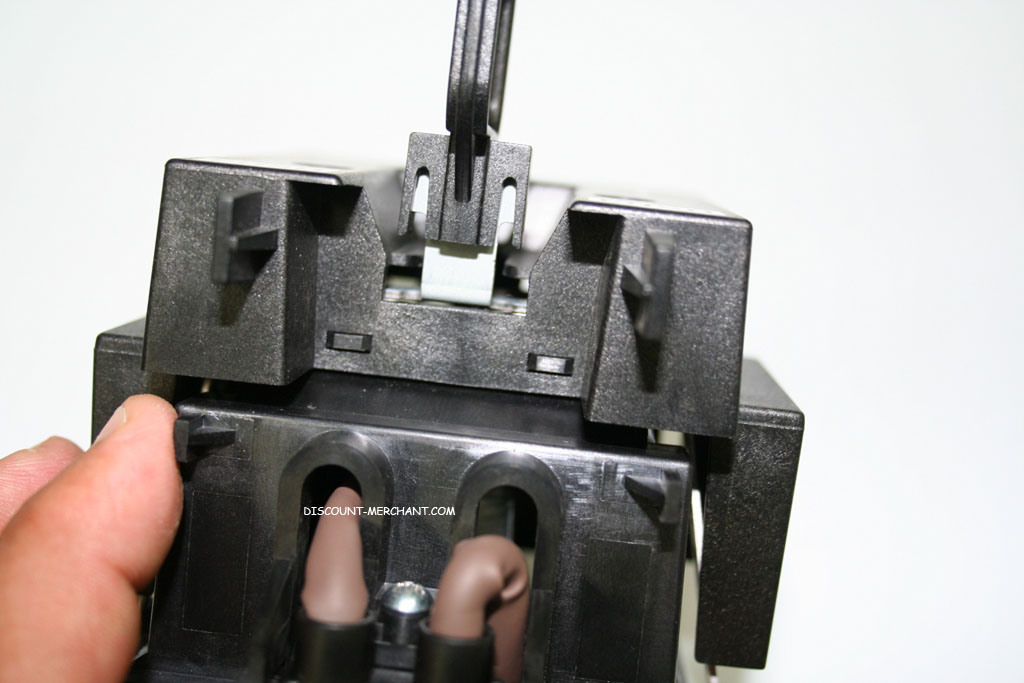
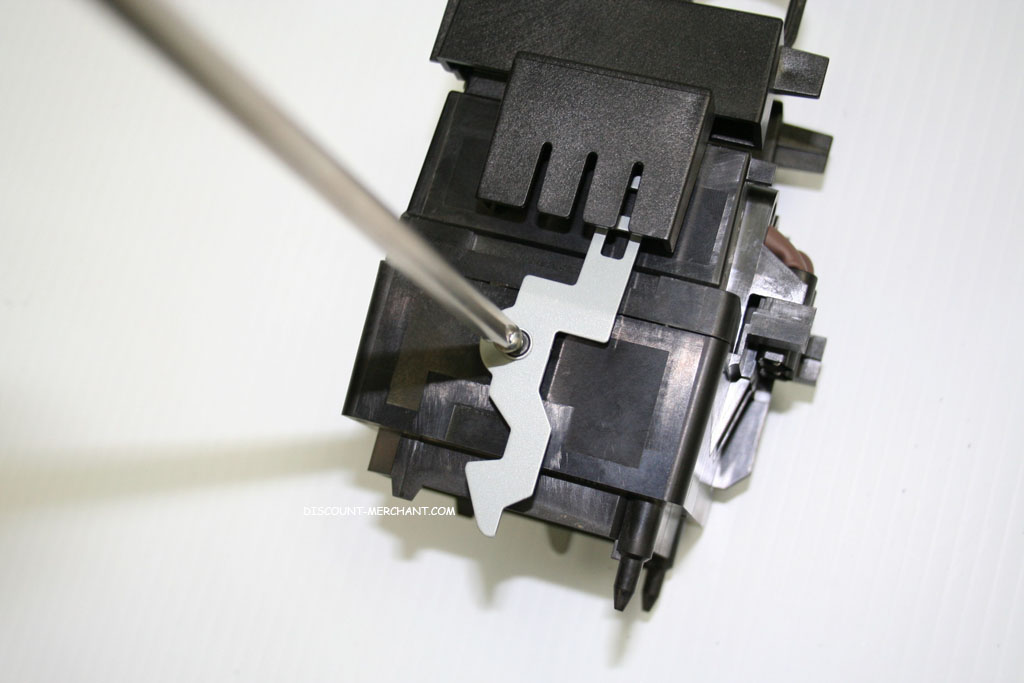
Now we need gently remove the platic thorns holding the top part of the enclosure together… VERY GENTLY.
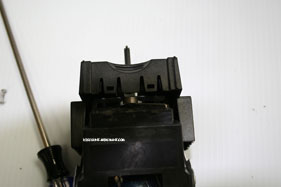
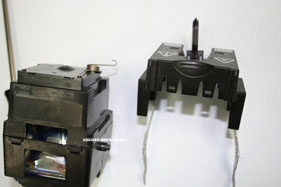
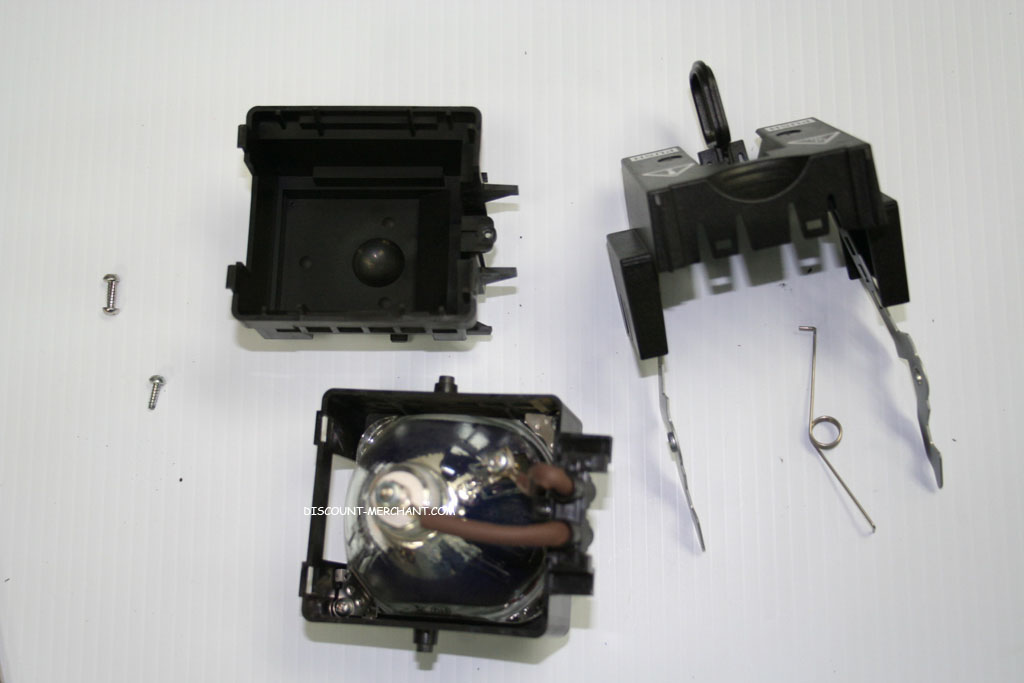
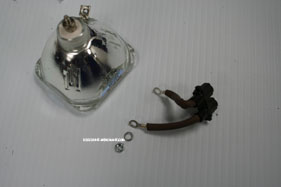
Now you should see a metal spring… which you should be able to just take off… Notice one end of the clip is in the plastic casing’s little hole… The other was connected to the metal clip… We’ll explain how you can put this spring back into its place later. Here is a photo of the parts you should have:
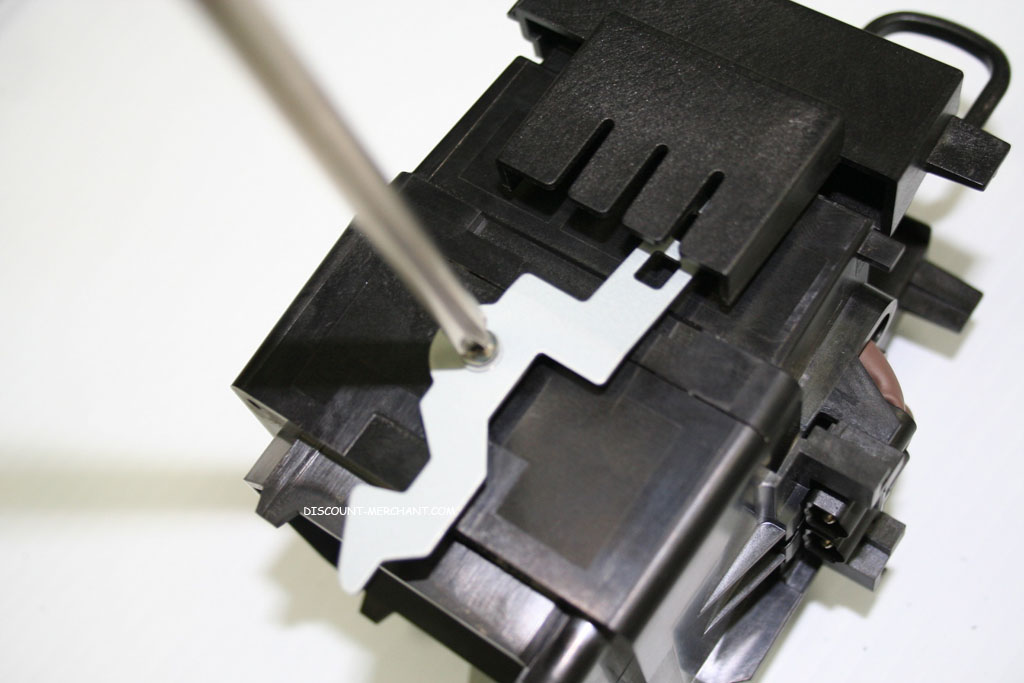
With the top part off, now we can remove the screw on top of the connector …
Now remove the plastic cover by lifting up the connector side first and pulling back…
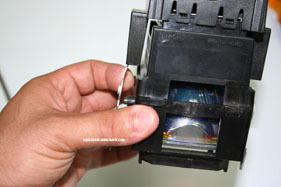
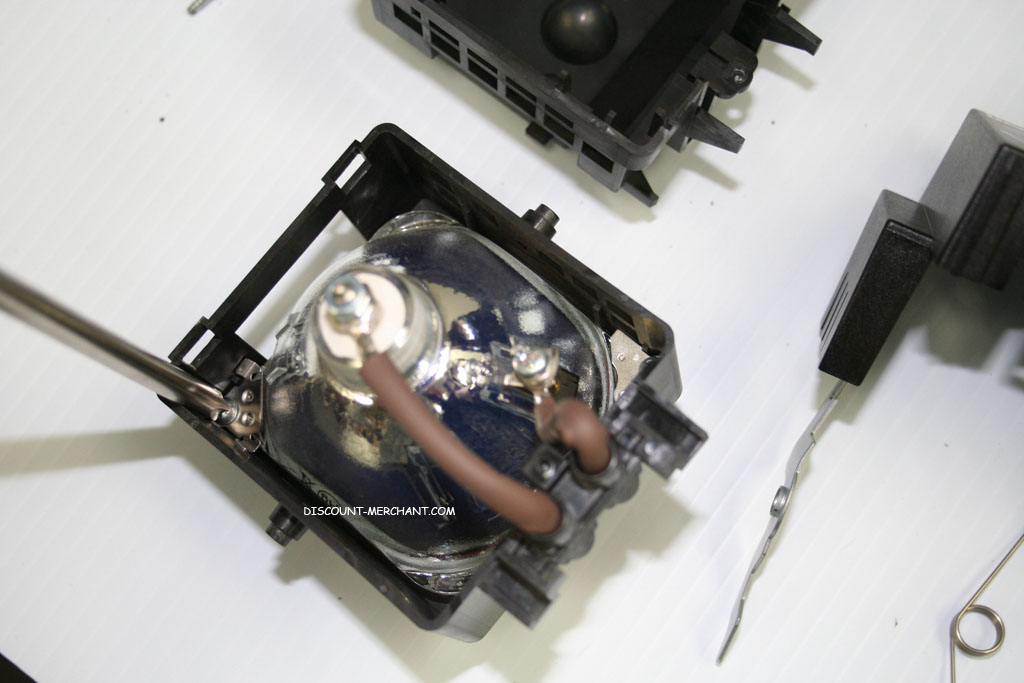
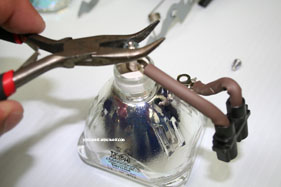
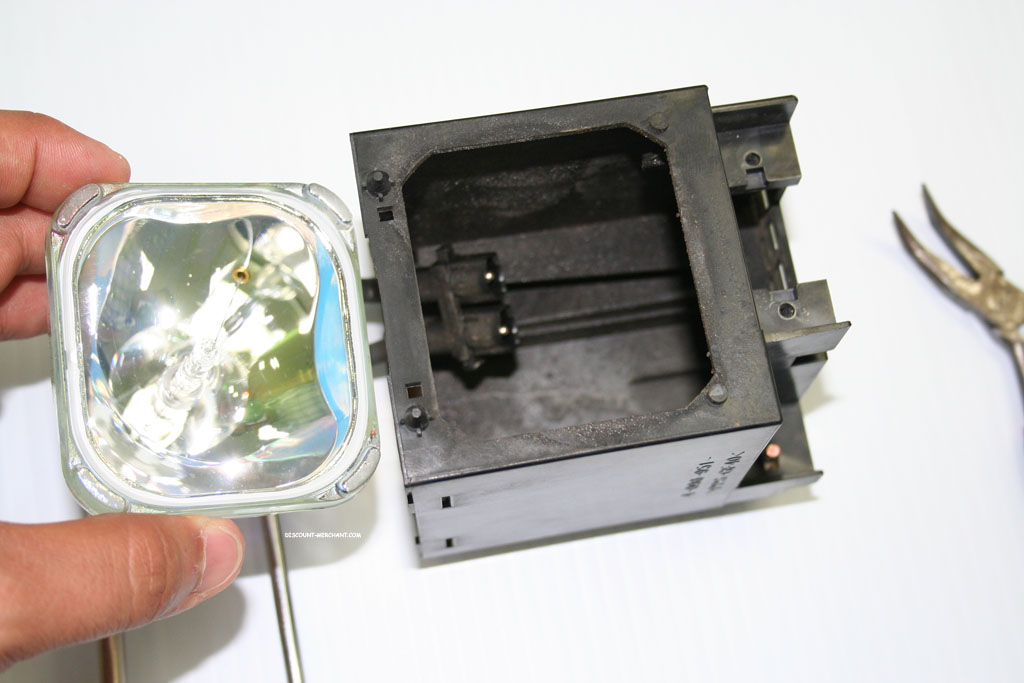
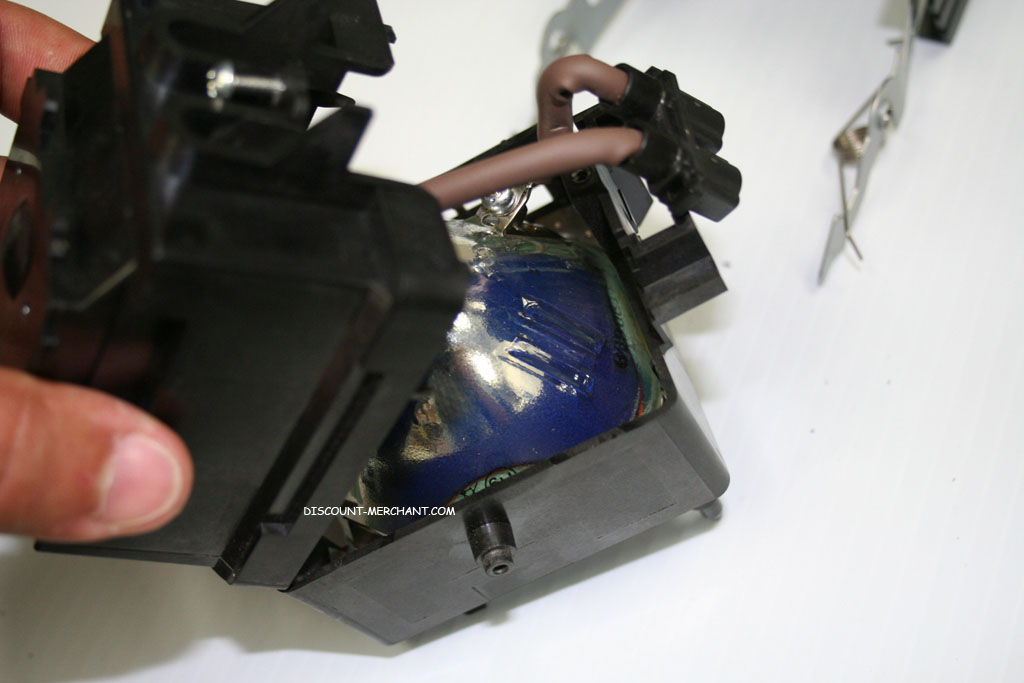
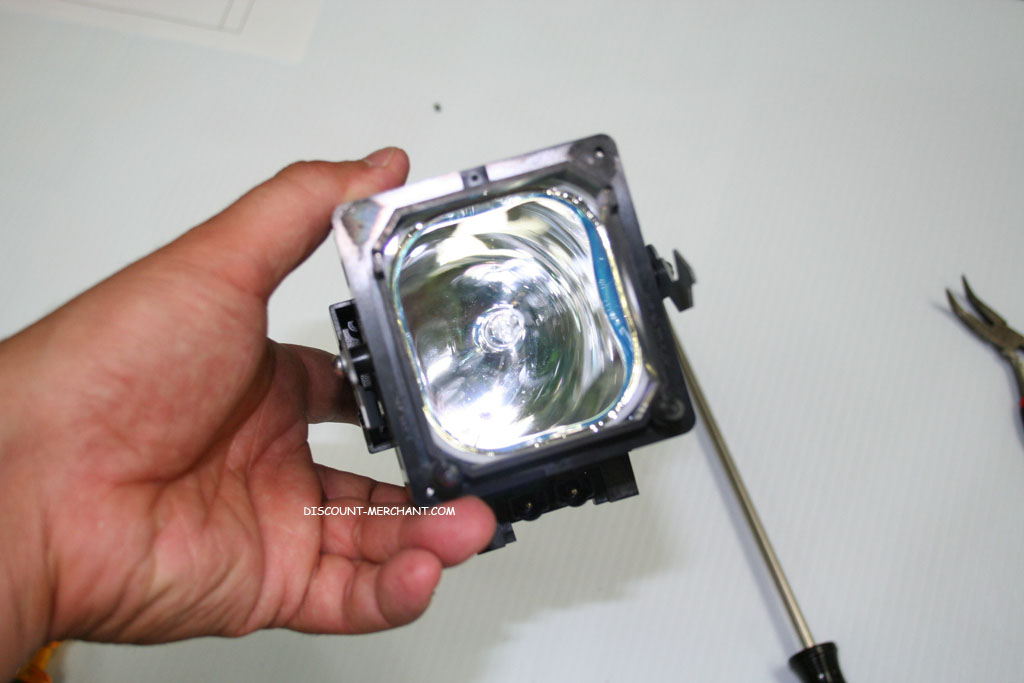
Now unscrew the metal clips holding the lamp in place and pull out the lamp…
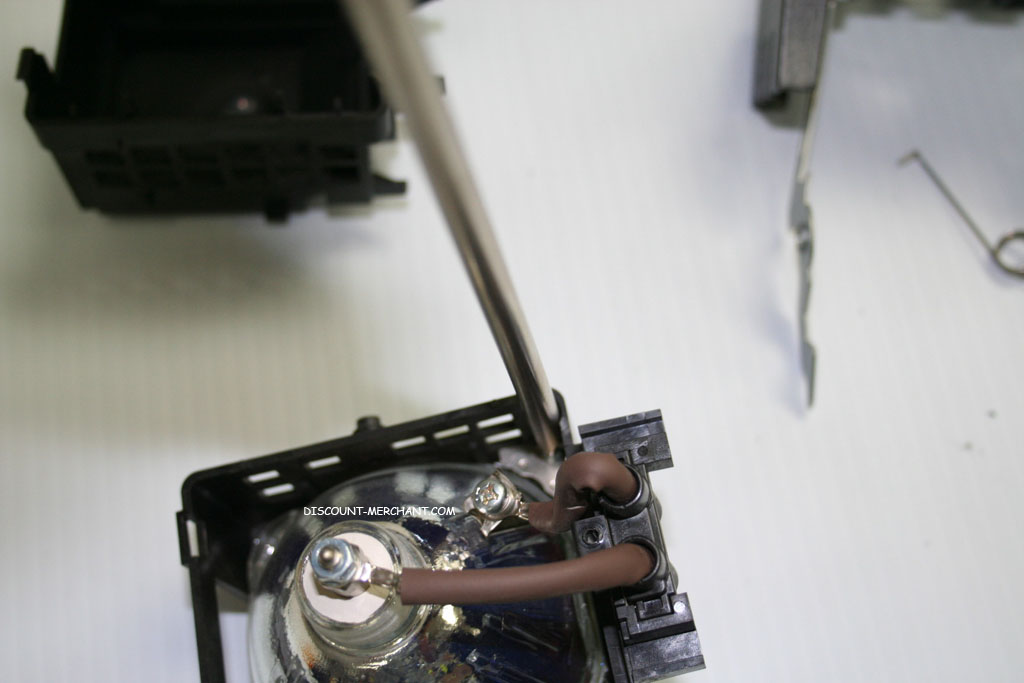
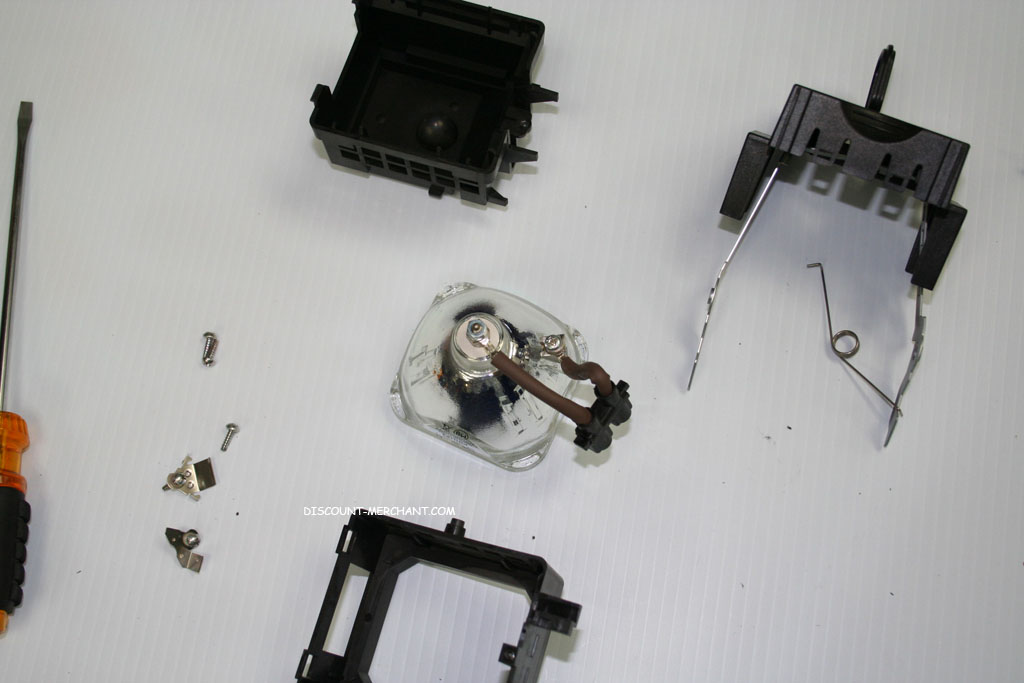
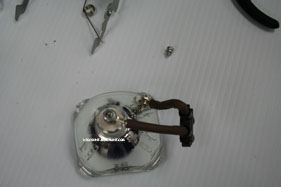
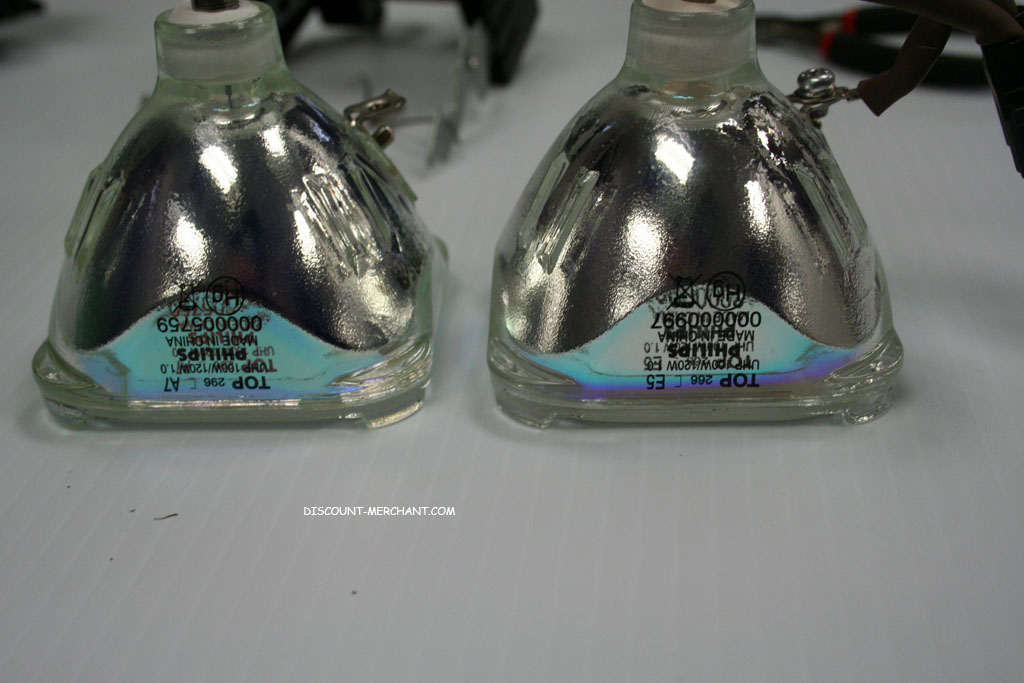
Here is a good shot of the old lamp and the new lamp… Now remember, at times your lamp will not look blown like this one but the filament will be burned out…

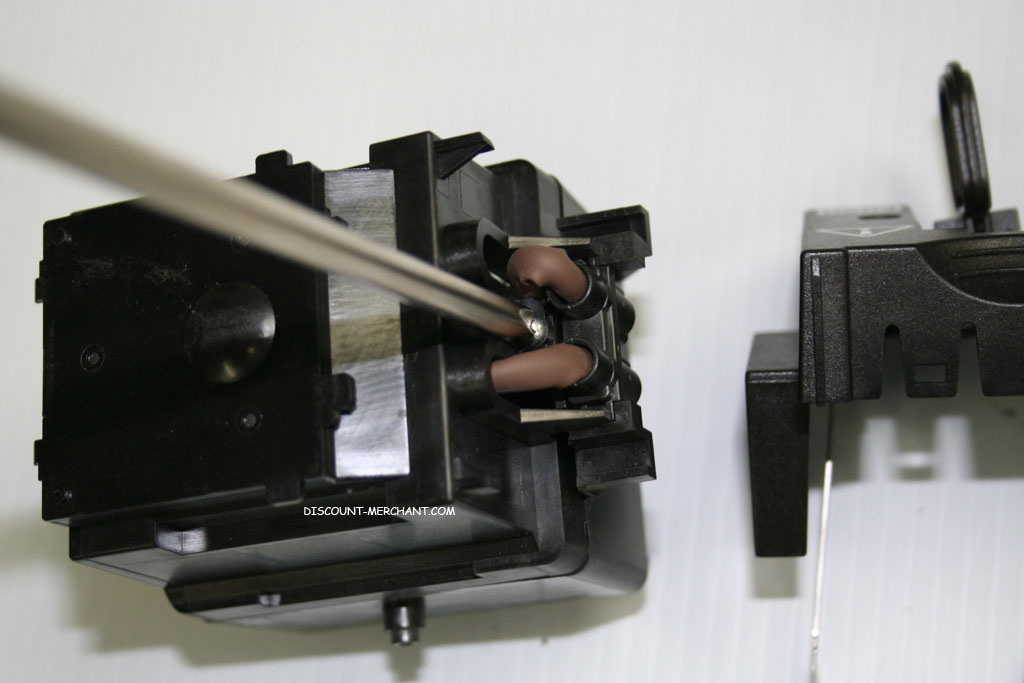
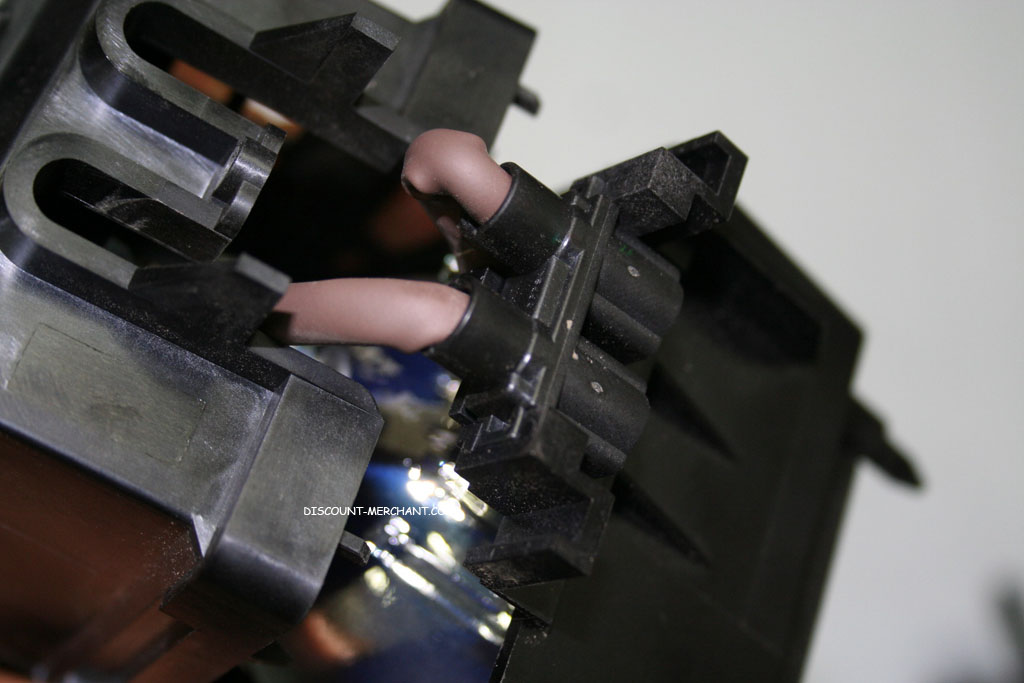
Now lets change the connectors by unscrewing the philips head screw first… Remember the position on which angle the cable was screwed in and try to duplicate it when you put it back on the new lamp…
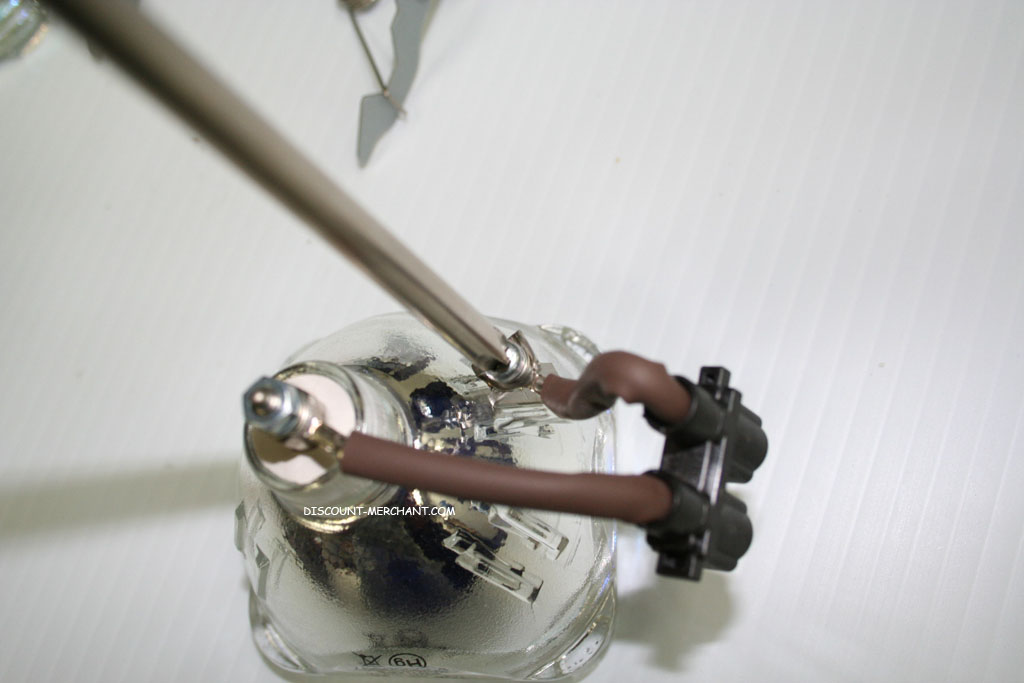
Unscrew the nut holding down the other cable using your pliers and pull off the connector… Again, try to remember the angle so we don’t have to make adjustments later…
Now it’s re-assembly time! Let’s screw in the terminals on the new lamp!

NOTE: Be careful when screwing-in the side connector on to your new lamp. It’s best to hand torque as this one as it is very sensitive and might break with a lot of torque.
Remember not over tighten these connectors. Afterwards, slide the lamp into the enclosure so that the connector lines up in its approperiate place…
Place the new lamp into the enclosure and screw the clips back on
 IMG_9233.JPG
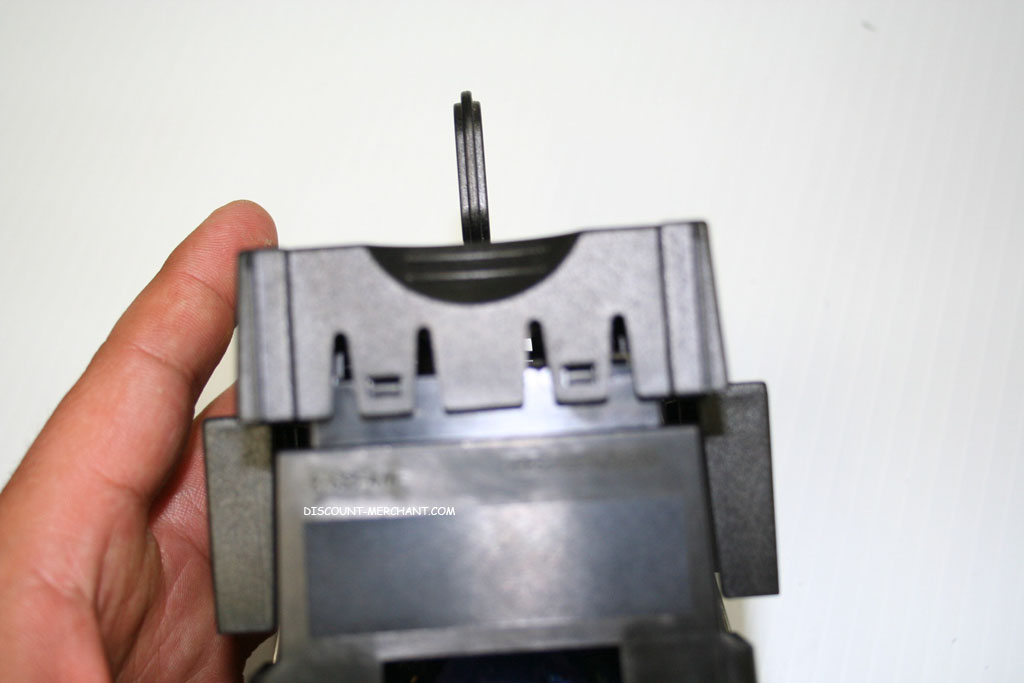
Reseat the connector and put the plastic cover back on… Remember to put the side farthest from the connector into the plastic clips, then tilt forward the connector side as shown in the 2nd photo below…

Now screw in the screw on top of the connector…

Here comes the hard part… We are going to try to re-fit the spring we removed earlier… Do you see the notch in the metal clip shown in the center of this next photo?
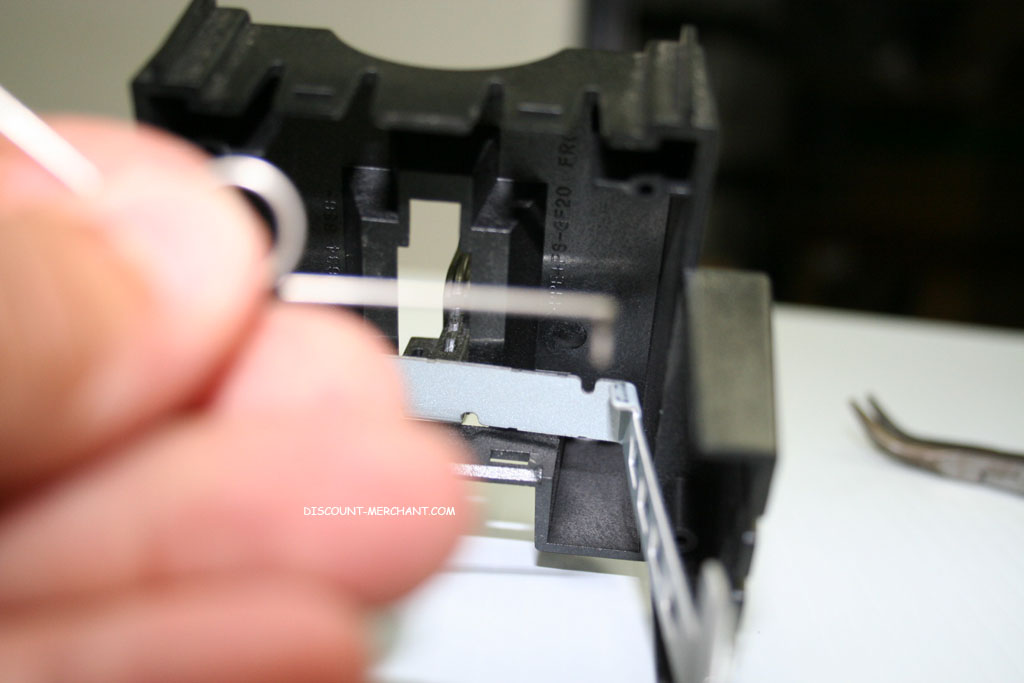
That is where you will place the double-bent end of the spring as show here…
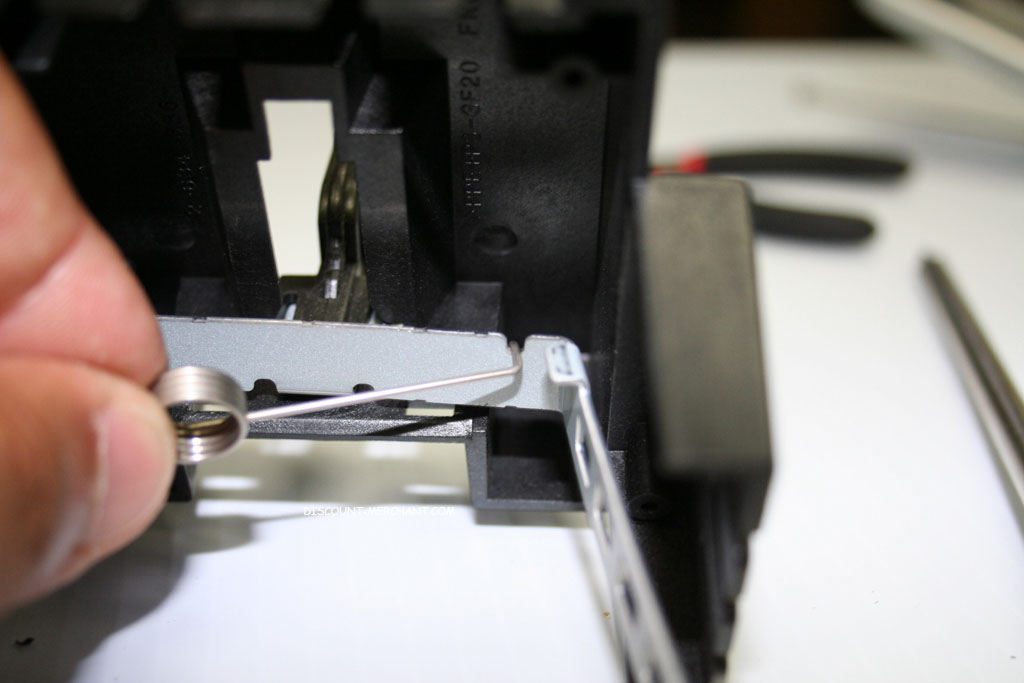
Now you need to fold the spring slightly (be careful not to let is slip and hit you in the eye!)… And now we place the single-bend side of the spring into the little hole it came out of… At the same time be shure that the plastic top part’s back end is fitting nicely where it belongs (in the plastic prongs)… and then just press down slightly to get the front end shown in this next photo to “clip in”…
NOTE: If you happen to break on of the clips, don’t throw away the casing.. you can always use high-heat JB-Weld or JB-KWIK to glue the enclosure back together… Hey it happens!
Now… place the sides of the metal clip back into place and get ready to screw them in..
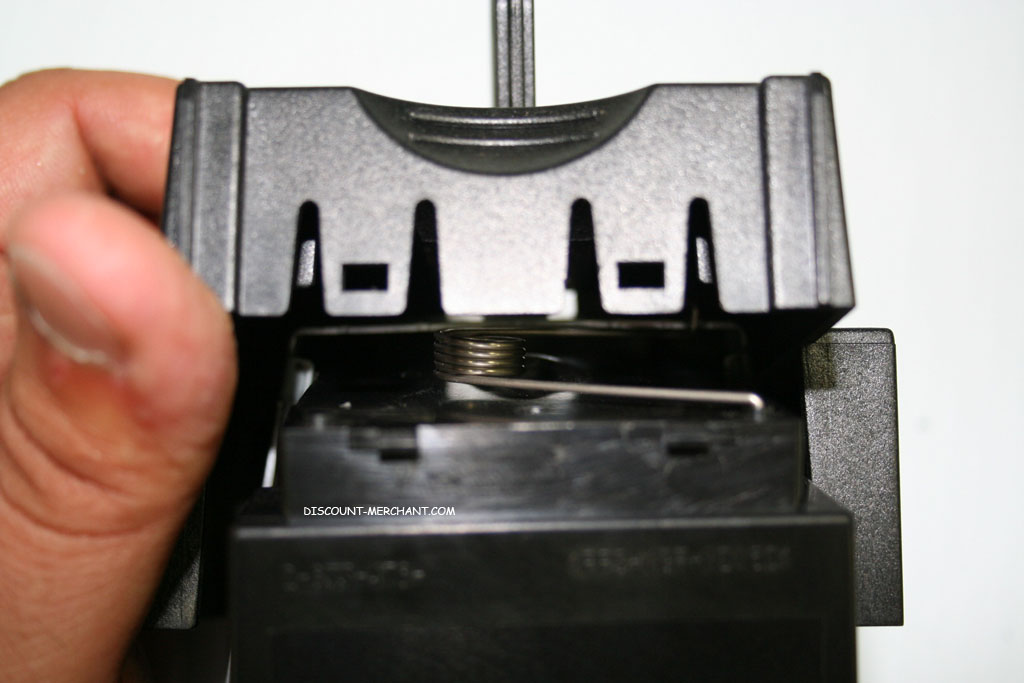
YOU’RE ALL DONE! Test out the spring loaded handle to make sure it moves back and forth completely…
If it doesn’t, you need to re-open the top part and try to place the spring back again…
Now that wasn’t too hard was it?
IMPORTANT: The bulb should be handled with a clean cloth at all times to avoid any dirt or oil. Our hands are naturally oily…this is a no-no for these lamps. It doesn’t hurt to do a final wipe with a clean, non-abrasive, lent free cloth before reinstalling your lamp…
Again, Discount-Merchant.com promises to be the low price leader in all Projection TV Lamps they carry…if this is not true, let us know and we’ll fix it!
Here are a few additional pictures!
Good job on the procedure. I have one issue though since the replacement. I have a greenish tint to all Picture modes and can not adjust it out Vivid, Pro and Standard picture modes can be adjusted but not completely out of the greenish tint. HD programs are not quite as bad as the standard definition. Tried modifying the Hue, Color, Tint, Contrast, Brightness, you name it could it possibly be a breakin period for the lamp? Any hidden service modes that need to be accessed? Please assist if possible as my wife is getting on my case. Thanks.
Nice blog…
Thanks.
Regarding the above site to order the bulb, discount merchant.com. It is $139.00
but it says out of stock. When I called to see when they will get them in I was told that they had a lot problems woith the Phillips bulb and they didn’t think they would be restocking this bulb.
It would be great if you could point me to another site where they will have the correct bulb for the XBR1 at this low cost.
Gene
Called Discount Merchant back and asked if they have a replacement. They said no, not at this time and referred me to purchase one from Sony till they decide on a replacement.
First, I would like to thank FIXYOURDPL for providing this DIY service.
I would like to suggest a slight change to the procedure. It is not necessary to fuss around with the lamp-cage spring as indicated in the above procedure. Just look carefully at the spring-loaded handle and you will notice that the handle is removeable. Just carefully spread the ears on the black plastic and you can remove the black handle from the metal U-clamp. You can then easily replace the spring and screw the metal clamp in place. Now all you do is push the lever end (minus the black plastic lever handle) through the last enclosure piece, push the black plastic handle; voila.
Syber,
These lamps are back in stock on Discount-Merchant.com! Here’s a direct link guys!
http://www.discount-merchant.com/p-112-sony-xl-5100-lamp-replacement-f-9308-760-0.aspx
It only looks like they have a few left though!
I changed the lamp successfully but my TV still does not work. The lamp was broken before I bought the new one but when I turn on the TV, it blinks green for a couple of seconds and then blinks red and does not turn on. Help.
We are having the same problem with our television. How did you fix yours?
What kind of T.V do you have?
A sony LCD projection television (model # KDF-E42A10)
Tengo un TOSHIBA 62” DLP al encenderlo y luego de pasado un poco de tiempo da imagen y un poco despues la lampara se apaga y observo que los ventiladores siguen funcionando, por supuesto no hay imagen.
Que podra estar fallando , agradesco cualquier comentario al respecto