Replacing Philips 915B403001 Lamp on your Mitsubishi DLP TV series C, 735, 736, 835
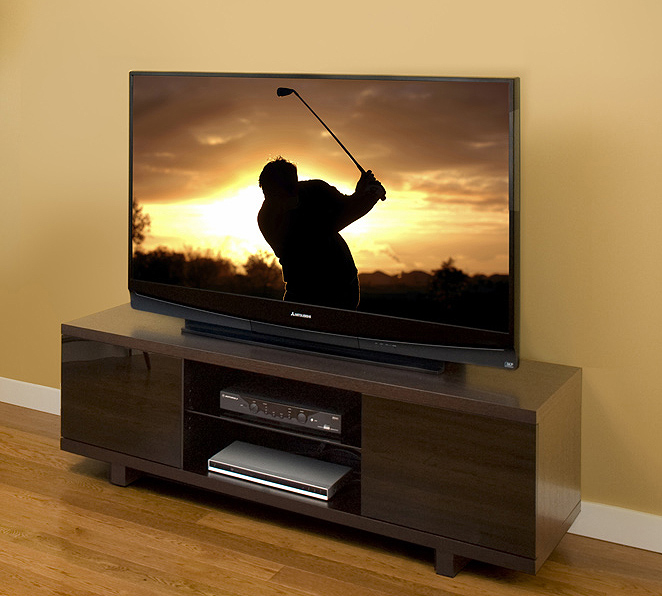
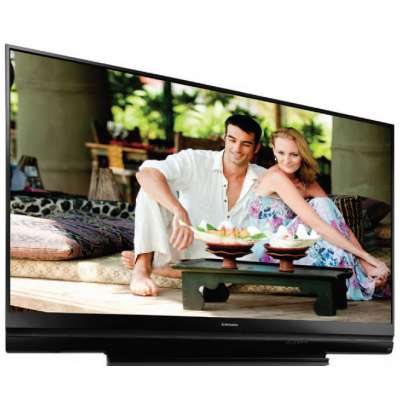
Mitsubishi WD-60735 TV
Step-by-Step Instructions for replacing the Philips Mitsubishi 915B403001 Lamp
When the picture on your Mitsubishi becomes dimmer it’s time to replace the lamp. You’ll need to purchase a Philips Mitsubishi 915B403001 lamp replacement.
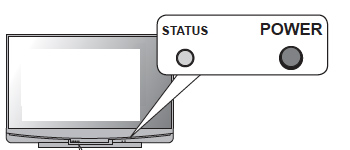
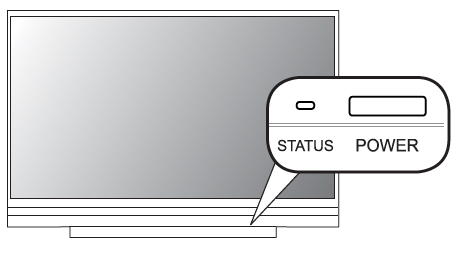
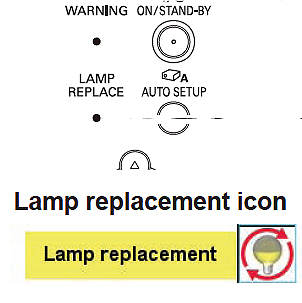
If you have a Mitsubishi series WD-60735, WD-60C8, WD-65735, WD-65736, WD-65835, WD-65C8, WD-73735, WD-73736, WD-73835, WD-73C8 there will be a Lamp Indicator on the front panel just left of the Power button. 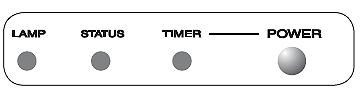
When the TV is operating normally, this indicator will not be lit. When it turns RED, the Mitsubishi 915B403001 has reached its end of life and must be replaced immediately; the TV will not operate with a burnt out lamp since this is the TV’s only light source.
The life of the Mitsubishi 915B403001 lamp can vary depending on the selected lamp mode and how much the TV is used. The original lamp is guaranteed from one year from the date of original purchase.
Before Installation
Be sure to purchase a genuine Mitsubishi 915B403001 Lamp Cartridge (this includes the housing as well as the bulb) either directly from the manufacturer or from an authorized dealer. Cheaper models may damage your set since these are often created with counterfeit, inferior parts that will not fit or perform properly. Your warranty may also be void if you install a lamp bought from an unauthorized source.
The Philips Mitsubishi 915B403001 Lamp is the recommend cartridge for all Mitsubishi series WD-60735, WD-60C8, WD-65735, WD-65736, WD-65835, WD-65C8, WD-73735, WD-73736, WD-73835, WD-73C8 televisions.
For an environmentally friendly and more economical option, you can also just purchase the bare lamp that allows you to re-use the existing housing by swapping the old bulb for the new one. Read more in our Lamp Replacement Guide.
Replacing the Philips Mitsubishi 915B403001 Lamp
CAUTION: Burn Danger! Allow the T.V. to cool for one hour before replacing the lamp. Avoid touching the lamp or lamp cartridge. Use the lamp handles only to remove the lamp.
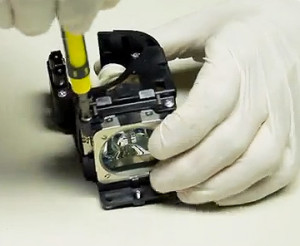
HELPFUL TIP: Use a pair of rubber gloves during installation. The Philips Mitsubishi 915B403001 Lamp lamps does contain mercury, which may end up on your skin. Don’t touch the lamp glass with bare hands as the oil form your fingers may cause premature lamp failure.
PART ONE: Removing the Old Philips Mitsubishi 915B403001 Lamp Cartridge
- Turn off the TV and allow it to cool for one hour.
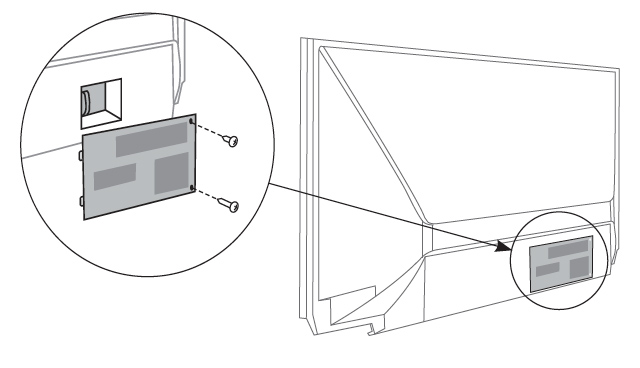
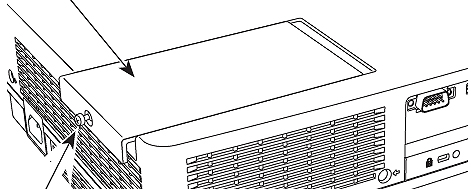
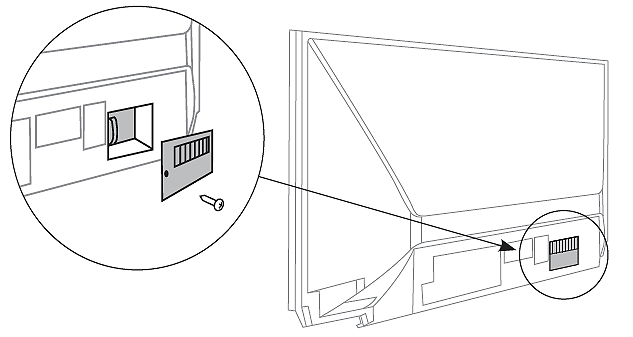
- After TV has cooled, remove the cover of the lamp compartment, located at the back of the TV. Using a #2 Philips screwdriver, loosen the screw holding the cover in place. Put the cover to one side.
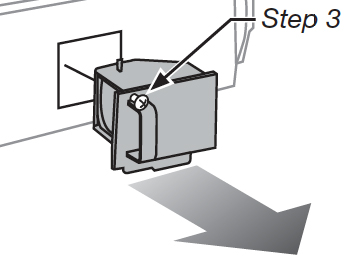
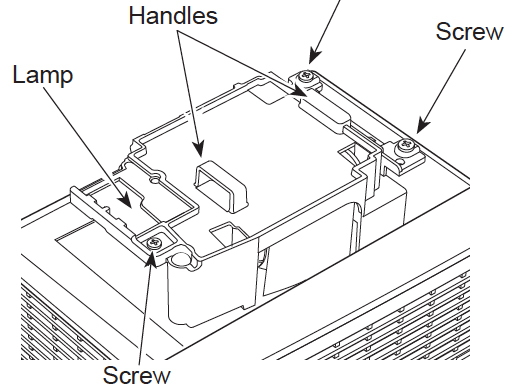
- Loosen the two screws on either side of the lamp cartridge (they are the shiniest screws). These screws can only be loosened and not removed completely from the lamp cartridge.
- Take out the bag supplied with your new lamp and open it up. You’ll store the old lamp in this bag.
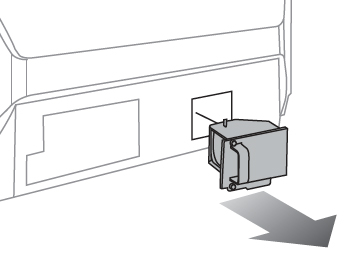
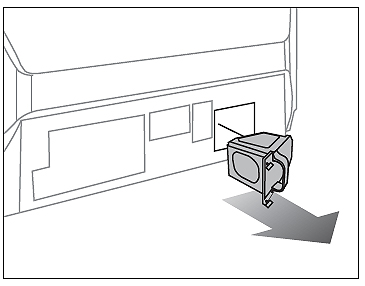
- Gently grasp the handle on the lamp cartridge and pull the lamp straight out. DO NOT TILT, as there may be glass fragments that will fall inside the TV. If this happens, carefully pick up the larger shards wearing rubber gloves. Take a cloth just damp enough to pick up the small shreds. It’s important to pick up the broken lamps since this lamps does have mercury. Read more about proper clean-up from the EPA.
- Put the old lamp gently into the opened bag. Close the bag.
PART TWO: Installing the New Philips Mitsubishi 915B403001 Lamp
- Using the lamp handle, carefully remove the new Philips Mitsubishi 915B403001 Lamp cartridge from the bag. DON’T TOUCH the glass parts of the lamp.
- Do a final wipe with a clean, non-abrasive, lint-free cloth to remove any possible dust. Insert the new cartridge into the TV without tilting the lamp. The lamp cartridge should slide in easily.
- Gently tighten the two shiny screws. AVOID OVER TIGHTENING as this will trigger a warning light and your TV will not turn on.
- Replace the plastic cover and tighten the one screw. Again, avoid over tightening.
- If you haven’t used gloves while changing the cartridge: WASH YOUR HANDS immediately. If you did use gloves, dispose of them immediately
PART THREE: Disposal of the used Philips Mitsubishi 915B403001 lamp cartridge
- The old Philips Mitsubishi 915B403001 Lamp is e-waste because of the mercury inside the bulb. DON’T THROW IT AWAY into the common garbage. Recycle correctly according to regulations in your area. These lamps contain mercury and should not be included in regular garbage.
- Contact your local recycling center or Recycle Your Lamp.org for help in recycling your old lamp.
PART FOUR: Setting the lamp mode
You can prolong the life of your Philips Mitsubishi 915B403001 lamp by changing the lamp mode. 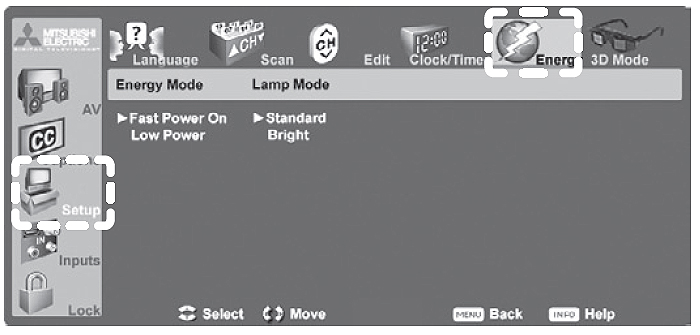
- Using the TV remote press MENU.
- Scroll down to pick the SET UP menu. A top menu will appear.
- Scroll across the top menu to the ENERGY option.
- Scroll down to the LAMP MODE option on the right hand side. You’ll have the choice of STANDARD or BRIGHT.
- The STANDARD option is suitable for most viewing conditions and since it uses a lower wattage can prolong the life of your lamp.
- BRIGHT mode is suitable for brightly lit rooms but uses more wattage and may reduce the life of your lamp. Using this mode makes the TV hotter and he fan may turn on more frequently.
Mitsubishi TVs Compatible with the Philips Mitsubishi 915B403001 Lamp
C Series: WD-60C8, WD-65C8, WD-73C8
735 Series:WD-60735, WD-65735, WD-73735736
736 Series:WD-65736, WD-73736
835 Series: WD-65835, WD-73835
C9 Series: WD-60C9, WD-65C9, WD-73C9
737 Series: WD-60737, WD-65737, WD-73737, WD-82737
837 Series: WD-65837, WD-73837, WD-82837