Replace the BenQ MP512 projector lamp in 3 easy steps
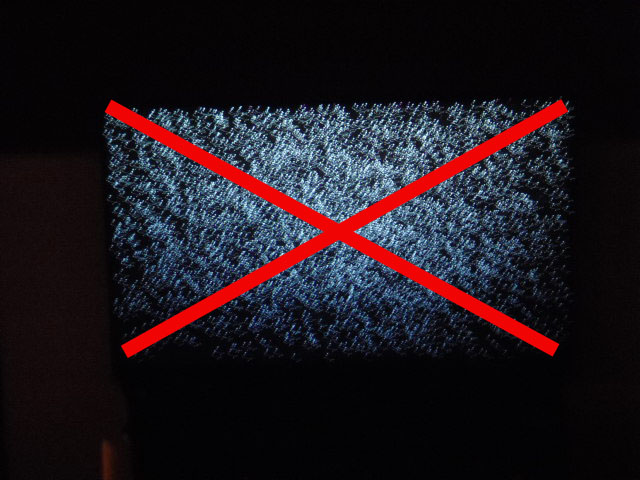
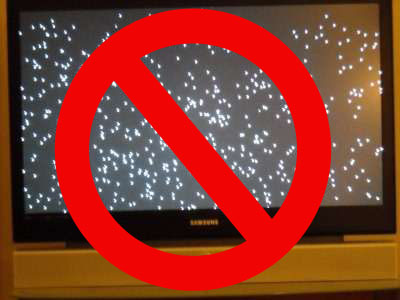
 If you notice poor picture quality with colors that are not accurate or a dim screen on your BenQ MP512, then it’s time to replace your BenQ 9E.Y1301.001 projector lamp.
When the BenQ 9E.Y1301.001 projector lamp needs to be replaced warning messages will appear on the BenQ MP512 projector screen. The Lamp indicator will also light red letting you know it’s time to replace the BenQ 9E.Y1301.001 projector lamp.
Replace the BenQ MP512 projector lamp in 3 easy steps
Step One: Know when to replace
You can expect up to 400o hours of use from the BenQ 9E.Y1301.001 before it needs to be replaced. Watch for the warning messages.
Warning Messages
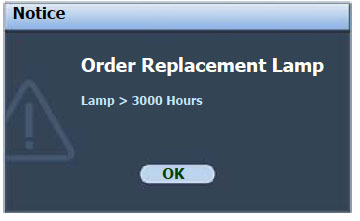
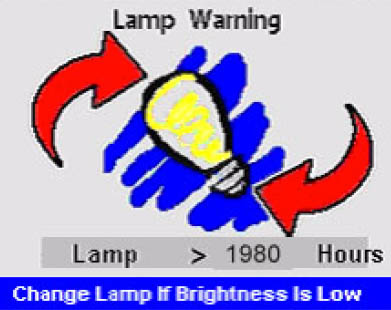
Warning 1: The BenQ 9E.Y1301.001 lamp has been in operation for 3000 hours. Install a new BenQ 9E.Y1301.001 lamp for optimal performance as soon as possible. If you have set the projector to run in Economic Mode, you can operate the projector with the current lamp until the 3950 hour lamp warning screen appears.
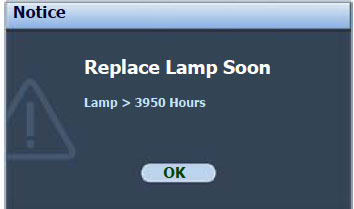
Warning 2: The BenQ 9E.Y1301.001 lamp has been in operation for 3950 hours and is approaching end of life. A new BenQ 9E.Y1301.001 lamp should be fitted immediately. Scroll down for how-to instructions on replacing the BenQ 9E.Y1301.001 lamp.
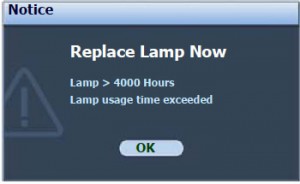
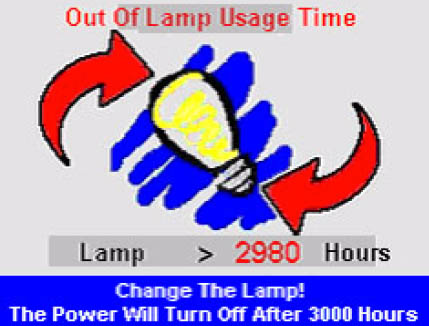
Warning 3: The BenQ 9E.Y1301.001 lamp has been in operation for 4000 hours and is approaching the end of its life. Replace the BenQ 9E.Y1301.001 lamp immediately if you notice the brightness level have diminished even before reaching hour 4000. When you see this screen warning you must replace the BenQ 9E.Y1301.001 lamp immediately.
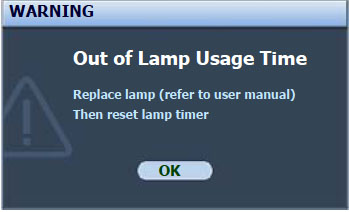
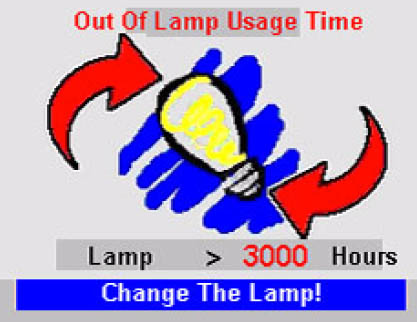
Final Warning: Time is up! The BenQ 9E.Y1301.001 lamp is no longer functioning and must be replaced immediately in order for the BenQ MP512 projector to operate normally.
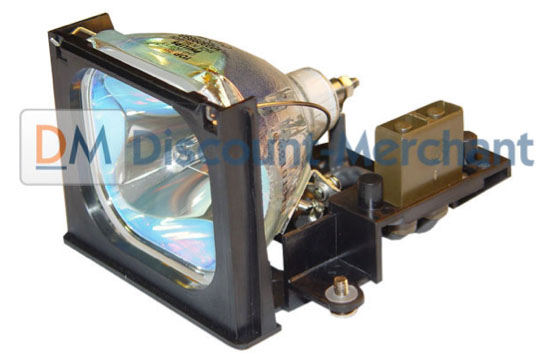
Step 2: Buy authentic BenQ 9E.Y1301.001 lamps
The Internet has been flooded with companies selling projector lamps. Many advertised their lamps as “generic and compatible” — a euphemism for a knock-off, copycat technology that produces an inferior and dangerous product. Don’t believe the cheap prices you see as there are hidden costs to installing generic lamps.
You get what you pay for and in the case of generic lamps it’s usually a long list of problems. Generic lamps look like a great bargain but these knock-off lamps are created with inferior materials making them susceptible to explosions when installed and they can damage the sensitive components in your BenQ MP512 projector. They’ve been created using toxic substances such as Krypton-85 (which is carcinogenic to humans). “Compatible” lamps also have a shorter life span so can actually cost more money in the long run.
Buying authentic guarantees a projector lamp created with genuine, non-hazardous materials by the original manufacturer. These lamps come with money-back guarantee and keeps your warranty entact. It’s worth the few extra dollars to eliminate potential problems and have a lamp built to work properly with your BenQ MP624 sensitive mechanisms. Learn more about spotting dangerous projector lamps by reading our article: 7 tips for spotting counterfeits.
Buy an authentic BenQ 9E.Y1301.001 projector lamp and save yourself unnecessary headaches.
Looking for a less expensive but more environmentally friendly option? Want more information? Watch our step-by-step video on replacing just the BenQ 9E.Y1301.001 projector bulb instead of the entire lamp housing.
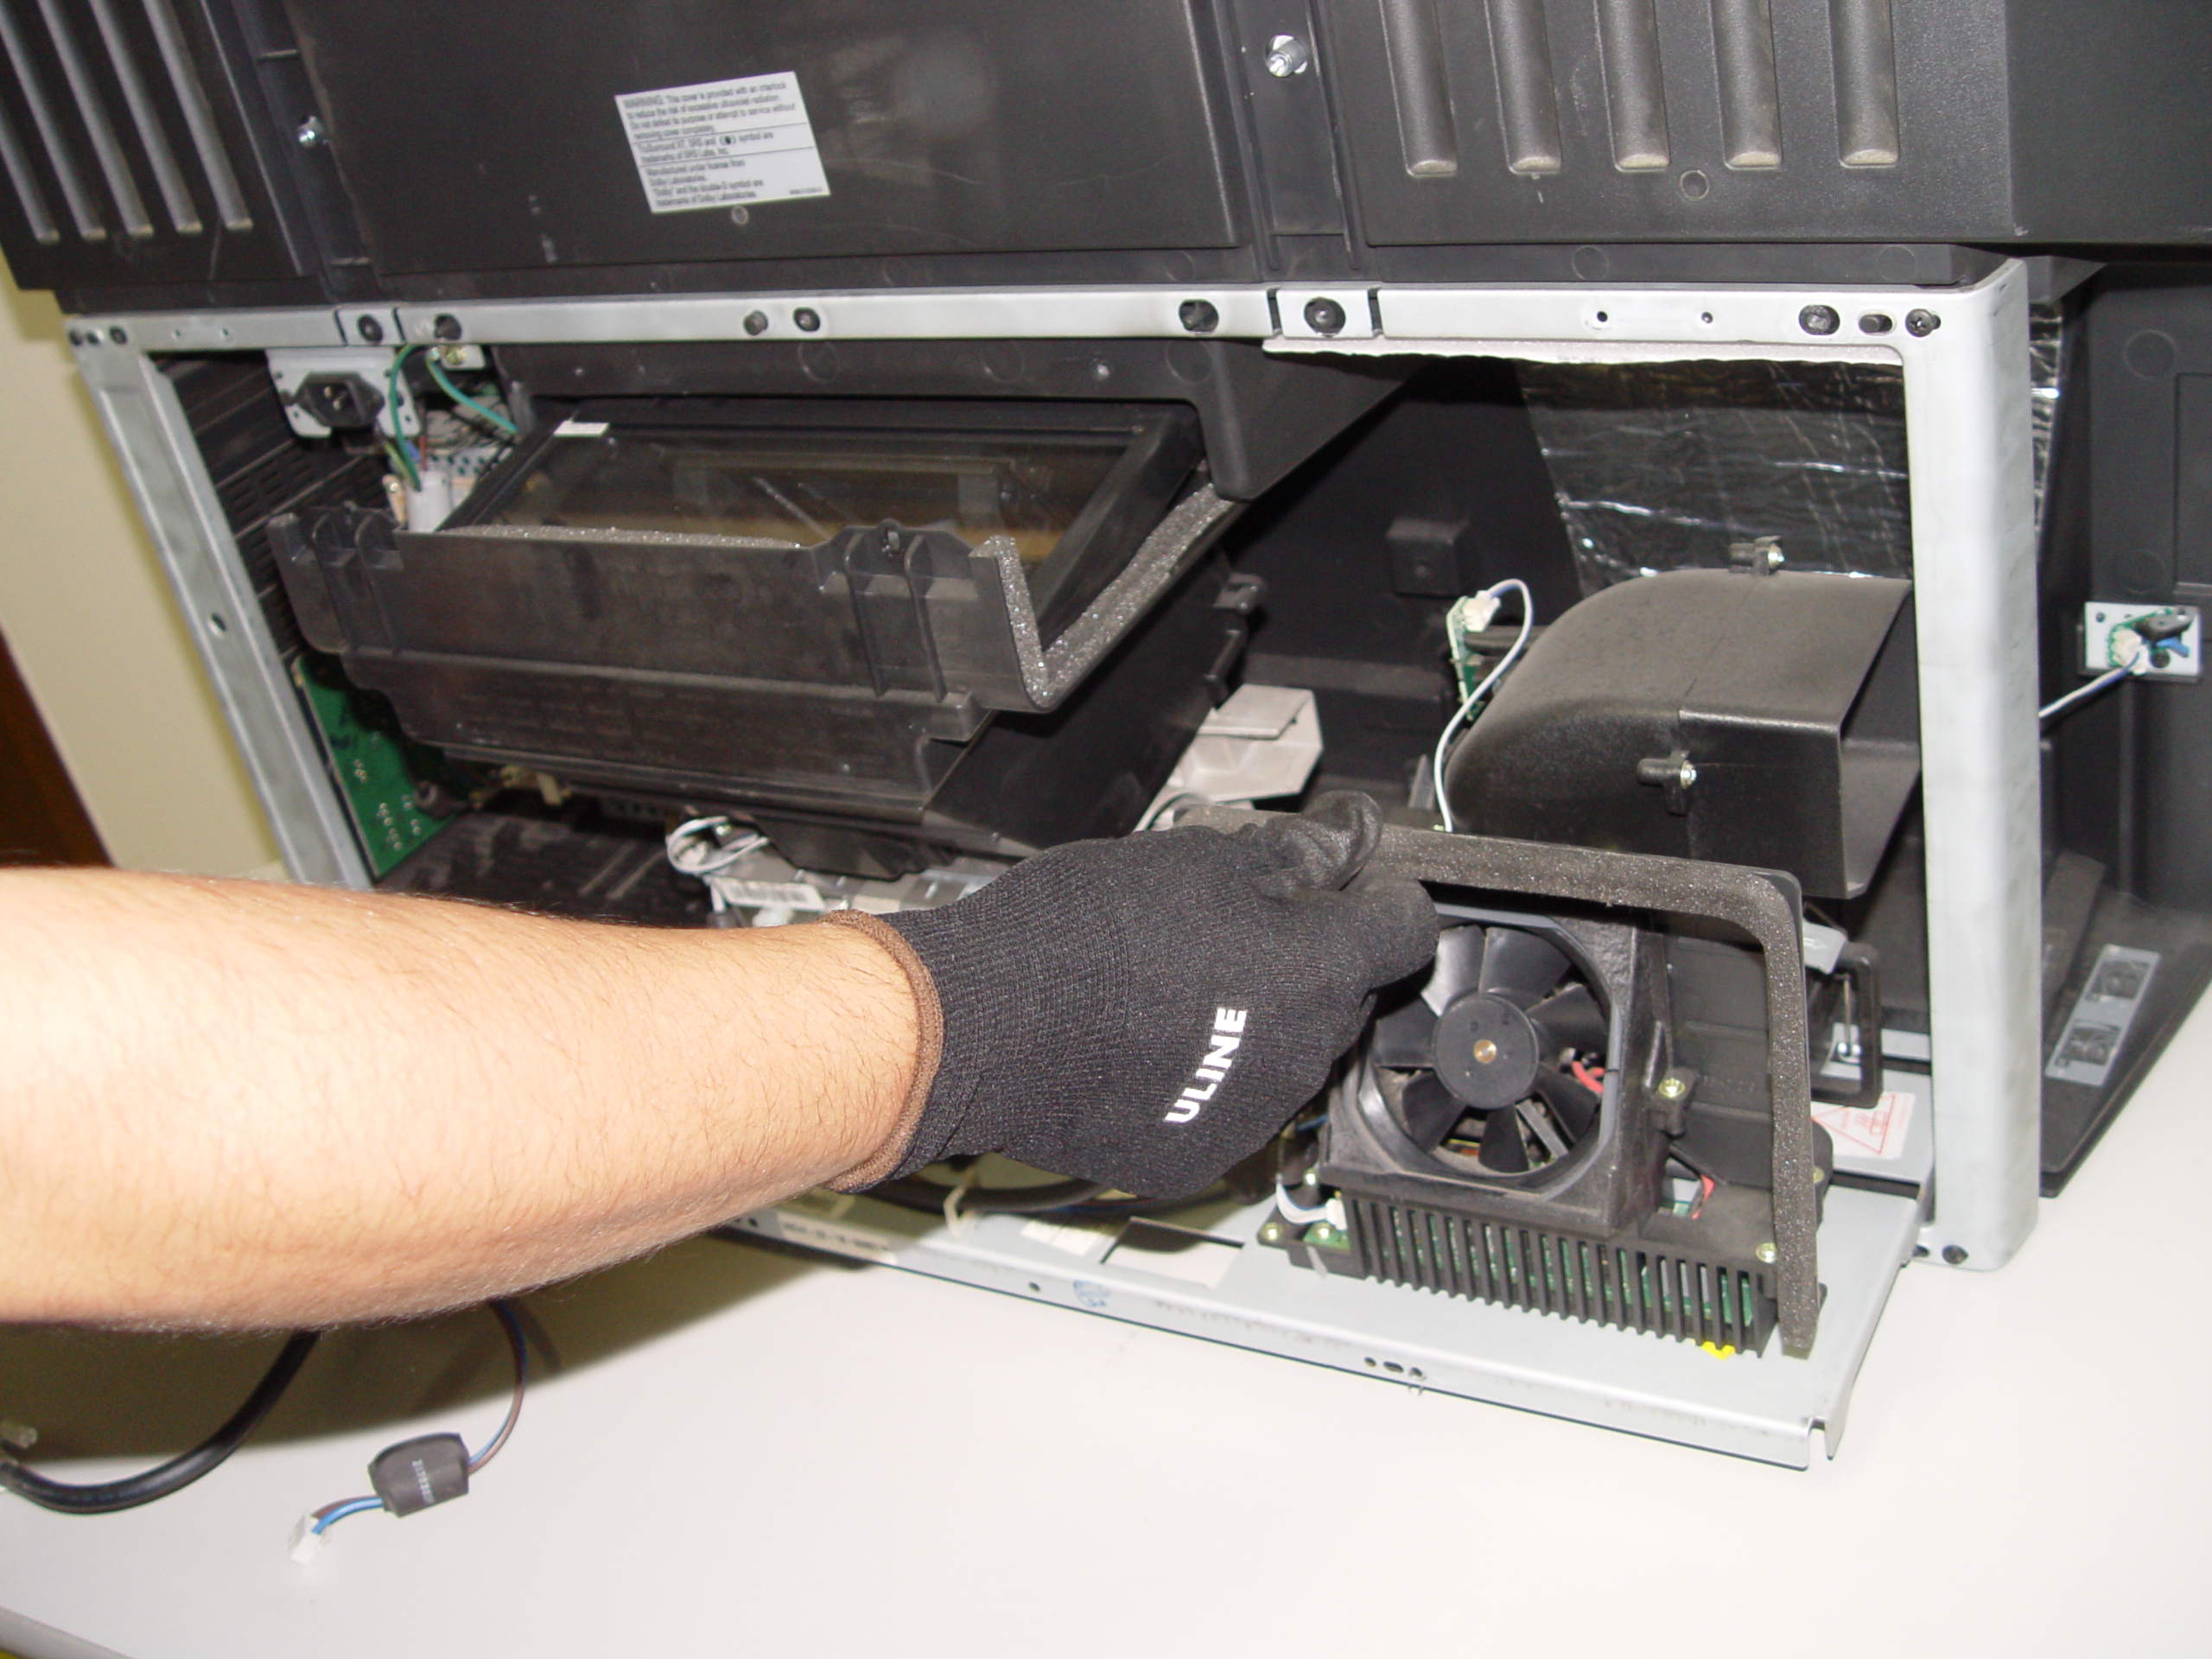
Step 3: Install a new BenQ 9E.Y1301.001 lamp
Before changing the BenQ 9E.Y1301.001 lamp:
- Reduce the risk of electrical shock by disconnecting the power cord on the MP512 projector.
- Reduce the risk of severe burns by allowing the projector to cool for at least 45 minutes.
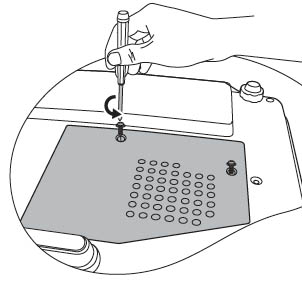
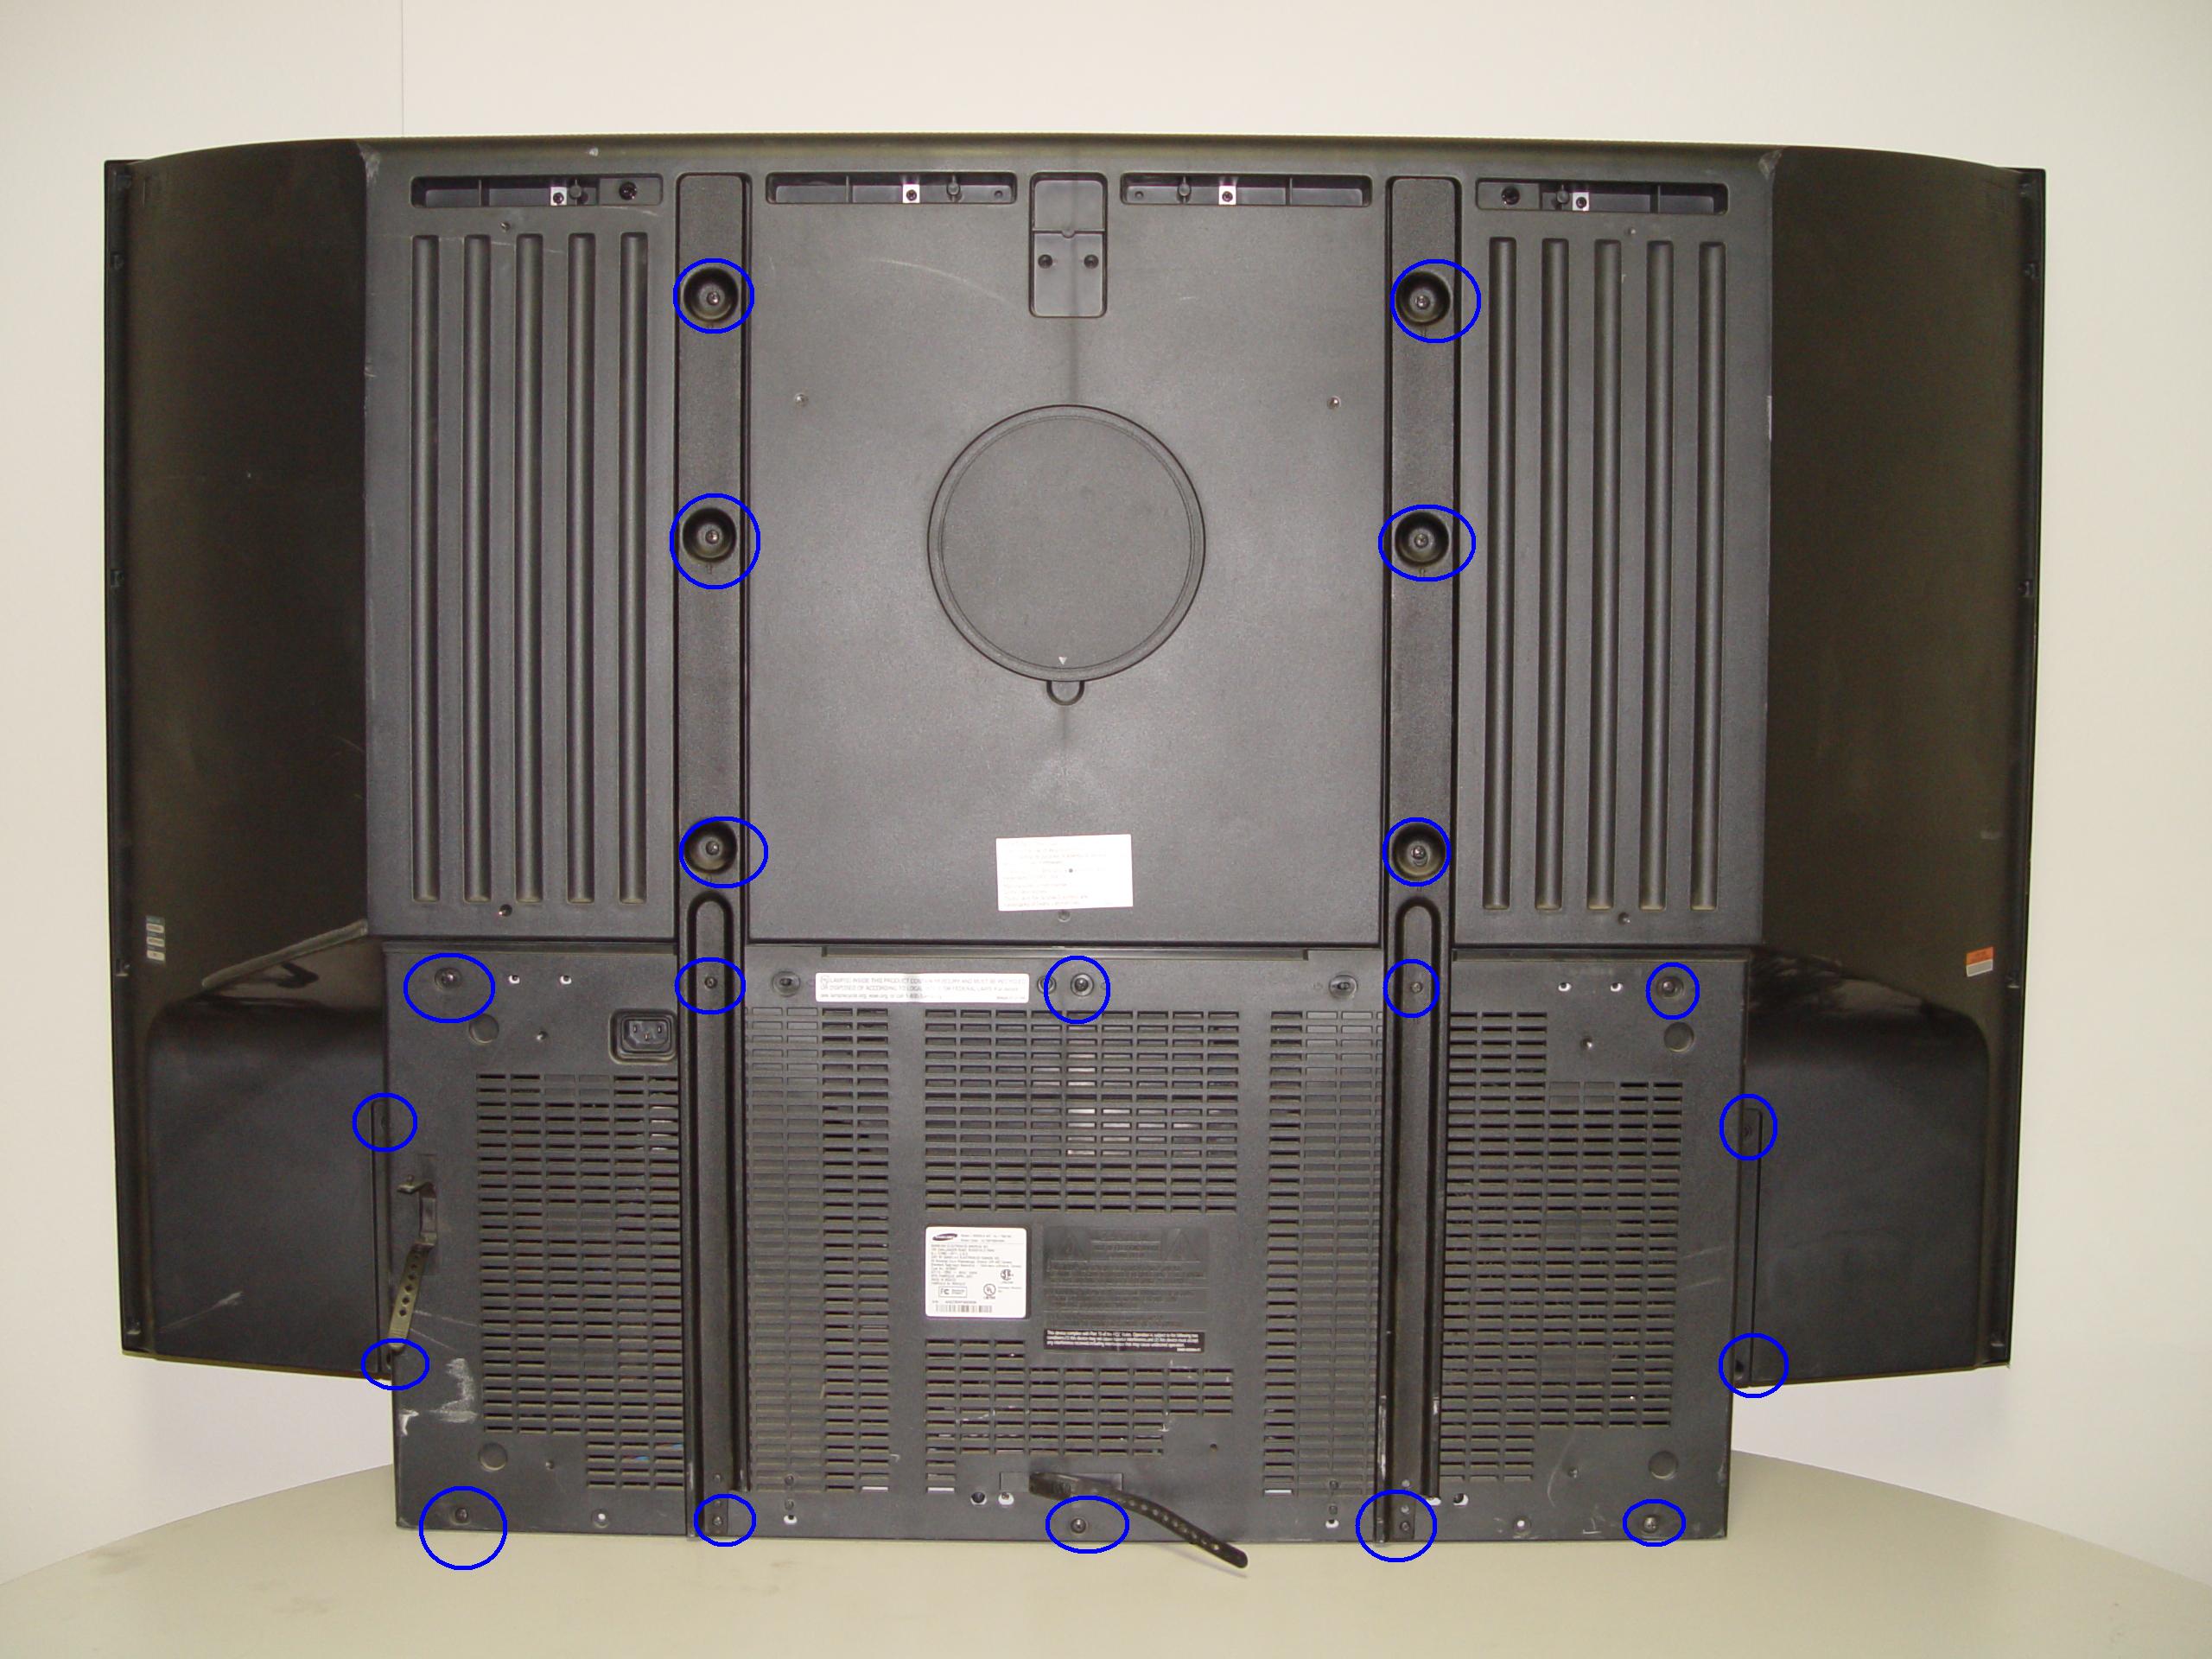
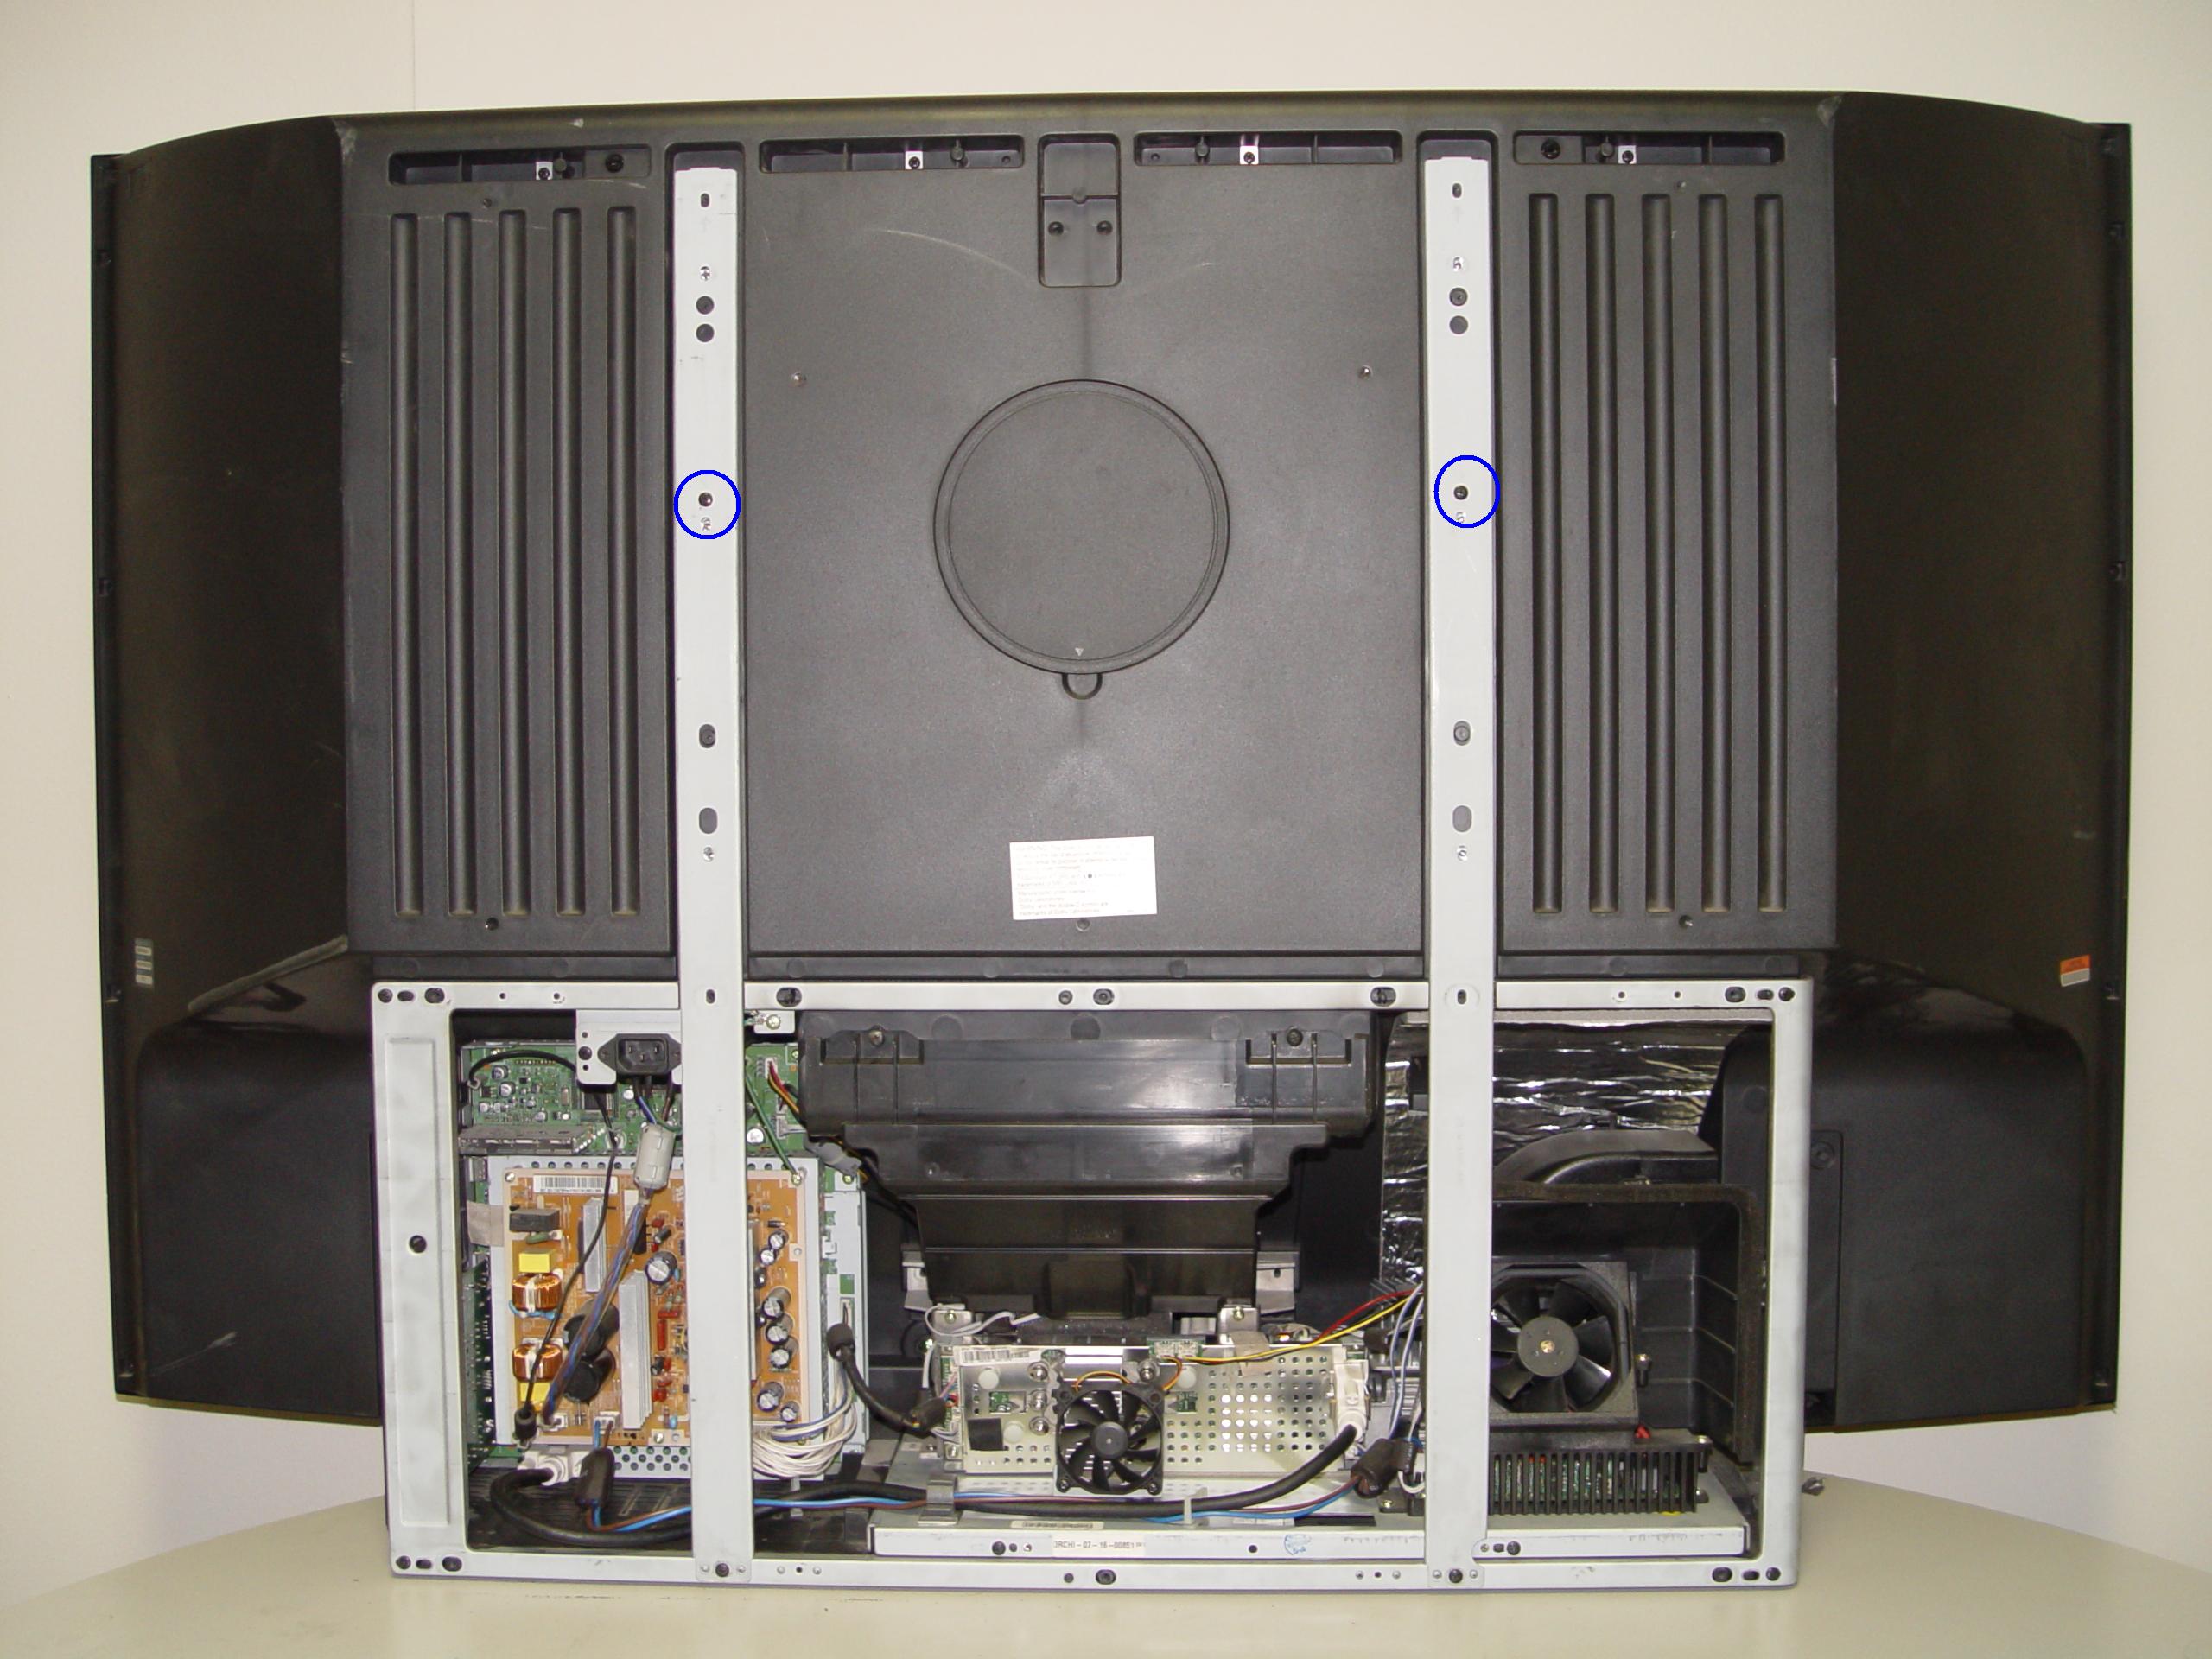
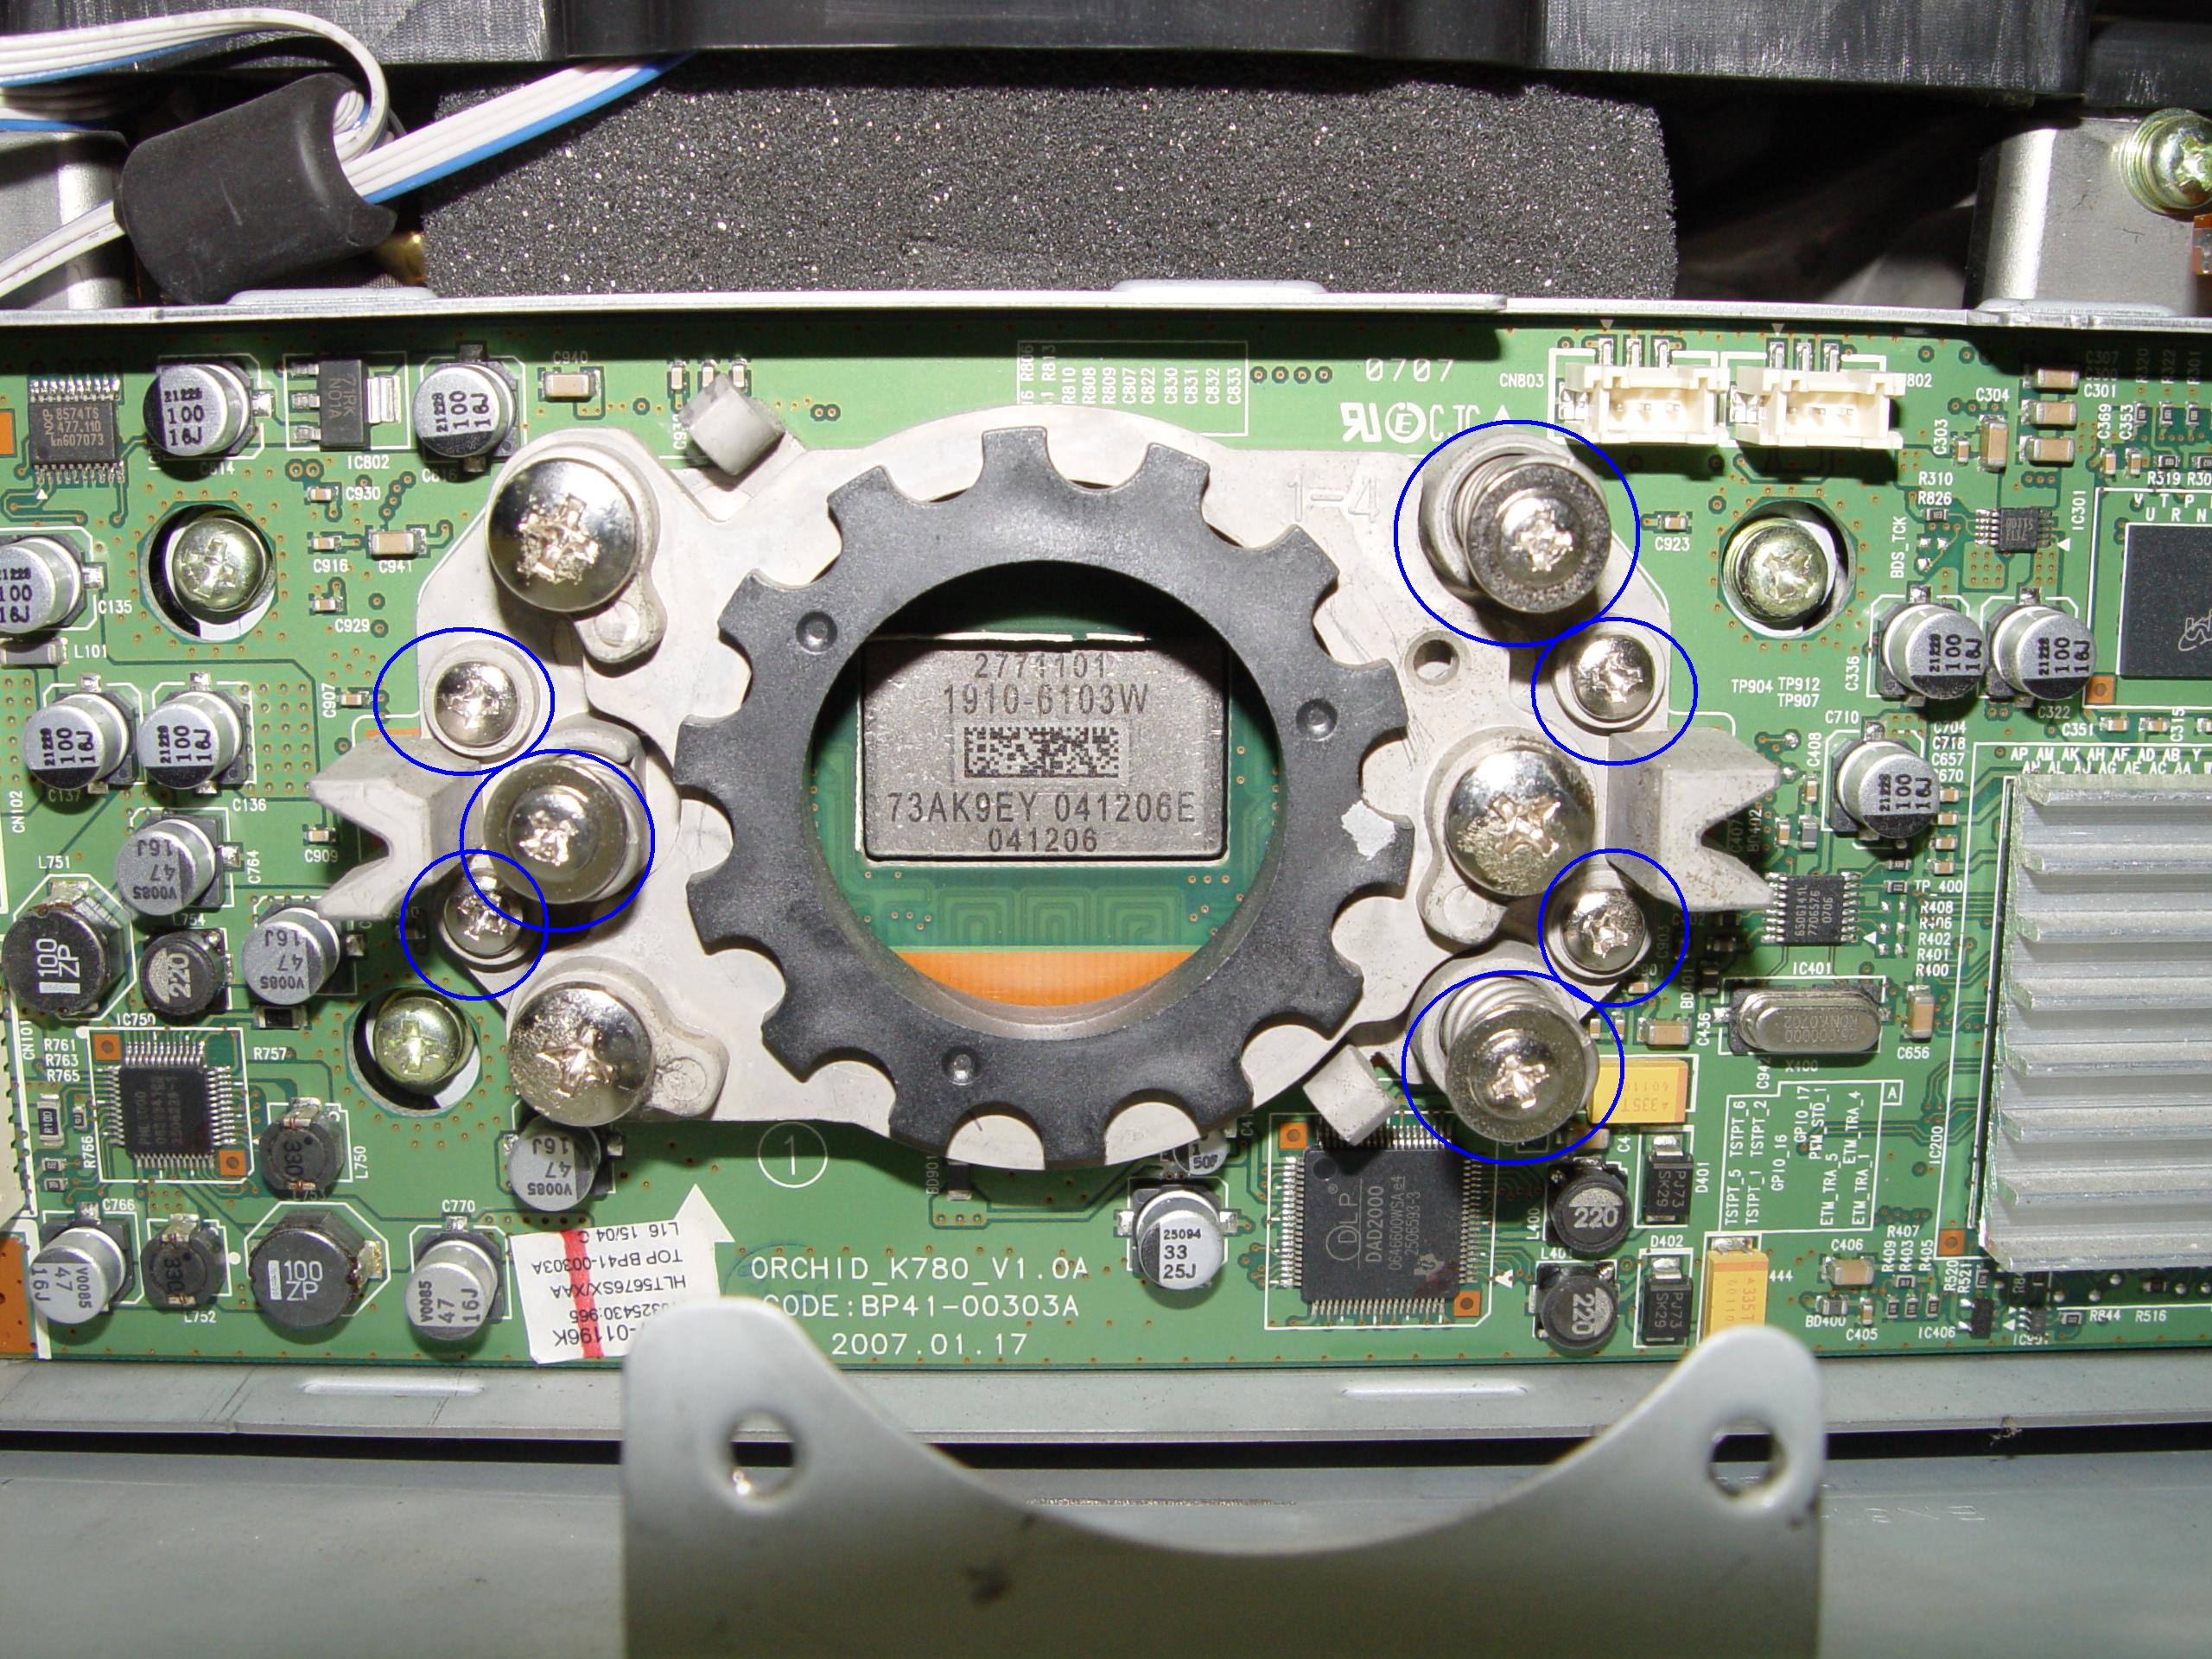
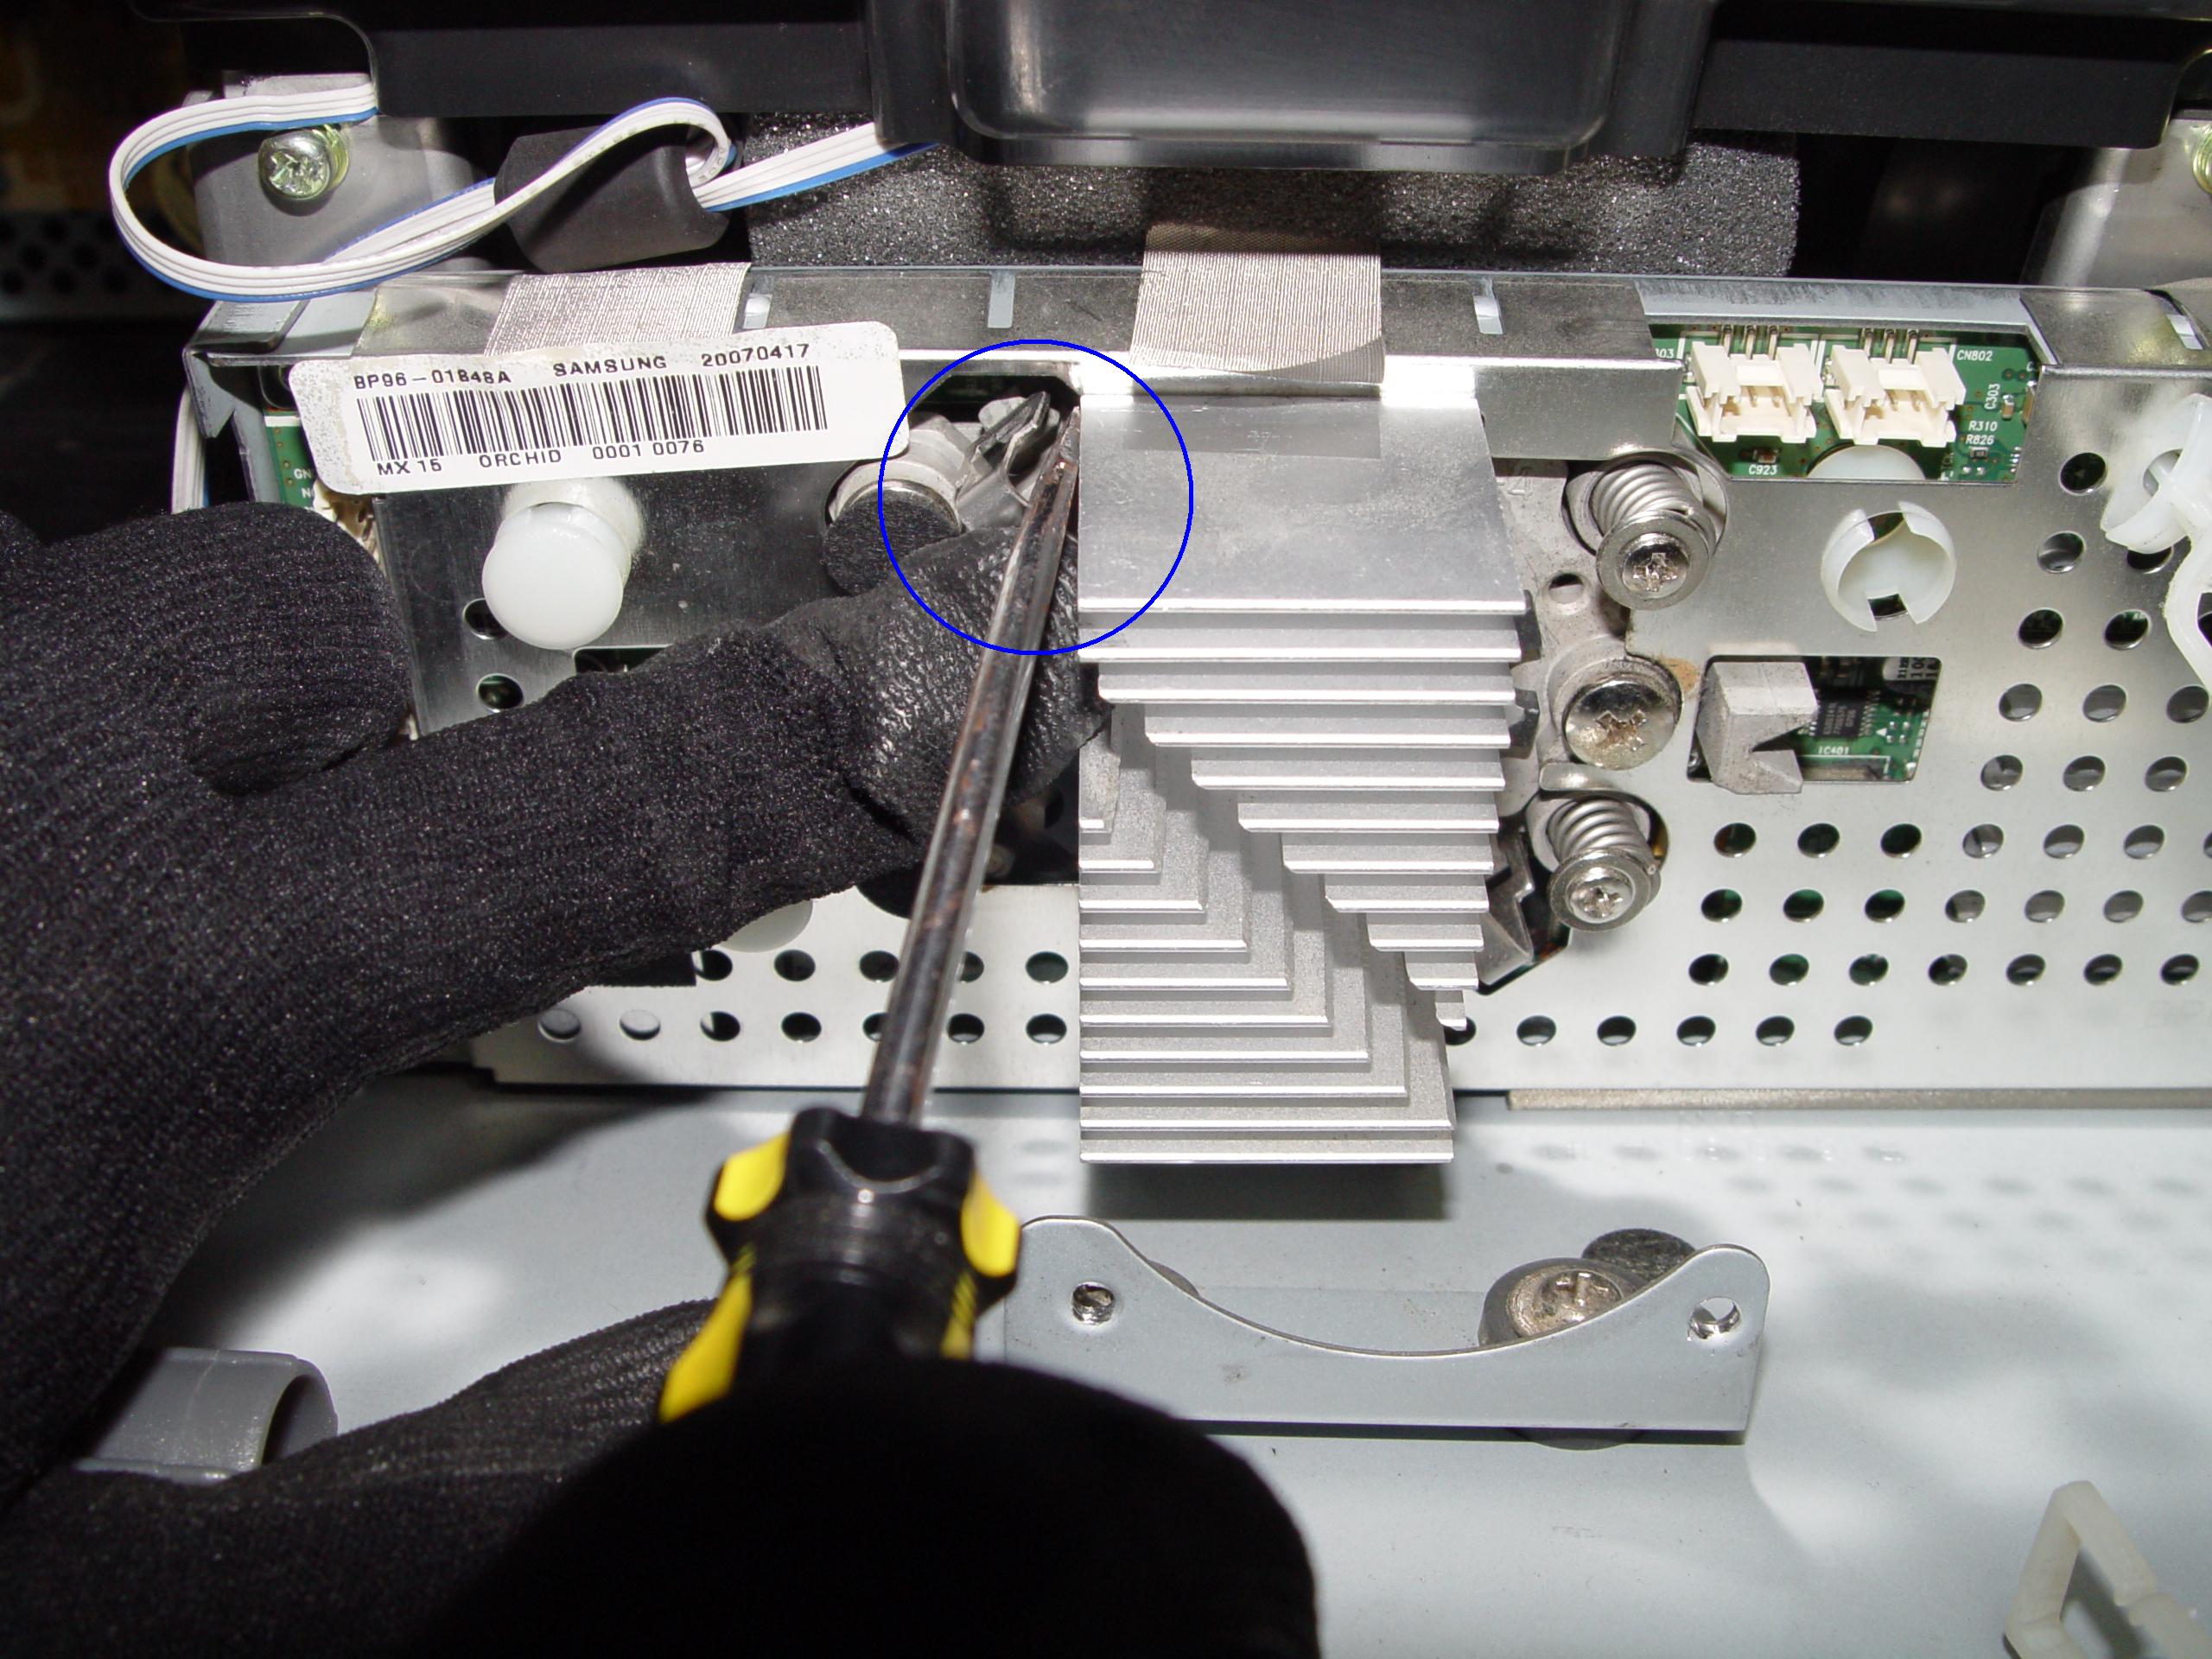
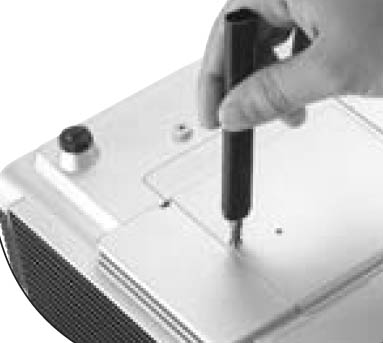
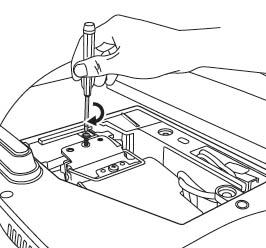
- The lamp cover is found on the bottom of the projector. Gently turn the projector over onto a soft surface Using a screwdriver, loosen the screw holding the BenQ MP512 lamp cover in place.
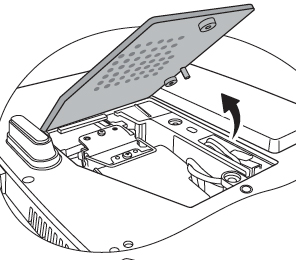
- Remove the lamp cover and place it to one side.

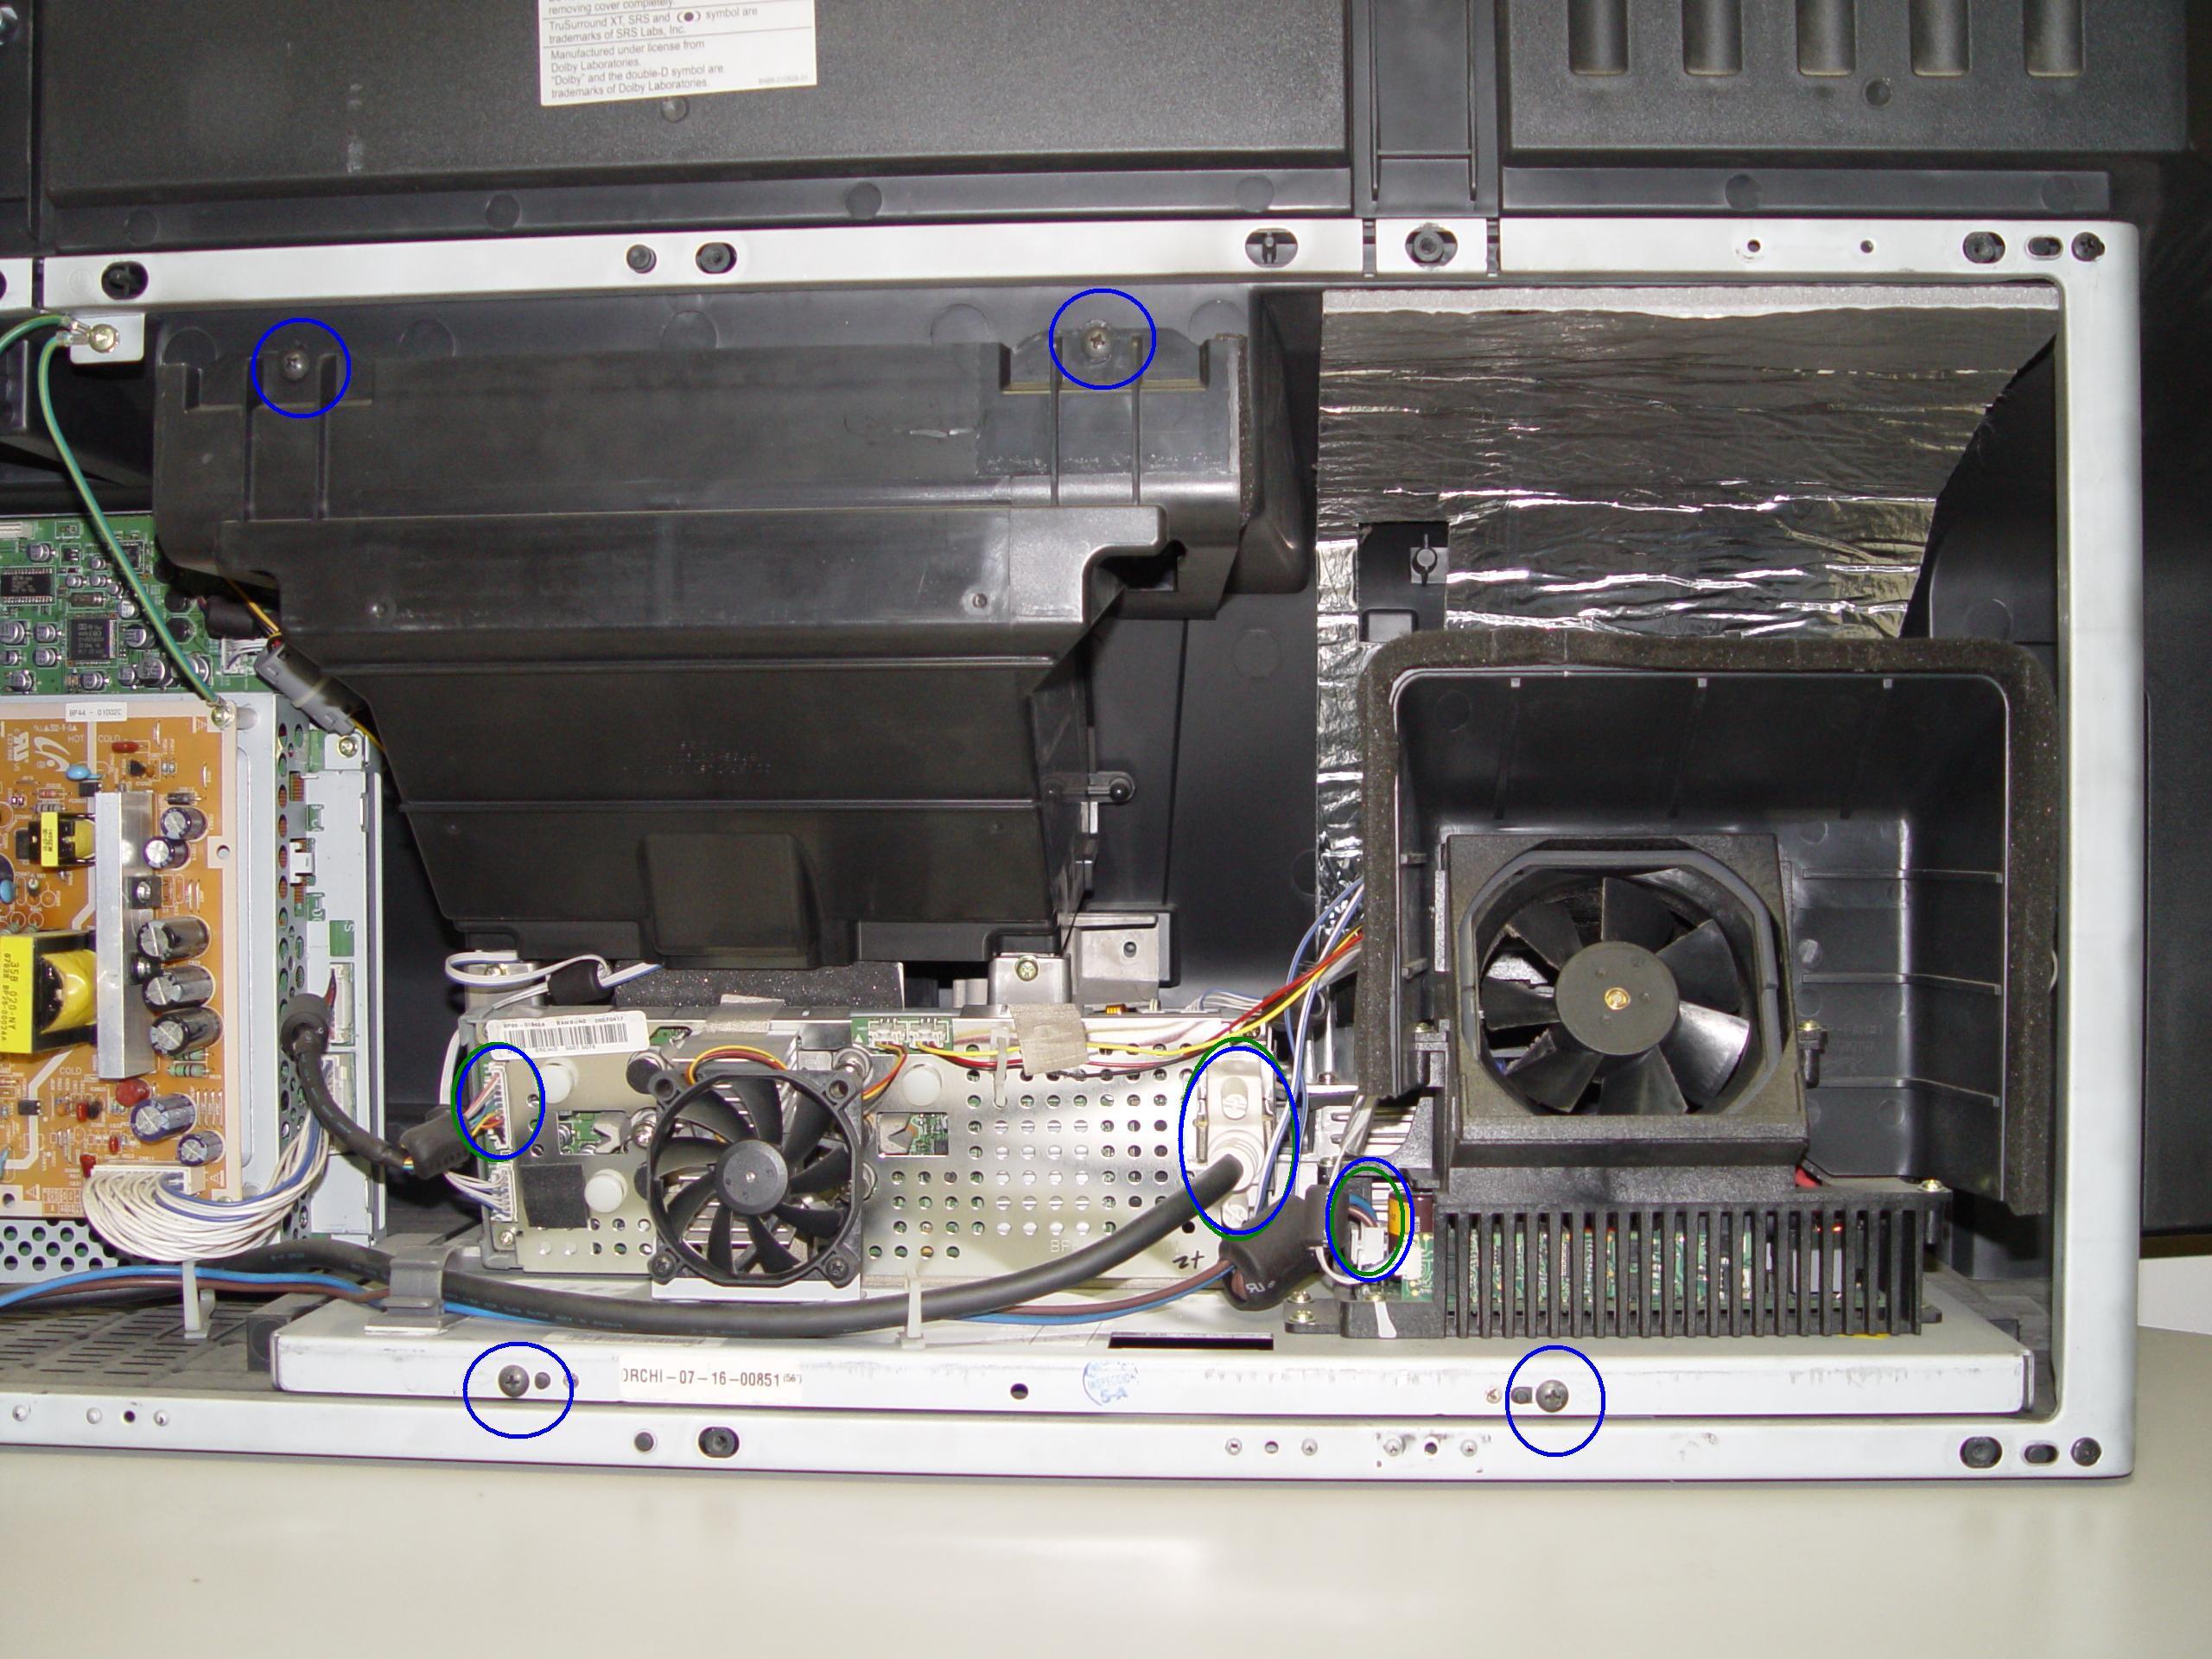
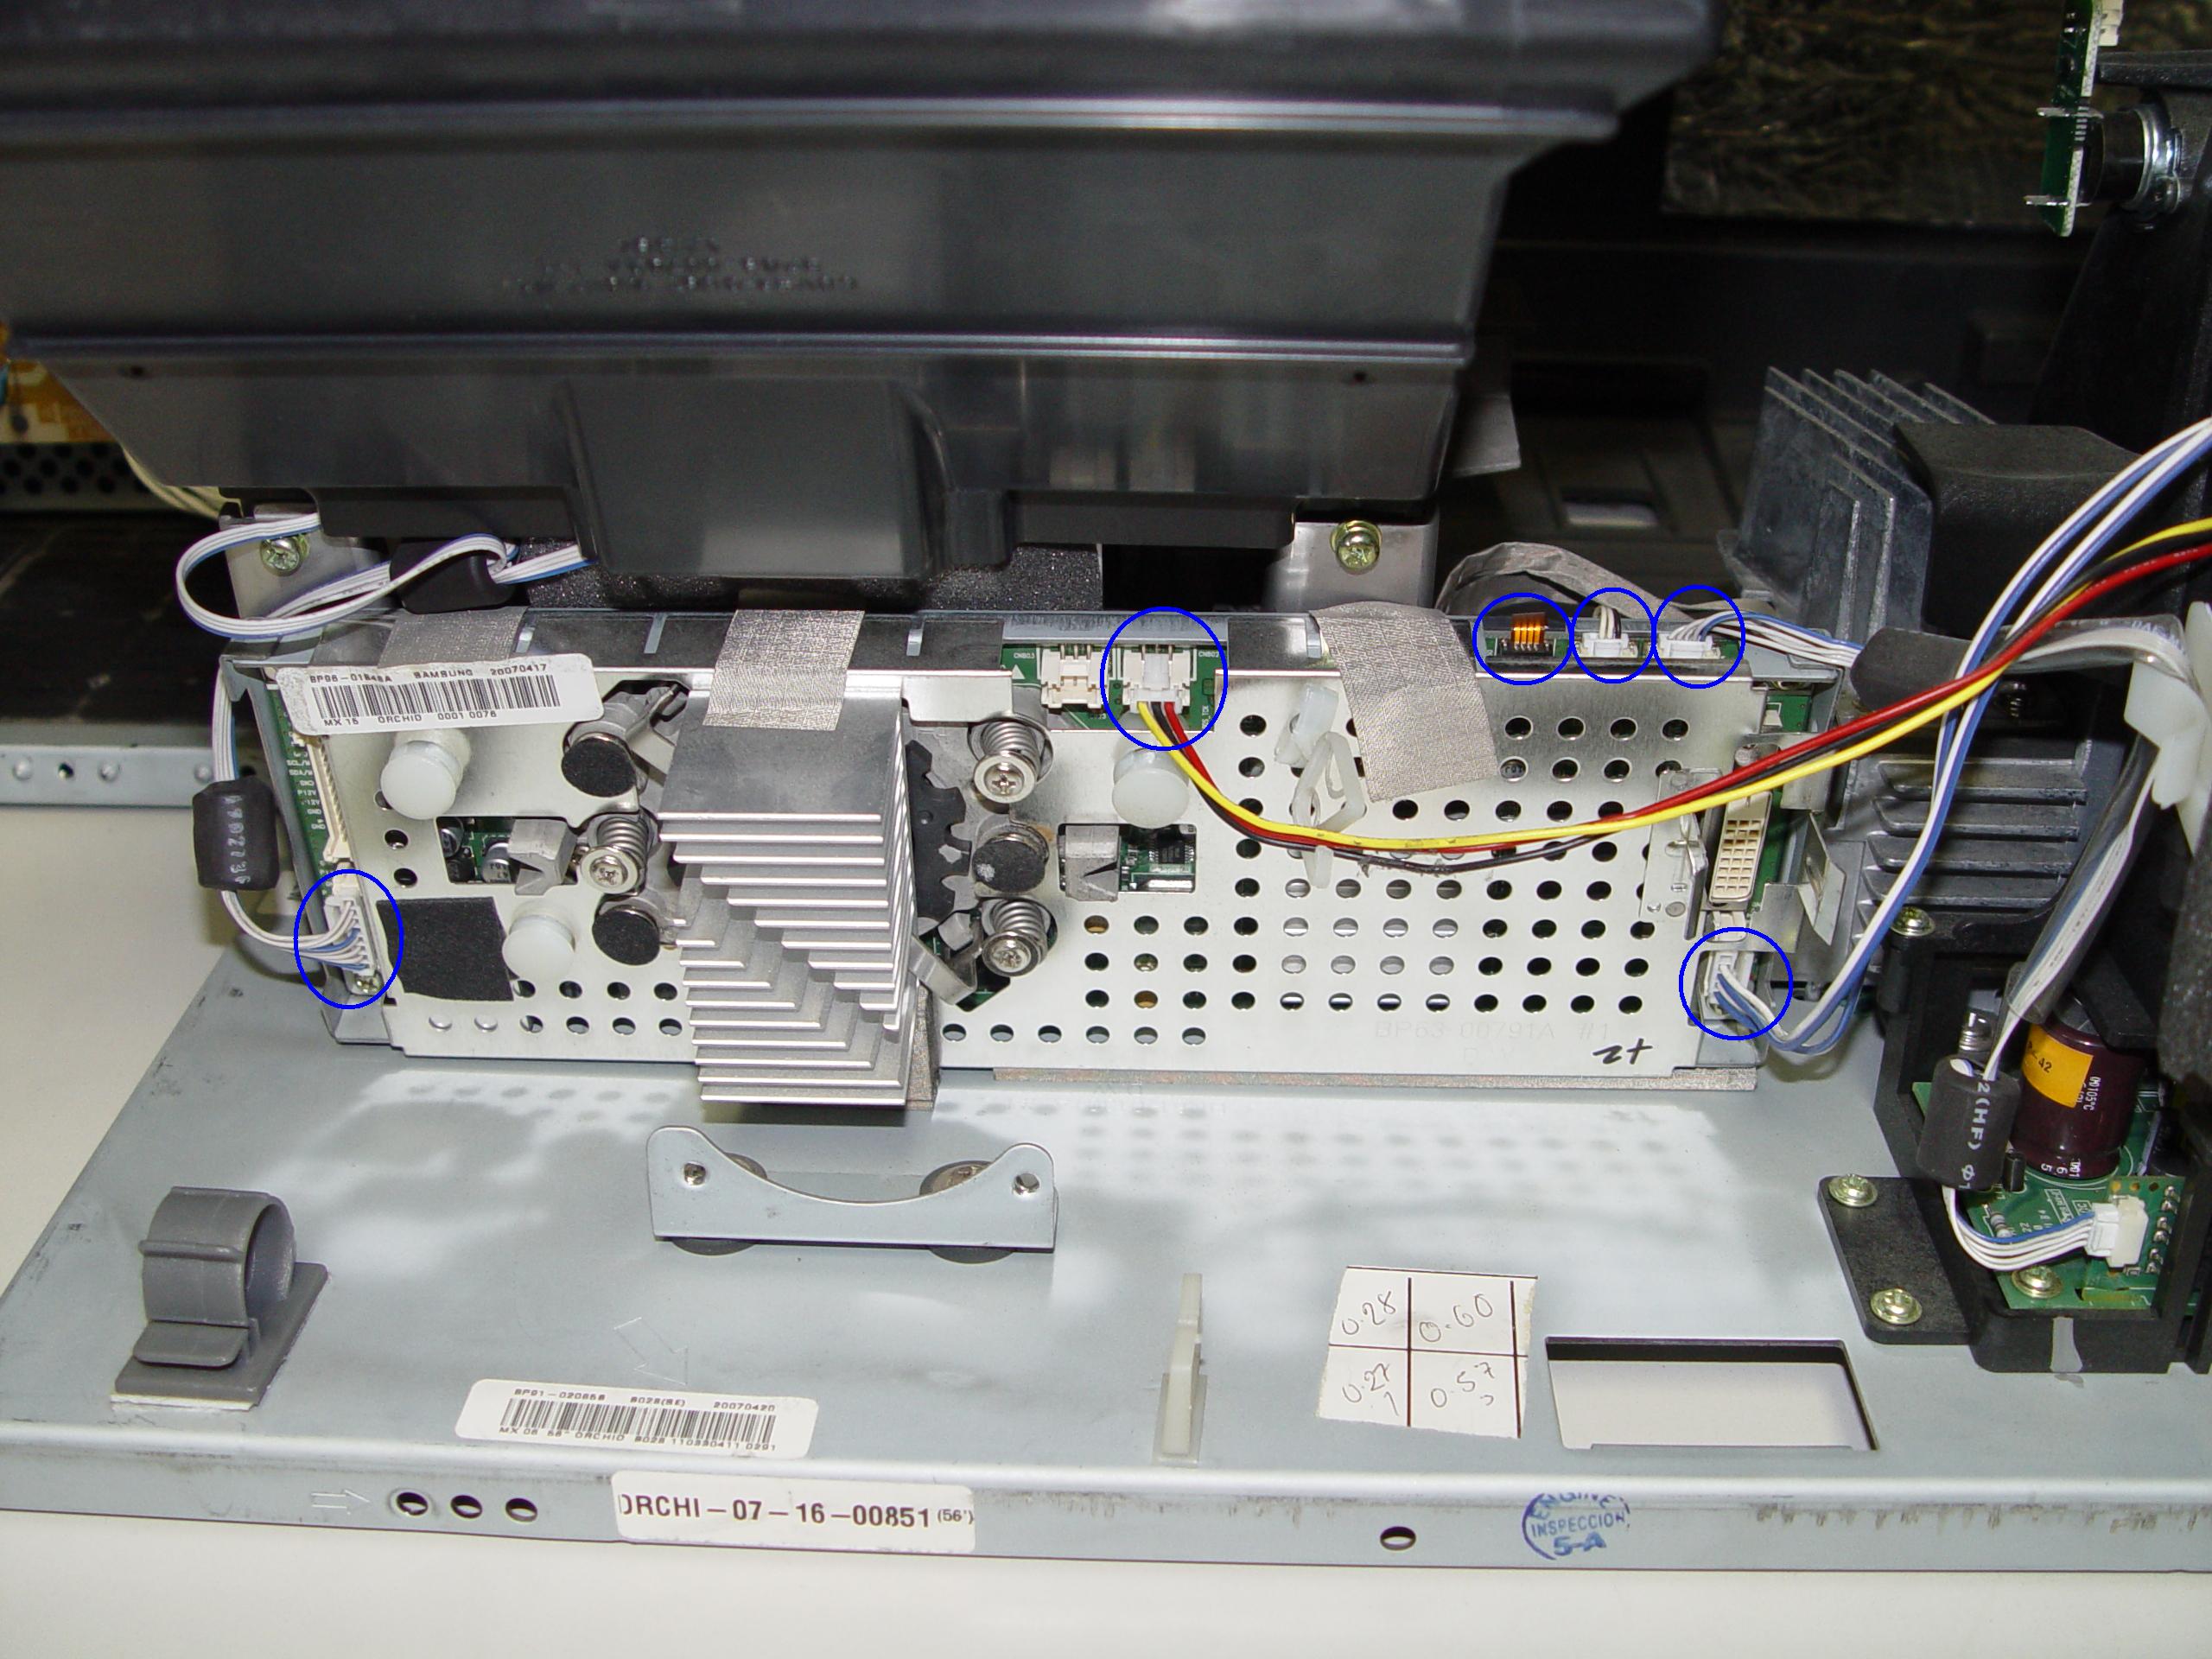
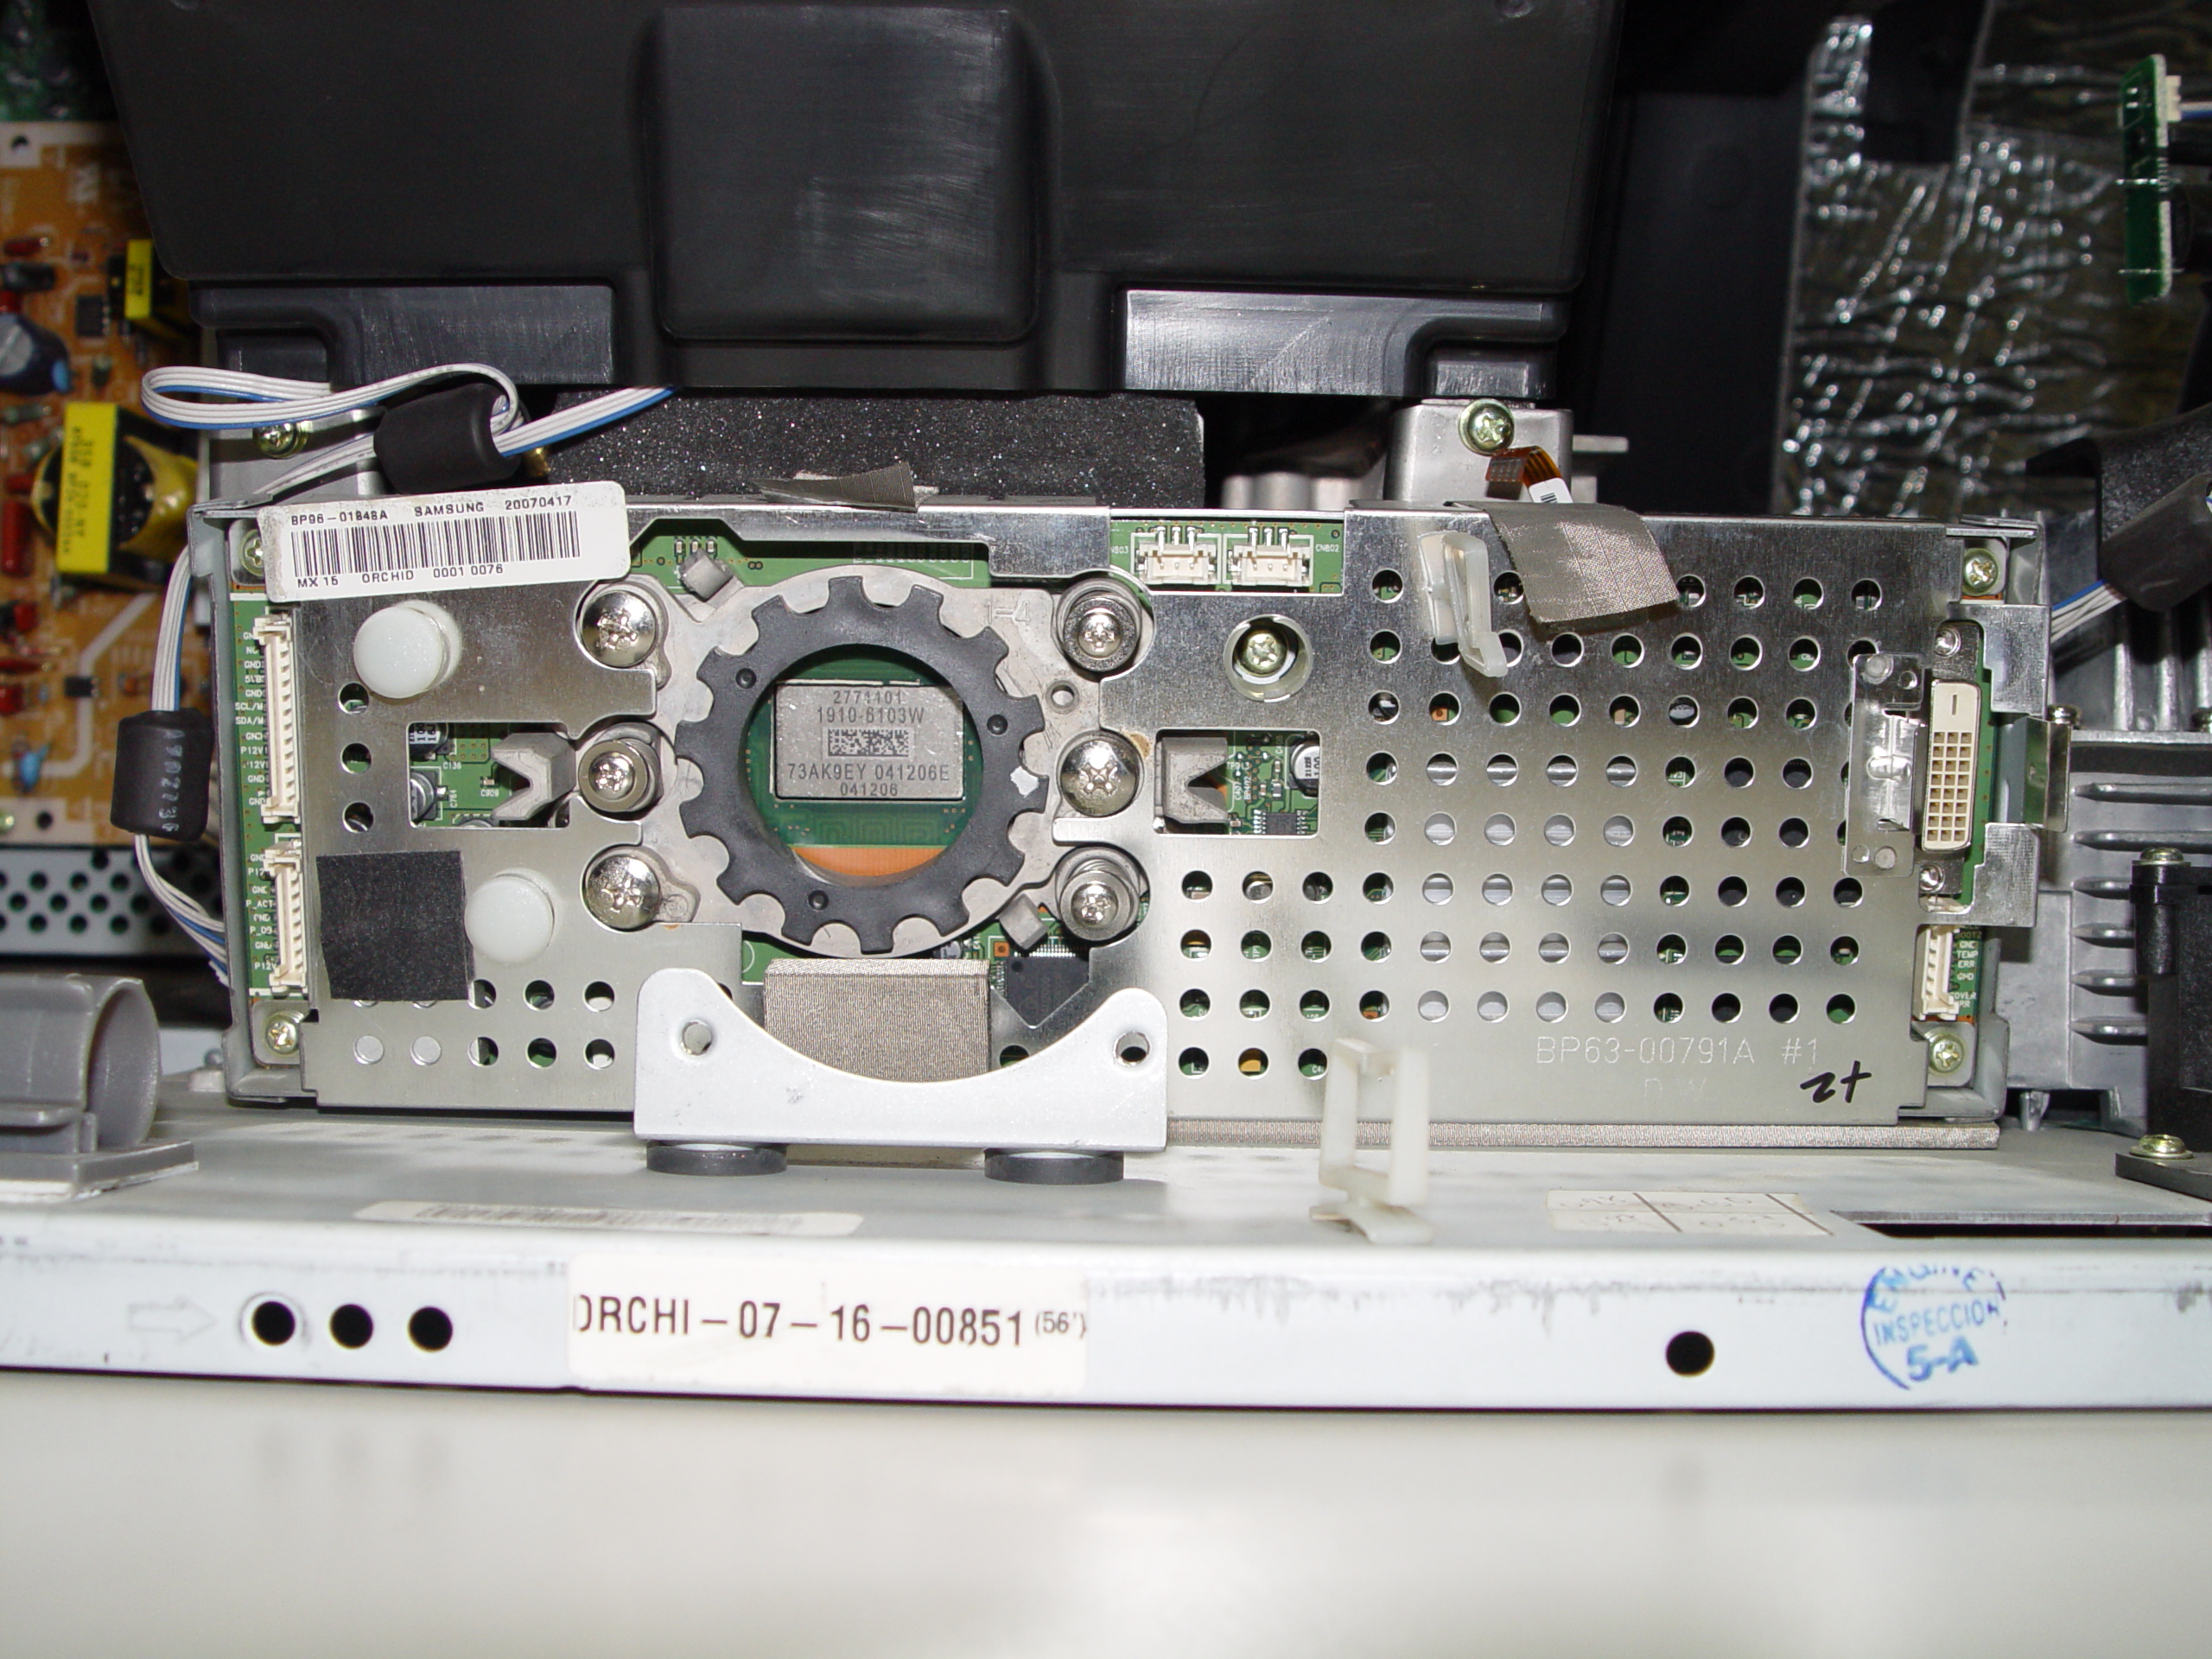
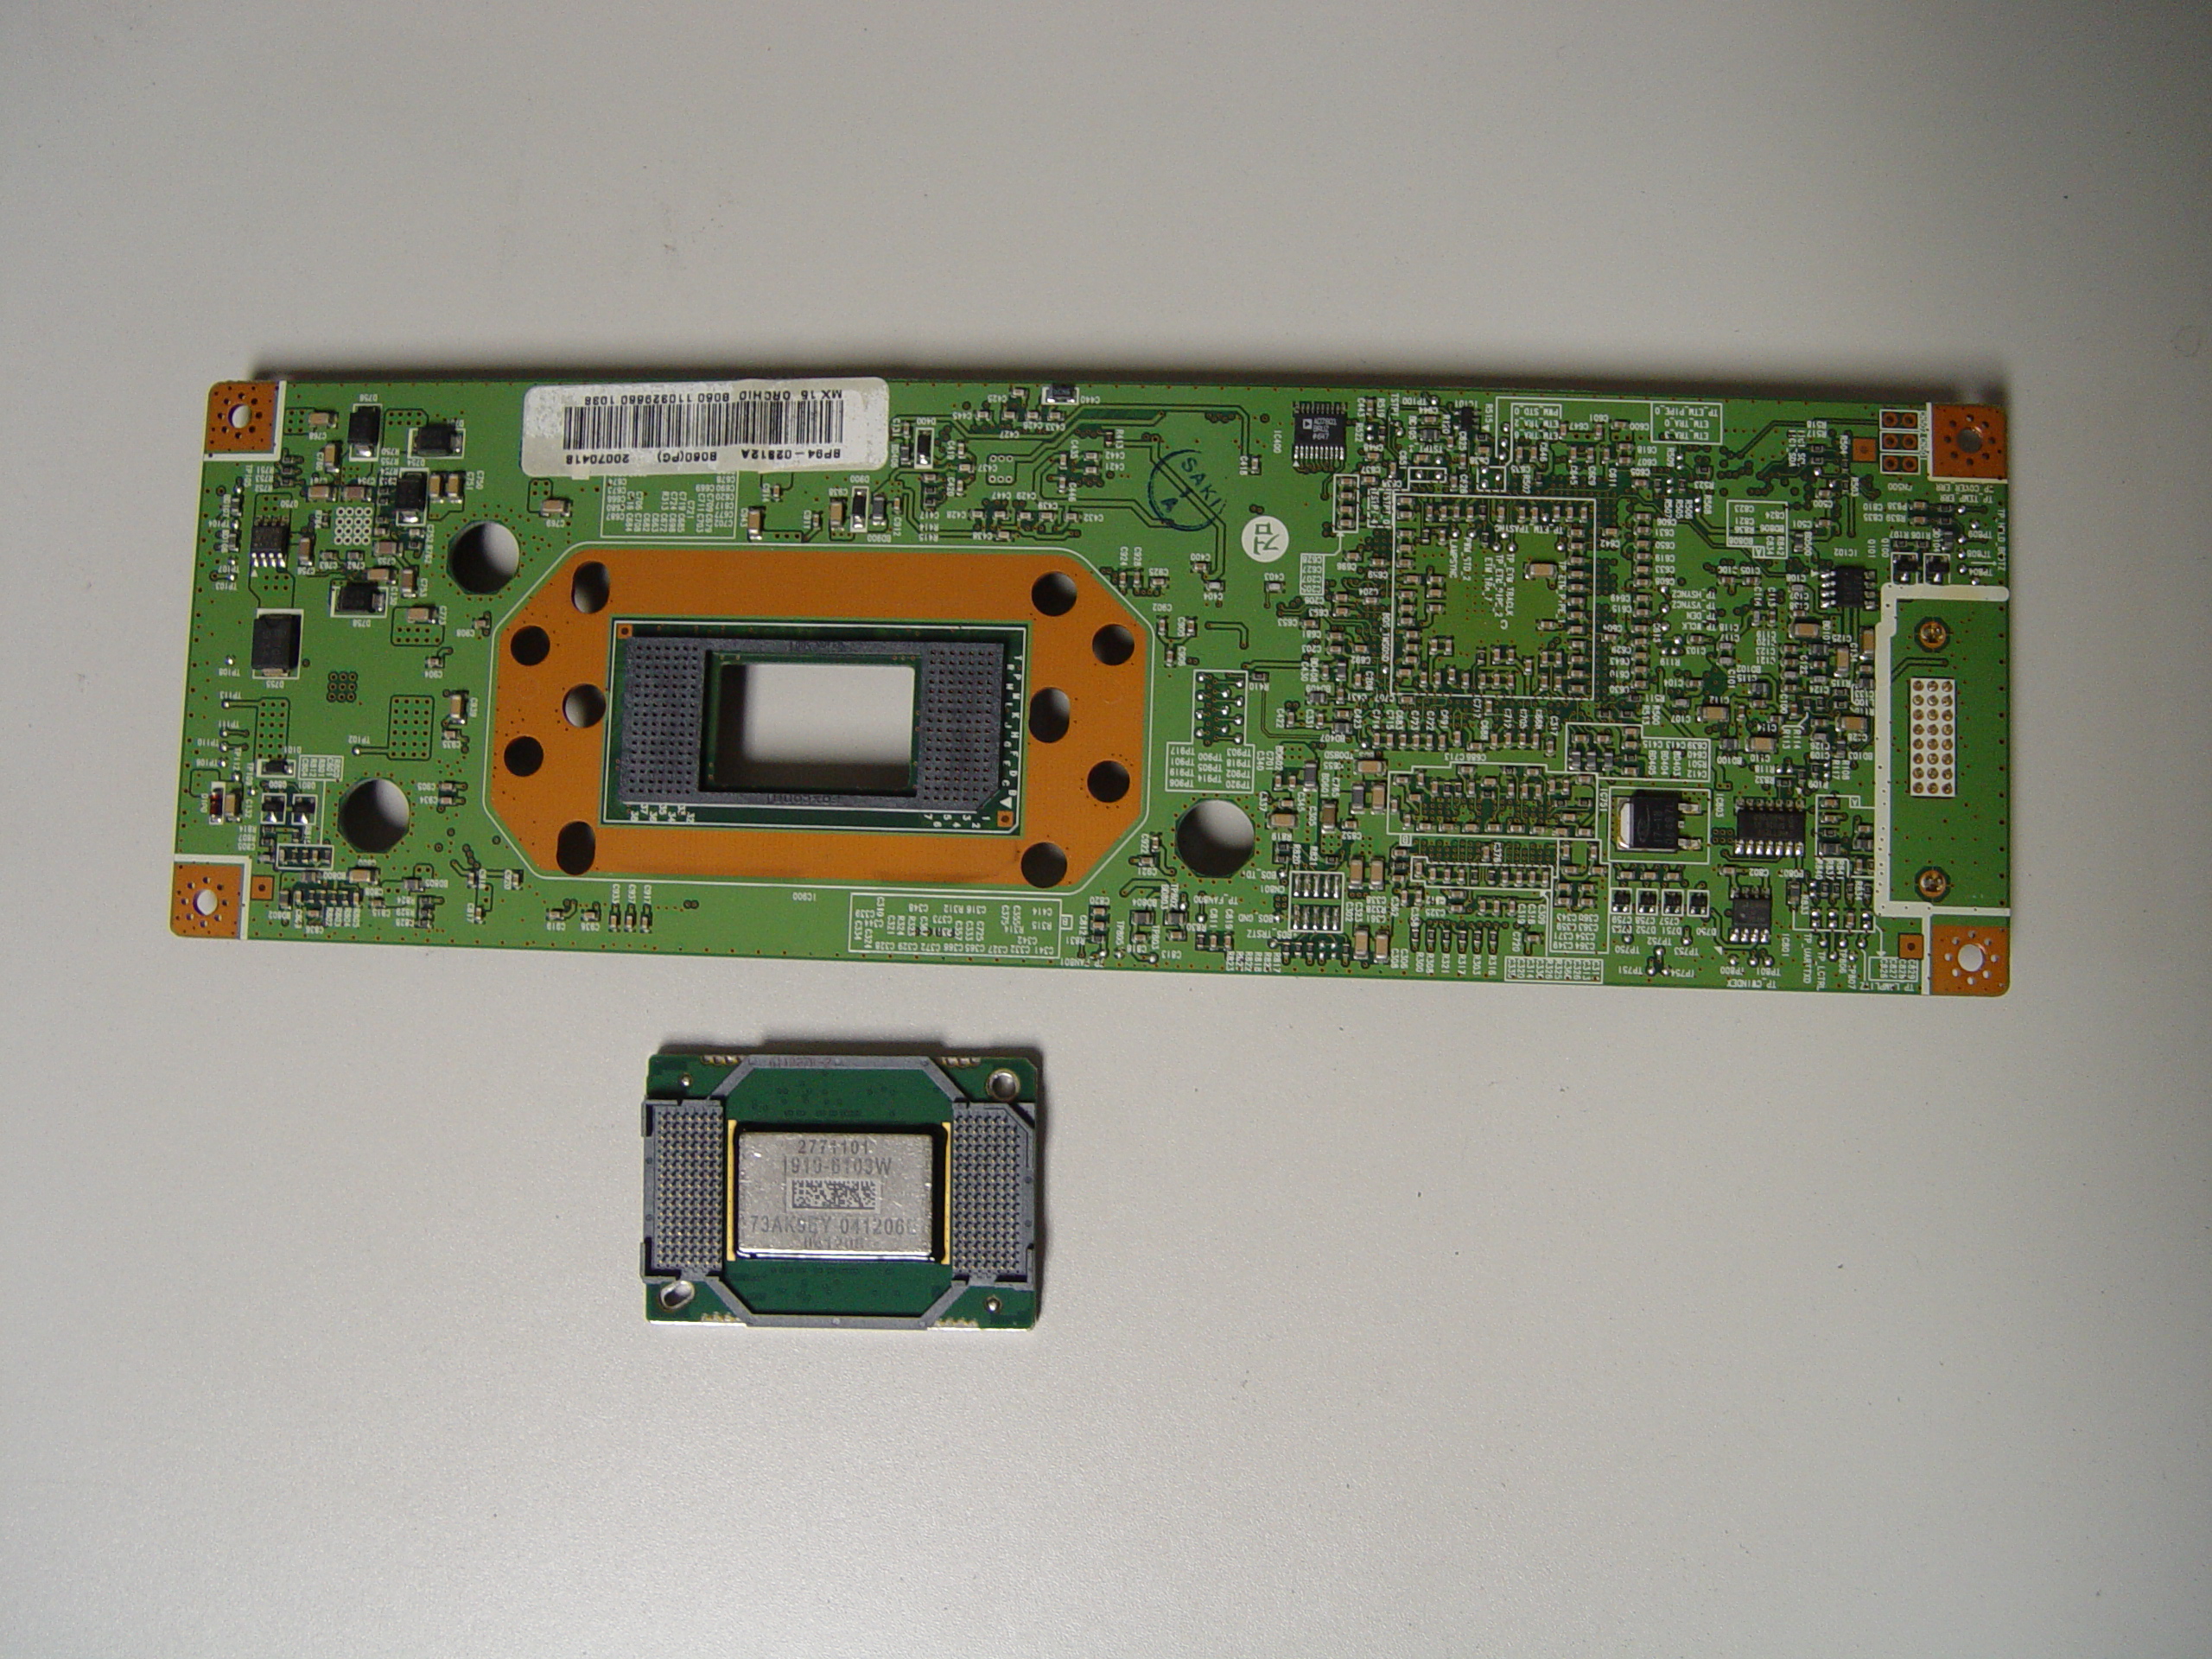
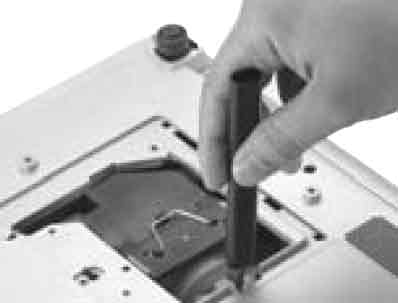
- Loosen the screw on the BenQ 9E.Y1301.001 lamp.
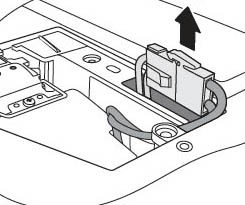
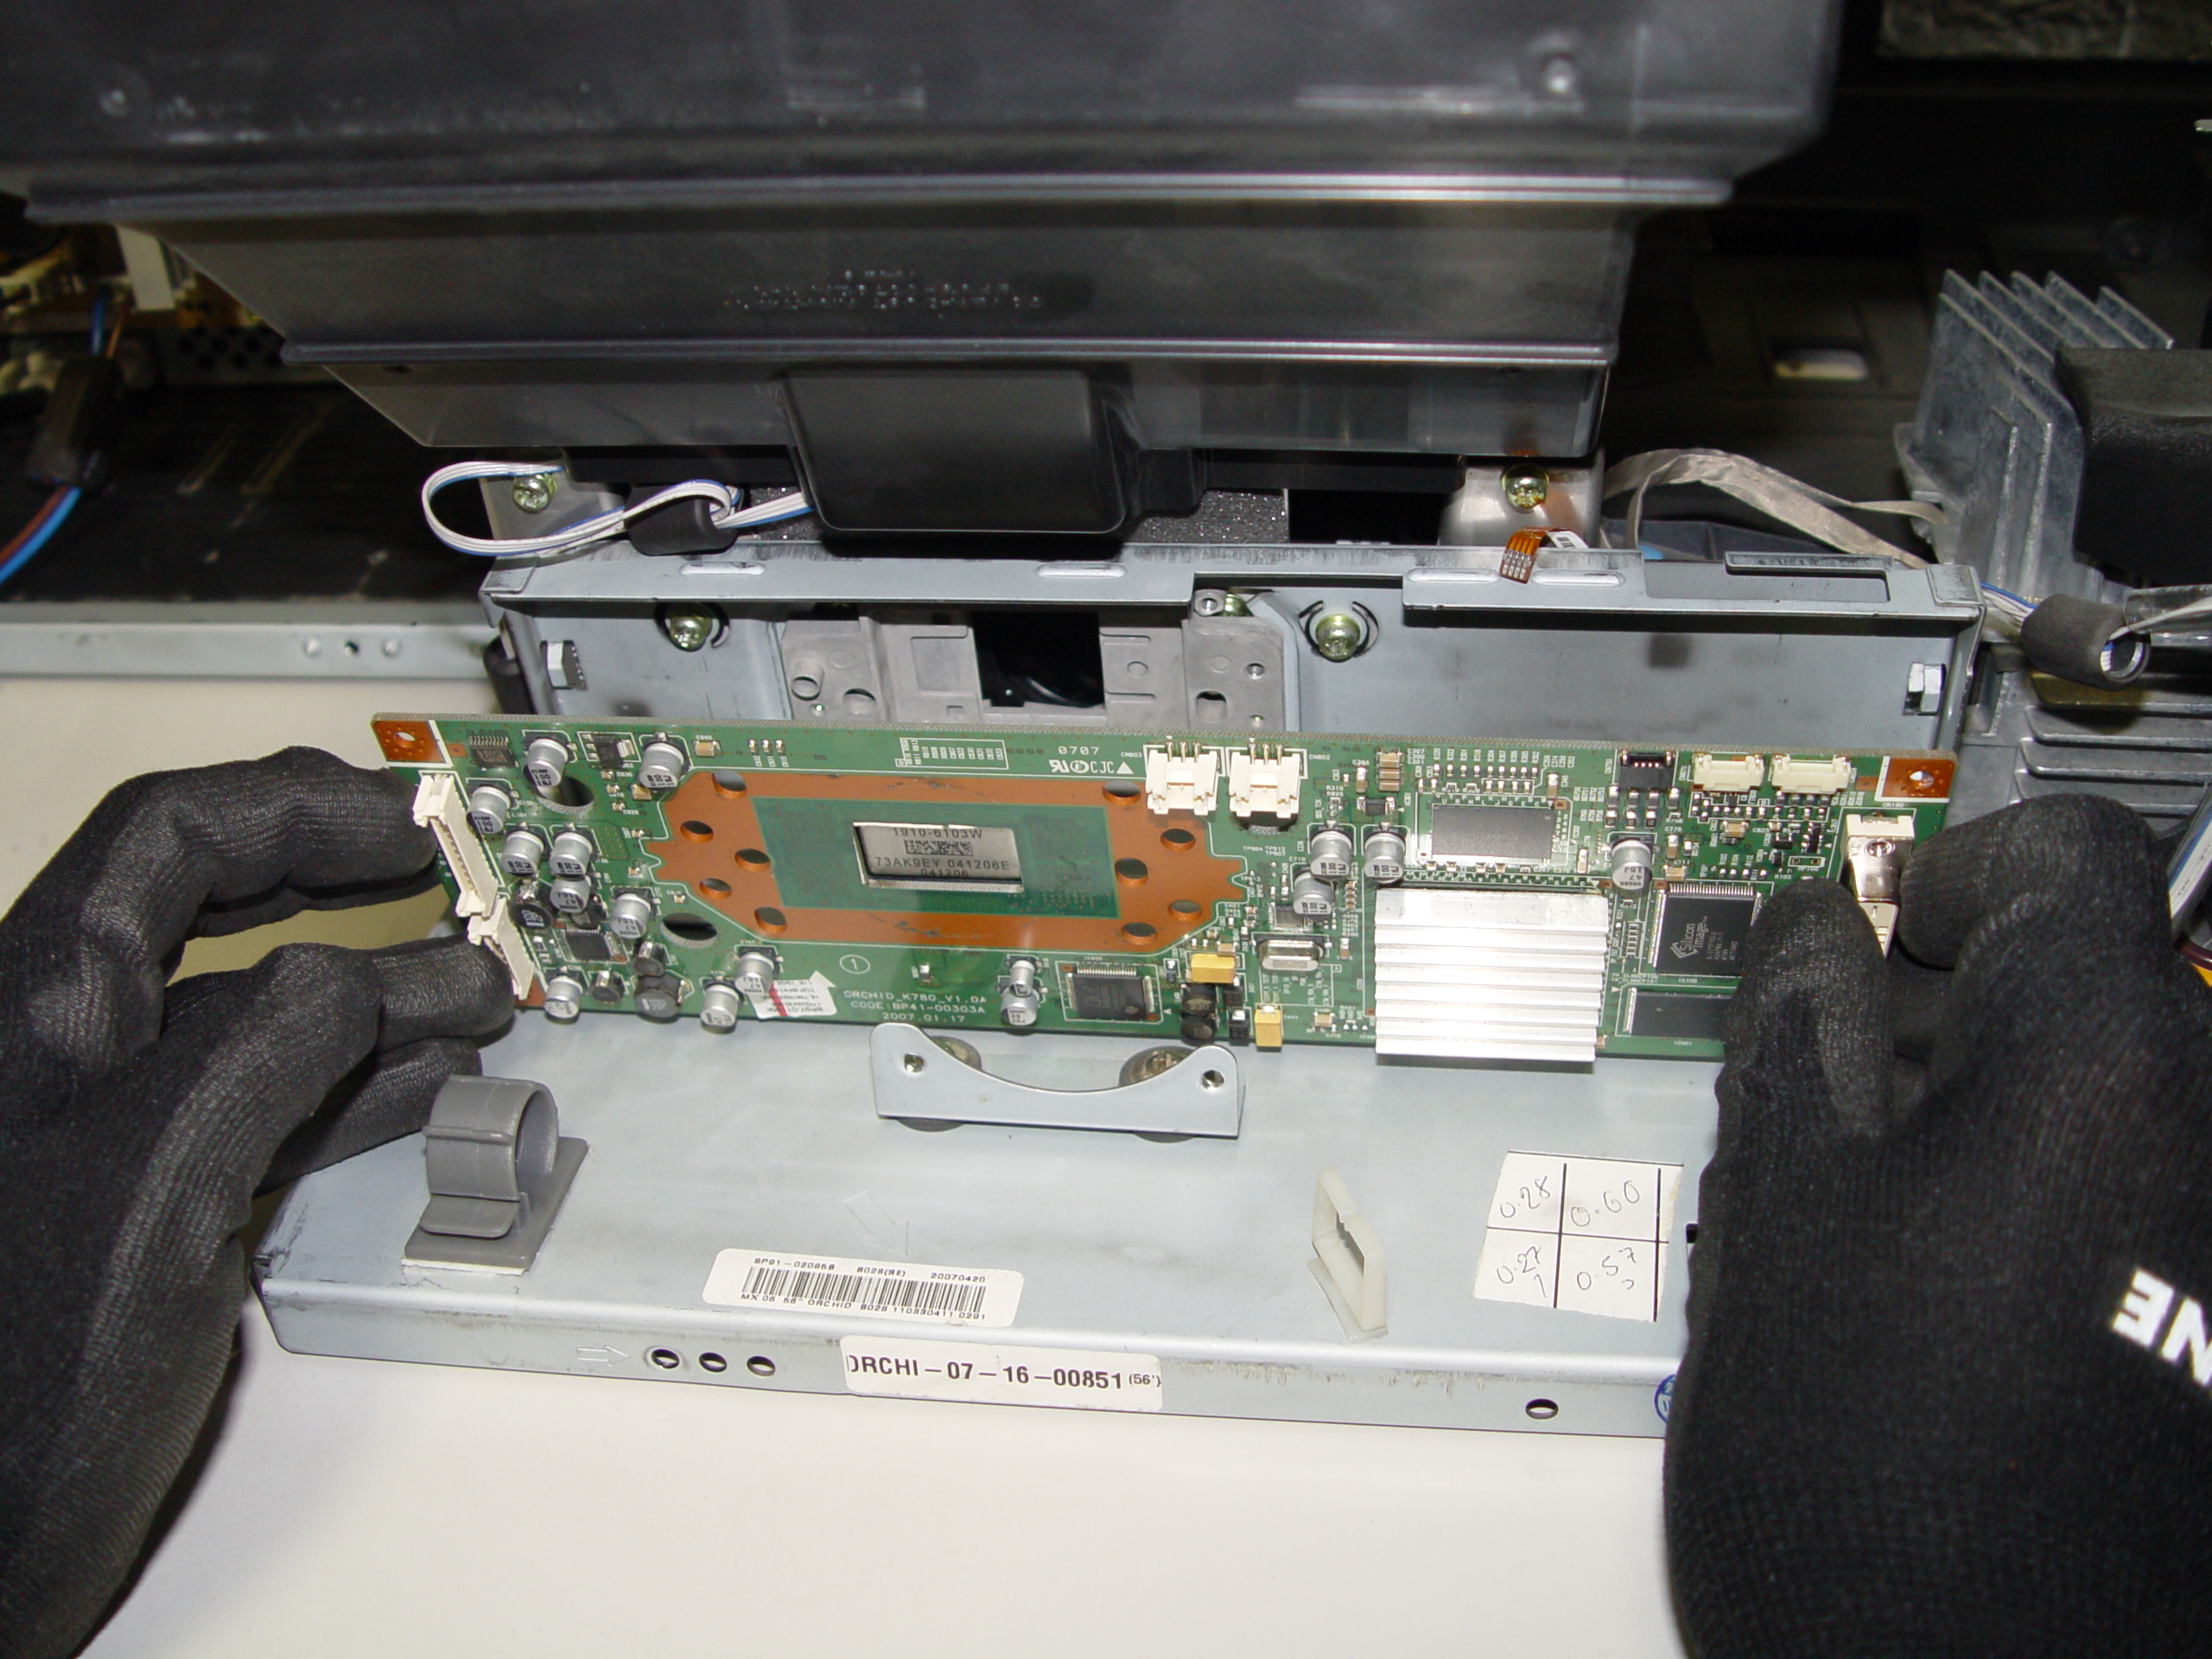
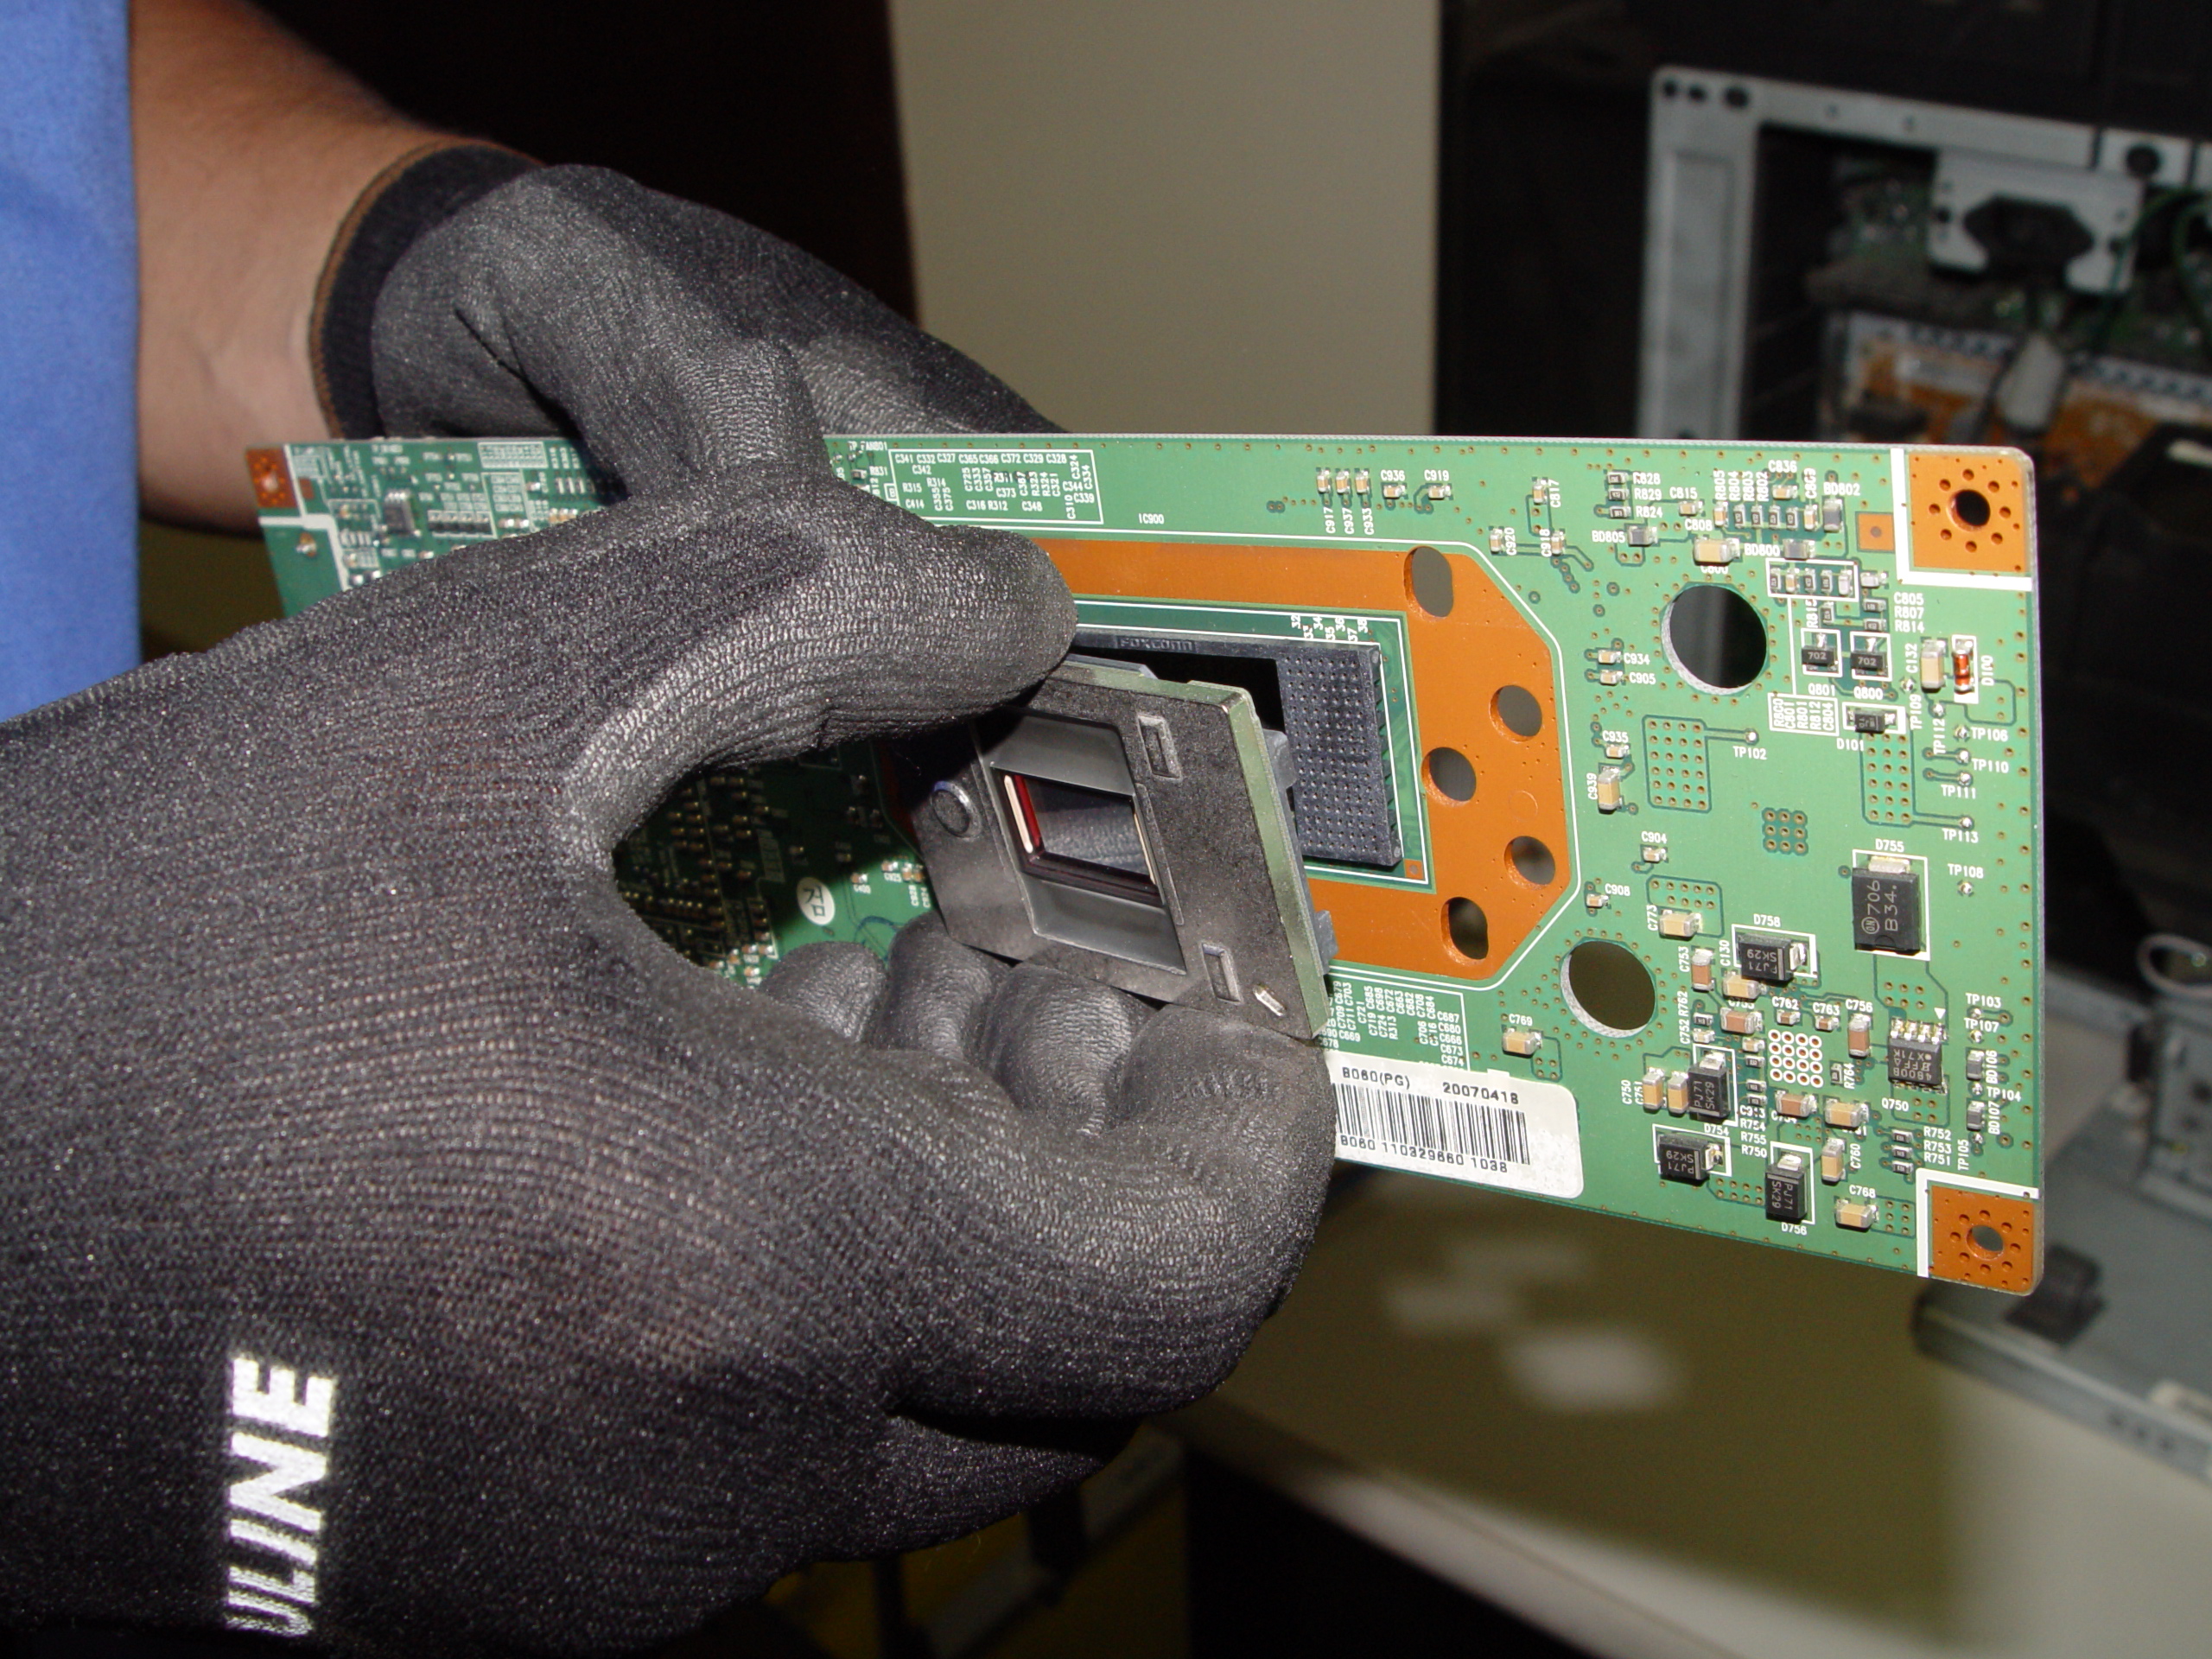
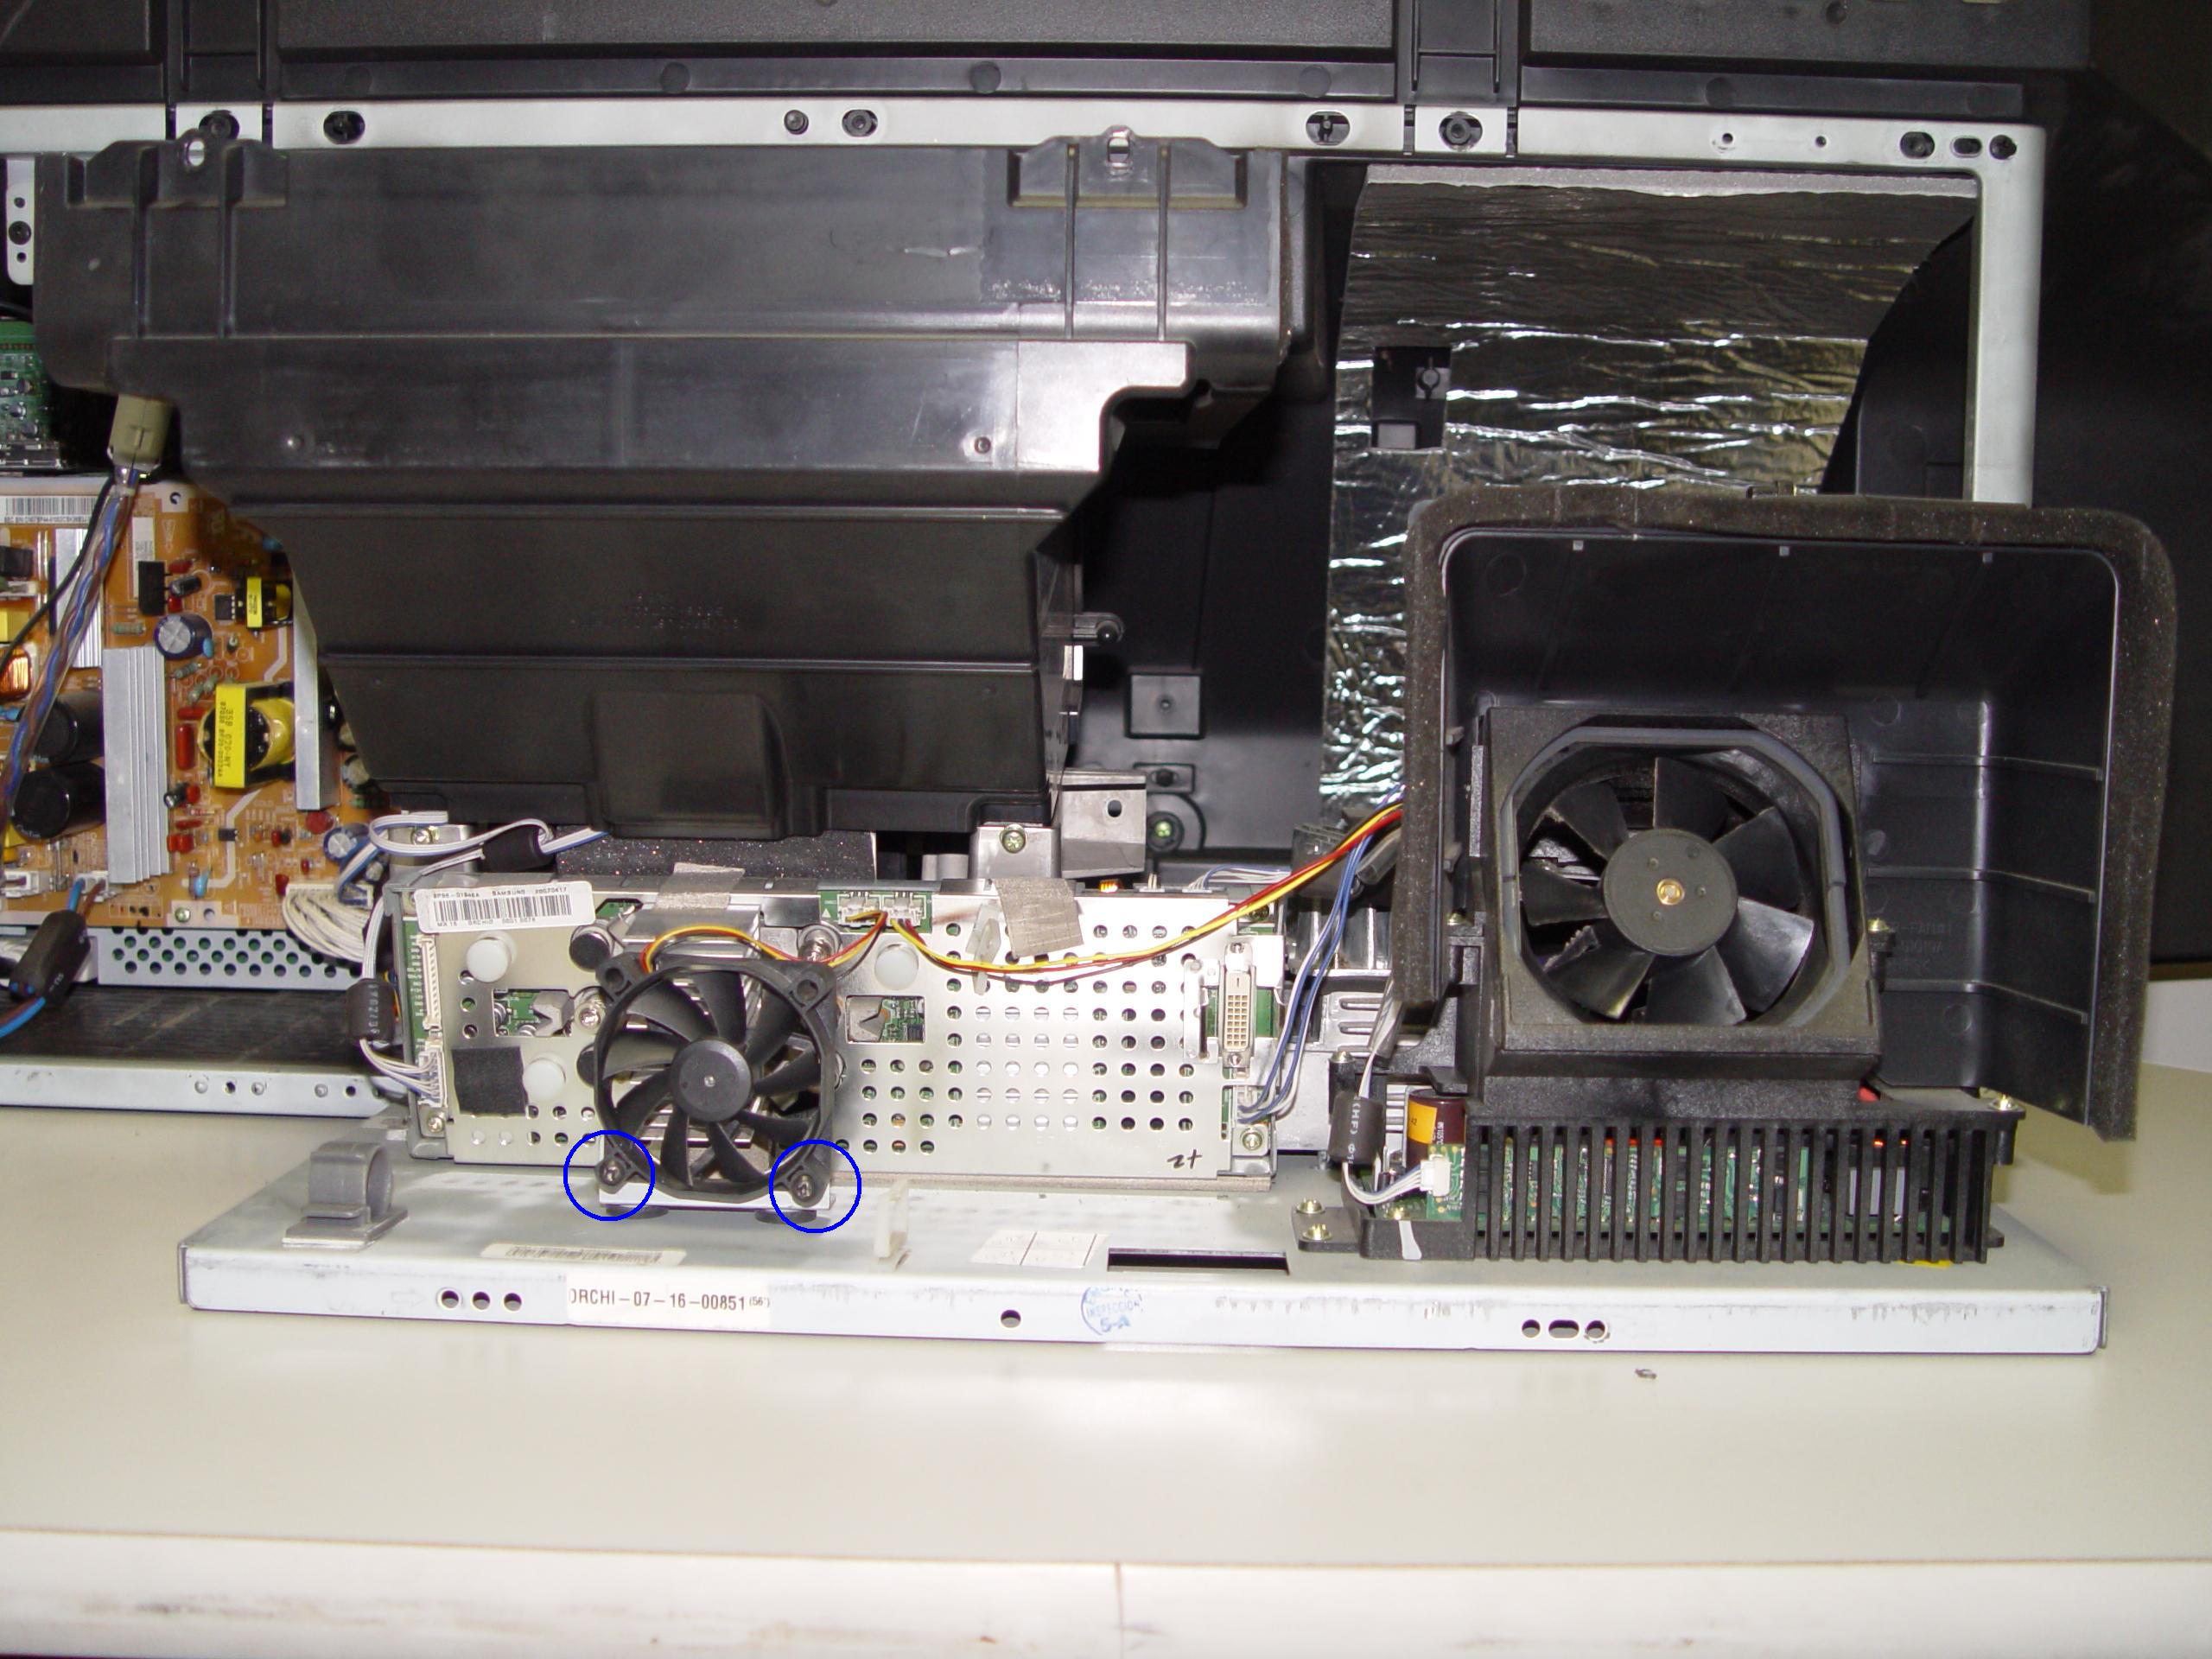
- Pull out the BenQ 9E.Y1301.001 lamp connector slot in the BenQ M512 lamp compartment.
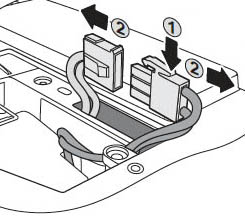
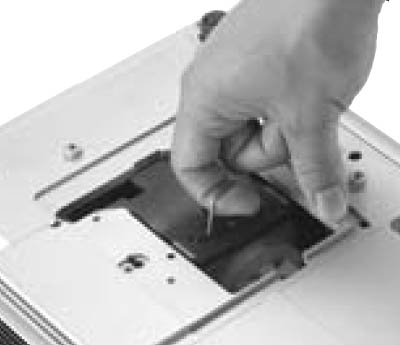
- Gently disconnect the BenQ 9E.Y1301.001 lamp connectors taking care not to pull on them.
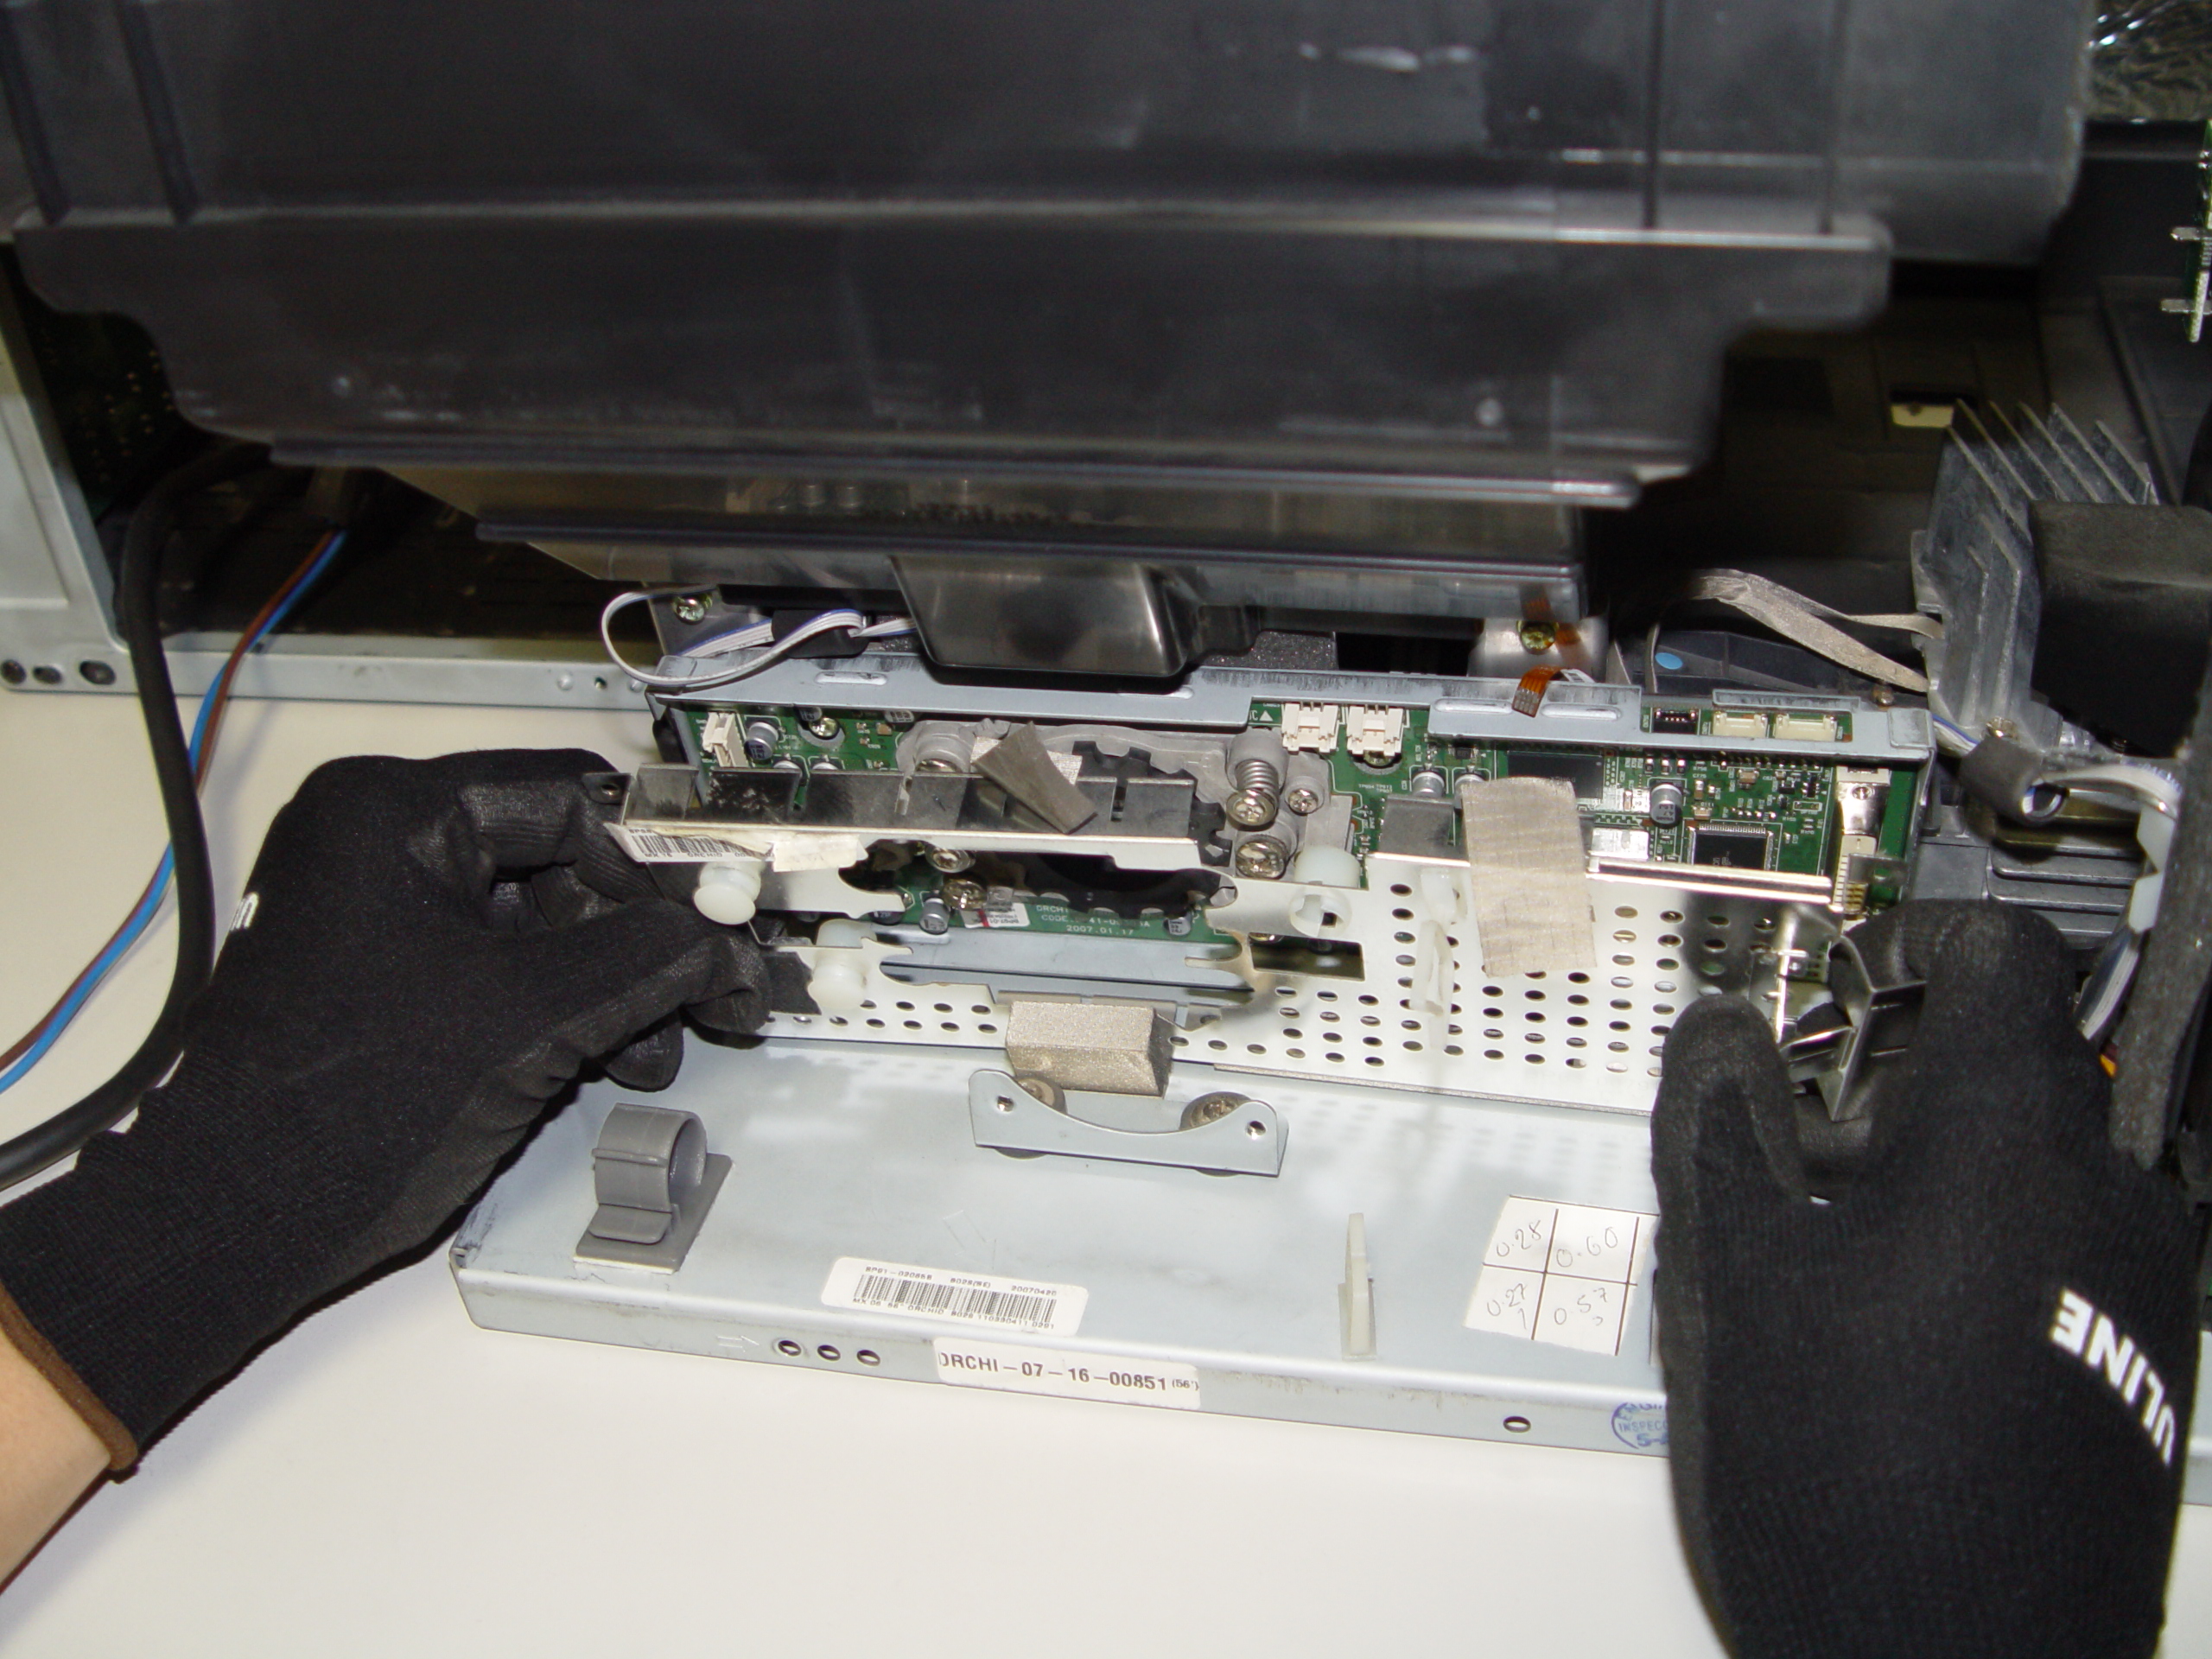
- Click the wire handle up and use it to pull the BenQ 9E.Y1301.001 lamp out of the projector. Pulling too quickly can cause the bulb to shatter. Learn what to do should the bulb shatter.
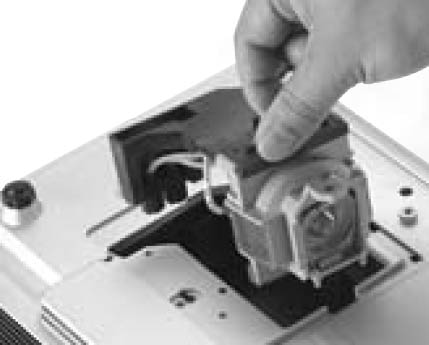
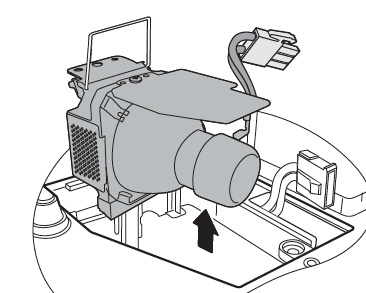
- Gently lower the new BenQ 9E.Y1301.001 lamp into the slot.

- Replug the BenQ 9E.Y1301.001 connectors together and gently put back them into the BenQ MP512 slot.
- Tighten the screw on the BenQ 9E.Y1301.001 lamp.
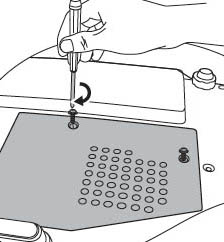
- Re-install the BenQ MP512 lamp cover and tighten the screw.
- Reset the lamp timer.
NOTE: The BenQ 9E.Y1301.001 lamp contains mercury and should not be thrown into regular garbage. Recycle your used lamps! If you bought from an authentic manufacturer they will recycle the lamp for you at no extra cost (another reason to buy authentic lamps).
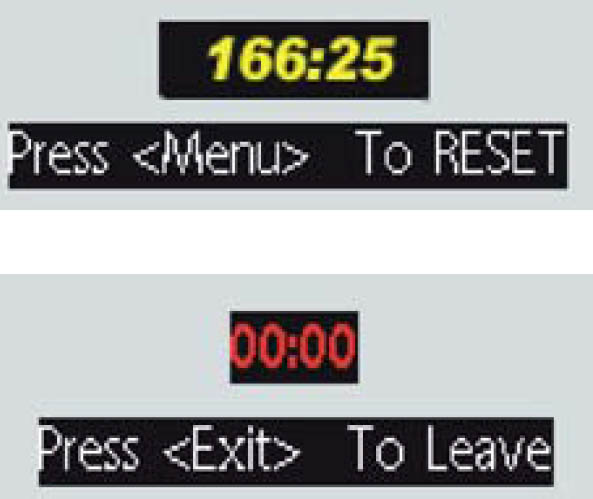
Reset the lamp timer
It’s important to only reset the lamp timer when the BenQ 9E.Y1301.001 lamp has been replaced. Resetting the lamp timer without changing the BenQ 9E.Y1301.001 lamp can severely damage your BenQ MP512 projector.
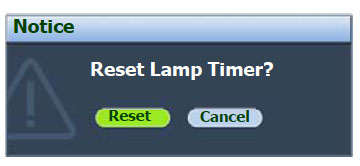
- Go to the Startup Logo and open the On-Screen Display menu (OSD).
- Go to SYSTEM SETUP. Scroll down to ADVANCED. Press Enter.
- The LAMP SETTINGS page will displays the Reset Lamp Timer screen
- Highlight Reset and press ENTER.
- The lamp time will be reset to ‘0’.
Do not reset if the lamp is not new or replaced as this could cause damage.
Extending the life of the BenQ 9E.Y1301.001 lamp:
- Keep your air filters clean to avoid overheating the projector.
- Use the Lamp Power option on the BenQ MP512 and set to Economic Mode to reduce the amount of power used but extend lamp life.
- Learn more with Top tips for extending DLP projector lamp life