Projector contrast ratio for the perfect picture
 The projector contrast ratio makes all the difference in your view!
You’ve picked out the projector model and you’re ready to buy. It’s got all the features you were looking for but there’s one final consideration: projector contrast ratio.
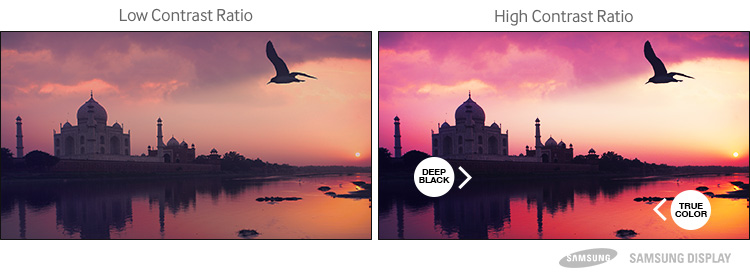
After lumens – a projector’s light output – contrast is the next most important factor to consider. It determines the difference between the whitest white and the blackest black shown on screen. The higher the contrast the richer the blacks and the crisper the image.
 Location matters
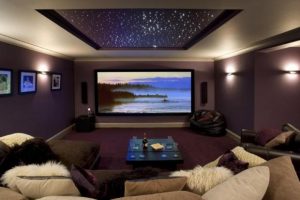
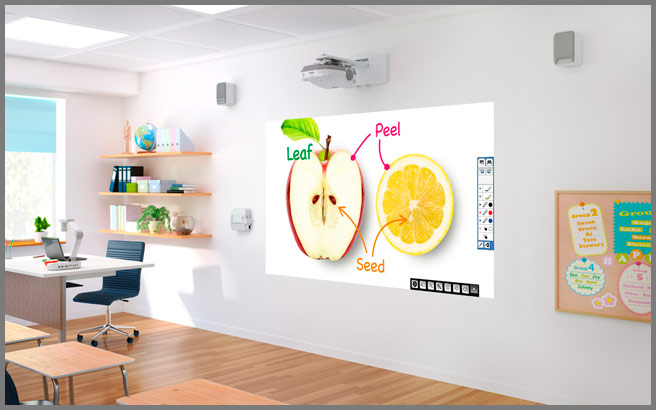
Contrast is particularly important for home theaters since it’s often in a darker room than your typical office boardroom. With home theaters, you need the blacks to be rich and deep with clearly defined shadows. A high contrast gives depth to the projector images and can make 2-D images appear almost 3-D. With business projectors, lumens are the primary importance since most business projectors are used in rooms with lots of ambient light.
It can be tricky to figure out contrast ratio. Sometimes a high number doesn’t mean the projector has a superior contrast ratio. A model offering a 10,000:1 contrast ratio may not always be better than the projector with a lower contrast ratio.
 Check the settings
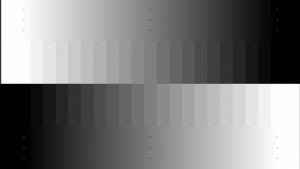
Check your projector’s specs to find out its contrast ratio. If the specs just say “Contrast” you can expect a setting of On/Off with a limited ratio of what is shows for the whitest white and darkest black. “ANSI” settings give a more accurate contrast ratio since it’s been determined by using a checkerboard pattern to compare the relative brightness of the white and black squares. While the On/Off option will have a much larger number it doesn’t mean it will be more accurate than an ANSI control with lower contrast ratio. Do some homework to determine how a particular model does perform and don’t be seduced by a high number.
 Light makes a difference
The bottom line: If you have too much light in your room, it won’t matter how much contrast ratio you have. Most front projectors look best when the viewing room is dark. Too much light reduces contrast so that images appear washed out or flat as the blacks become a dark gray. It won’t matter how many adjustments are made. Too much light cancels out any contrast ratio gains.
According to Samsung the benefits of a high contrast ratio include:
- Pictures that feel more immersive
- Colors which stand out more and look brighter
- Differentiation between shades of black, even in darker rooms
- Easier to read the display, especially in well-lit rooms and from a distance
- Avoiding eye strain and fatigue
Check out contrast ratio before buying your projector.
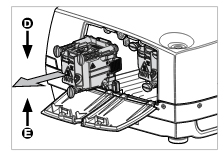
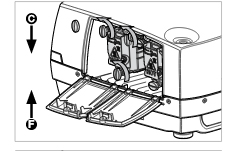
 How to install a replacement ProjectionDesign Cineo 3 projector lamp
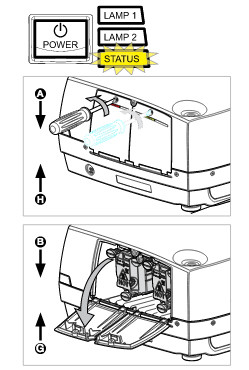
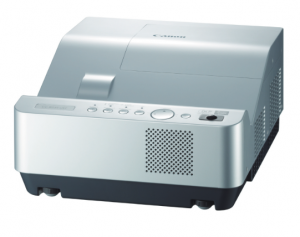 Learn how to replace the Canon LV-8235 projector lamp.
 This guide shows how to replace the Christie RoadRunner LX77 projector lamp.
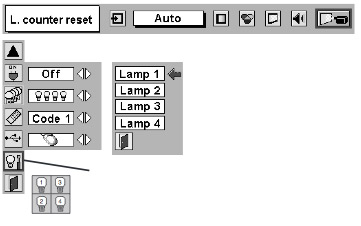
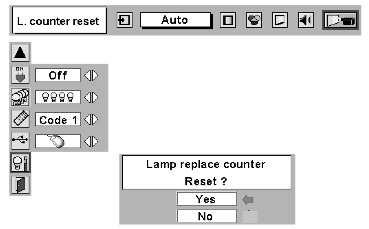
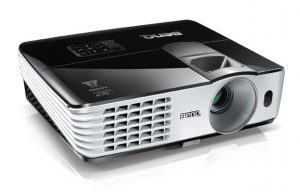 Follow these instructions to replace the BenQ MX615 projector lamp.
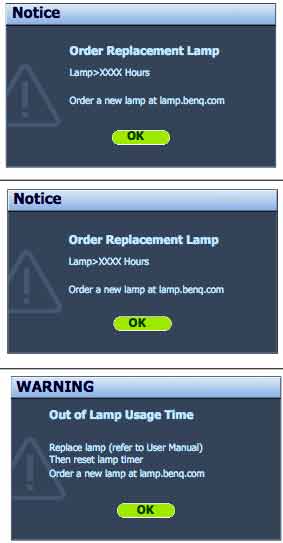
 Q MX615projector.
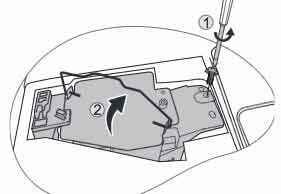
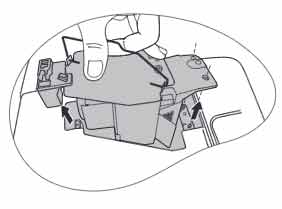
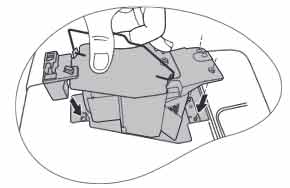 Insert the new
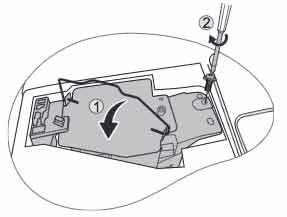
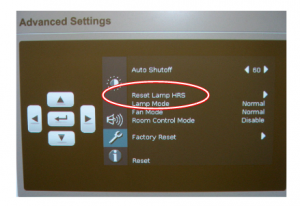
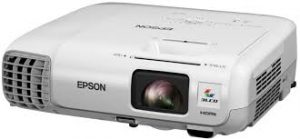 When it’s time to replace the Epson EB945 projector lamp follow this guide
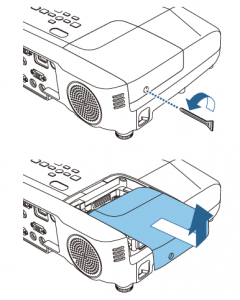
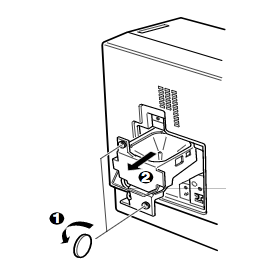
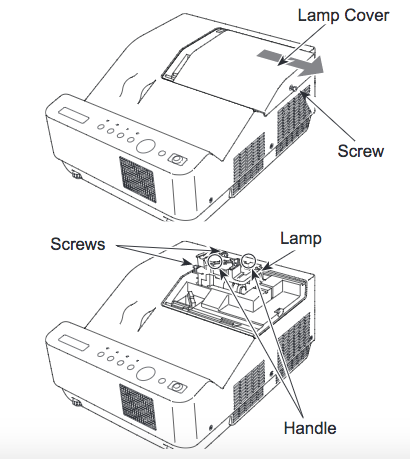
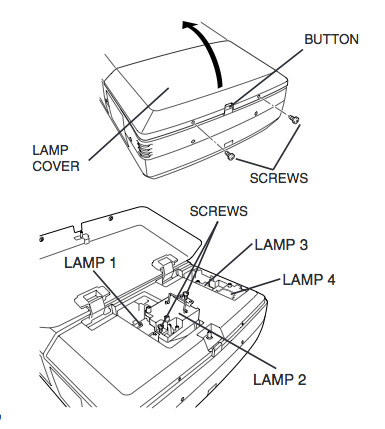
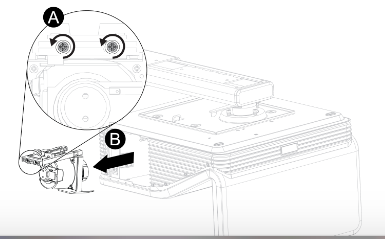
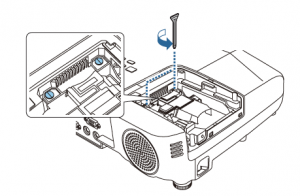 Remove the two screws on either side of
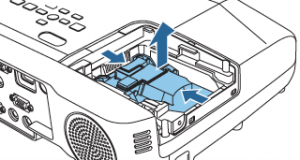
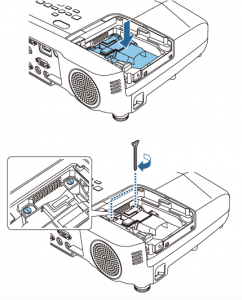
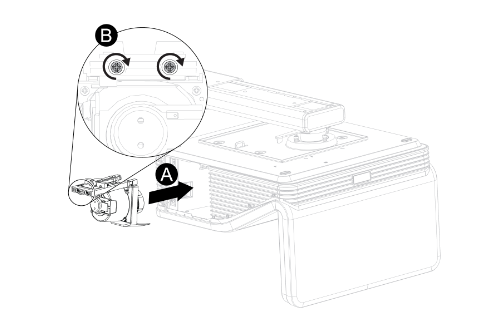 Remove all packaging from the new
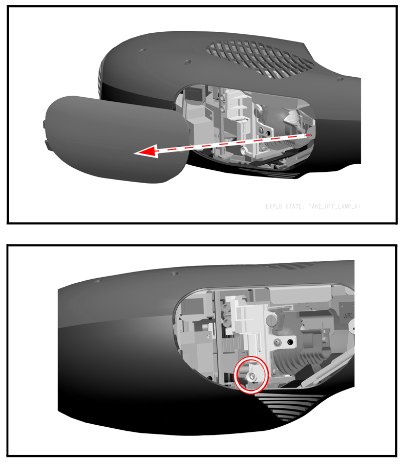
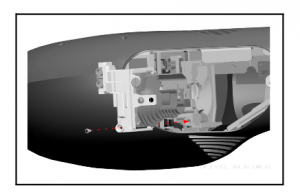
  To replace the Epson EMP-5500 projector lamp follow this guide.
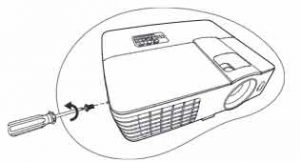
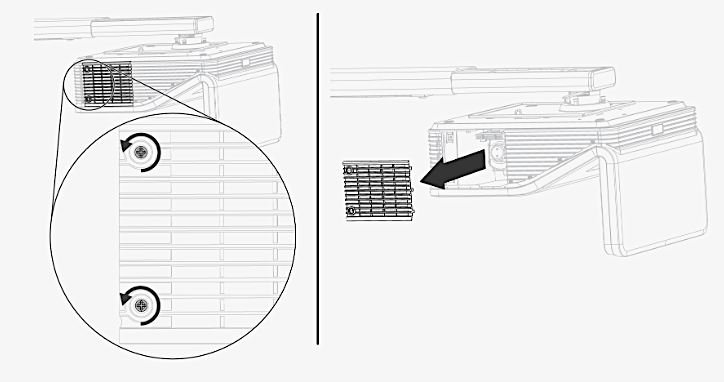
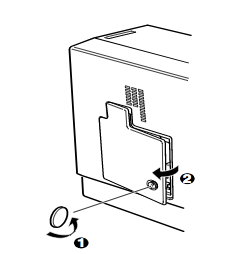 Use the screwdriver provided loosen the screw holding the Epson EMP-5500 projector lamp cover in place. Slide the Epson EMP-5500 projector lamp cover off and place it to one side.