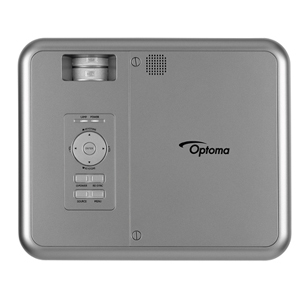
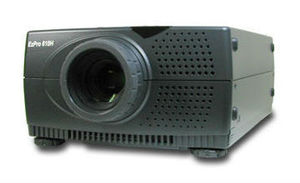
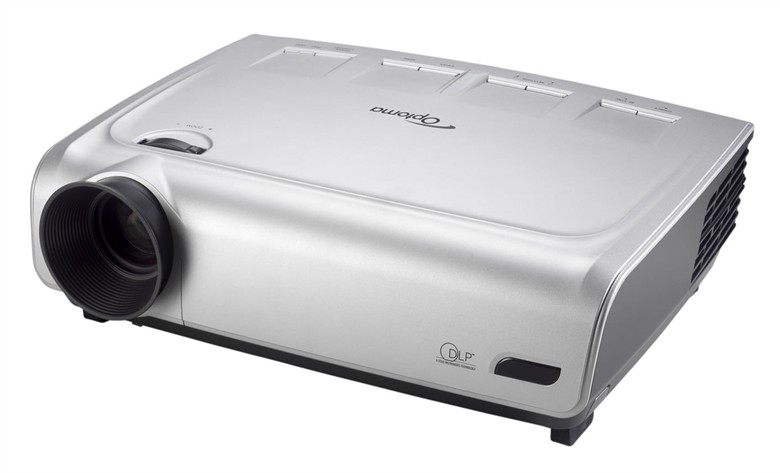
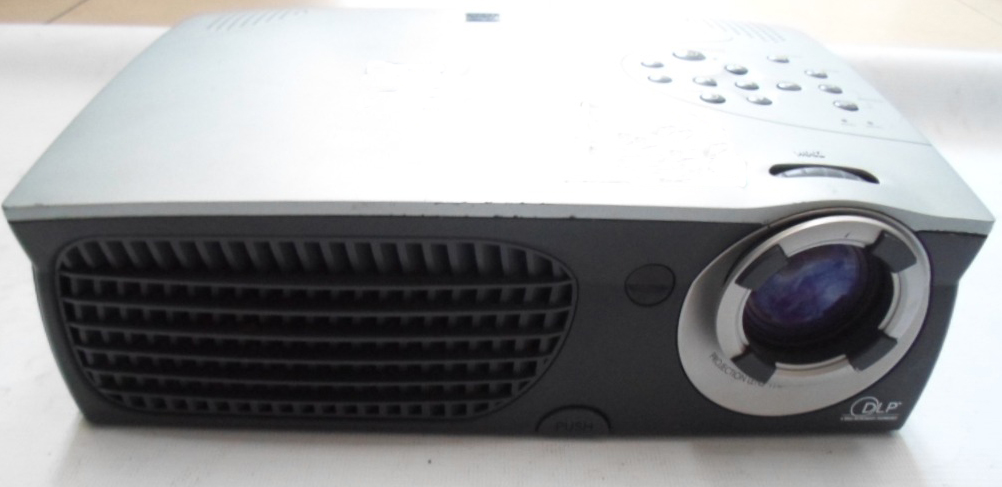
Instructions on changing the Optoma EP718 projector lamp
 Follow our step-by-step guide to install a new Optoma EP718 projector lamp.
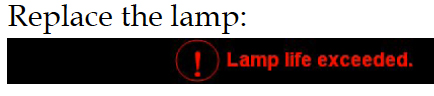
When the Optoma EP718 projector lamp is reaching end of life, you will see the Lamp Replacement message. You have 30 hours or less before the projector shuts down. Be sure to buy an authentic Optoma EP718 projector lamp.
Why buy authentic lamps?
There are lots of choices out there on the Internet. It’s easy to get duped into buying an inferior knock-off lamp. But those bargain lamps are usually counterfeit. Manufacturers will advertise their lamp as “compatible” — they are anything but.
Why avoid generics:
- generic lamps have a much shorter life so are actually more expensive in the long run
- Krypton-85 and other toxic chemicals are used to create counterfeit lamps
- compatible lamps are more prone to overheat and explode
- copycat manufacturers don’t know how to properly calibrate their lamps to work with the sensitive electronics in projectors
- copycat manufacturers offer no guarantee or refunds
- the warranty on your Optoma EP718 projector will become void.
Learn how to spot the copycat fake lamps with 7 Ways to Spot a Counterfeit Lamp.
Buy this lamp on Amazon from the following authorized dealers:
Replace the Optoma EP718 projector lamp
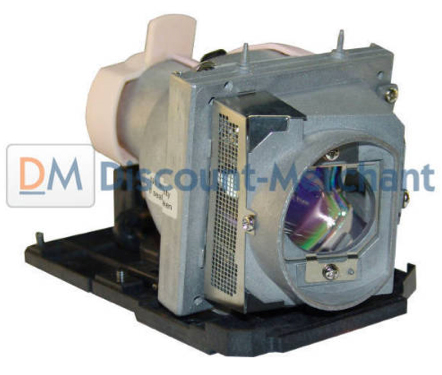
NOTE: The Optoma BL-FU150A lamp contains mercury and should not be thrown into regular garbage. Recycle your used lamps! If you bought from an authentic manufacturer they will recycle the lamp for you at no extra cost. Generic manufacturers don’t recycle.
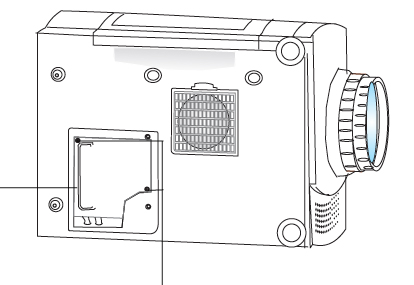
Step 1:
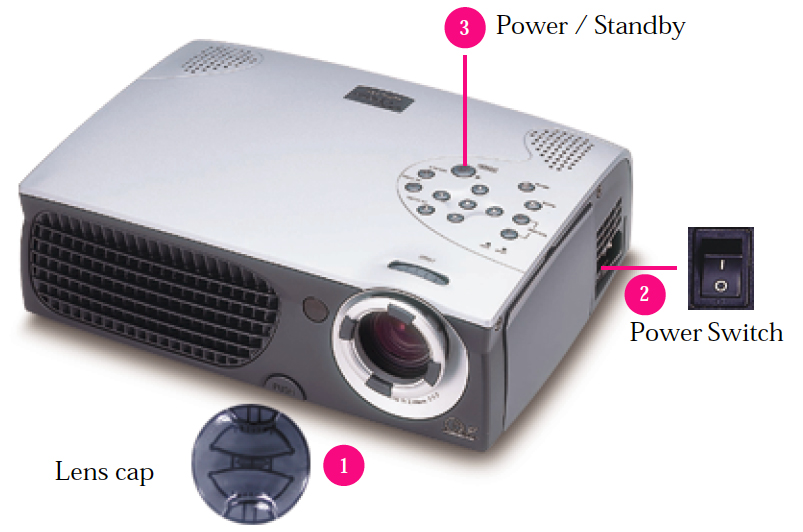
- Switch off the power to the Optoma EP718 projector.
- Allow the projector to cool down for at least 30 minutes or until it is cool to the touch. These projectors run using high temperatures and you can burn yourself badly if you don’t allow the projector to cool down.
- Disconnect the power cord.
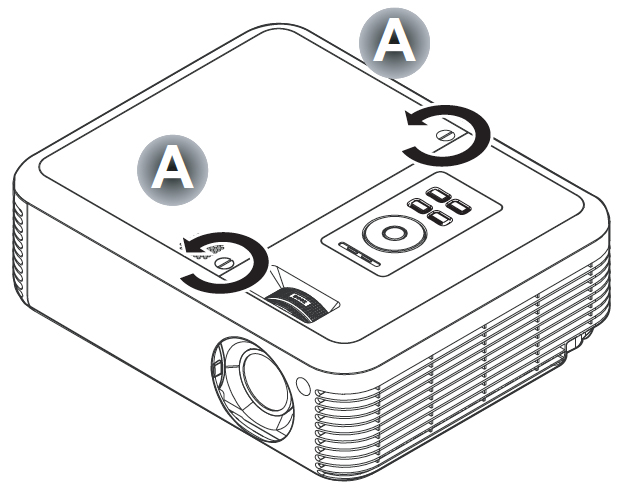
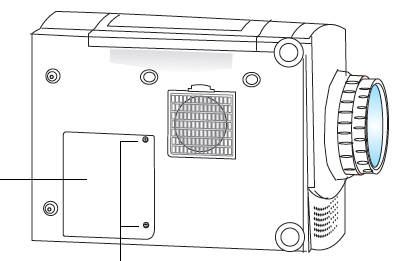
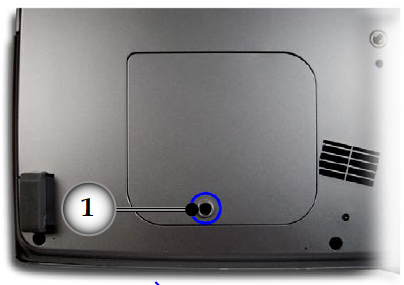
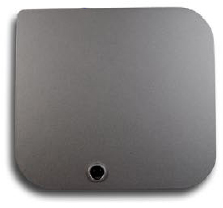
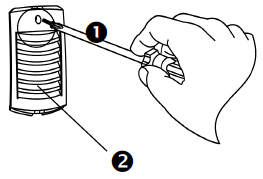
- Using a screwdriver, remove the screw holding the cover in place.
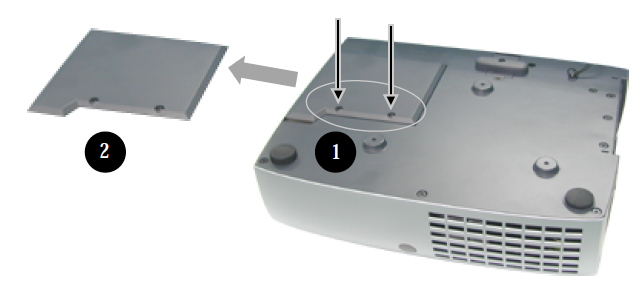
Step 2:
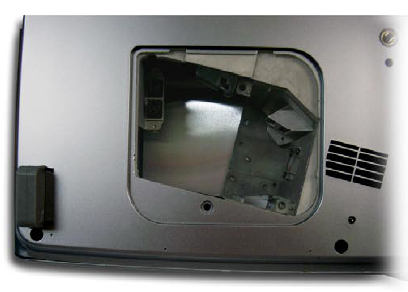
- Remove the cover from the Optoma EP718 projector.
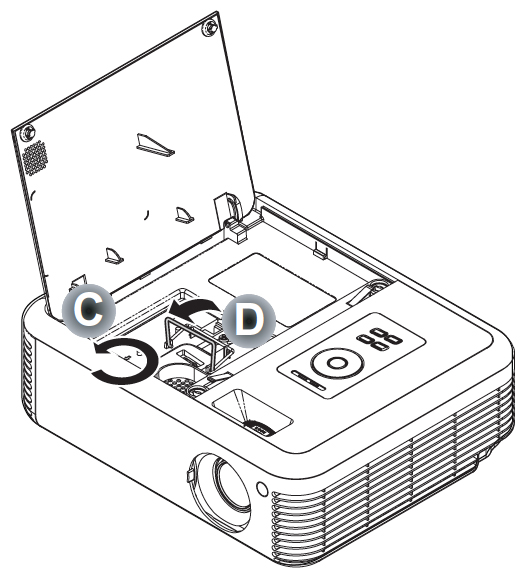
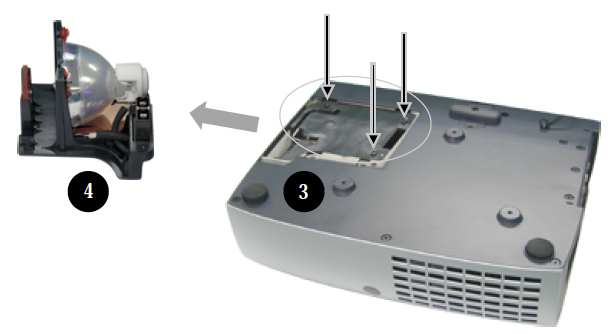
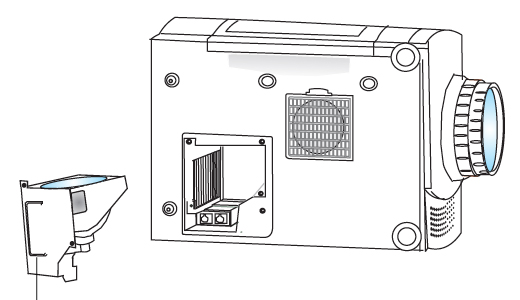
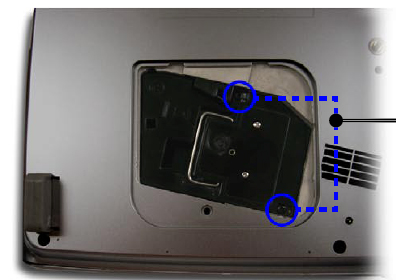
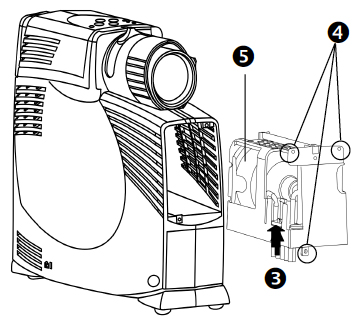 Step 3:
- On the left side of the lamp module, push the electrical connector up to disengage it from the projector base.
Step 4:
- Loosen the three screw holding the Optoma BL-FU150A lamp into the Optoma EP718. Tighten the two screws on the lamp. Replace the lamp cover and tighten its two screws.
- Remove the three screws from the lamp module.
- NOTE: The Optoma BL-FU150A contains mercury and should not be thrown into regular garbage. Recycle this lamp.
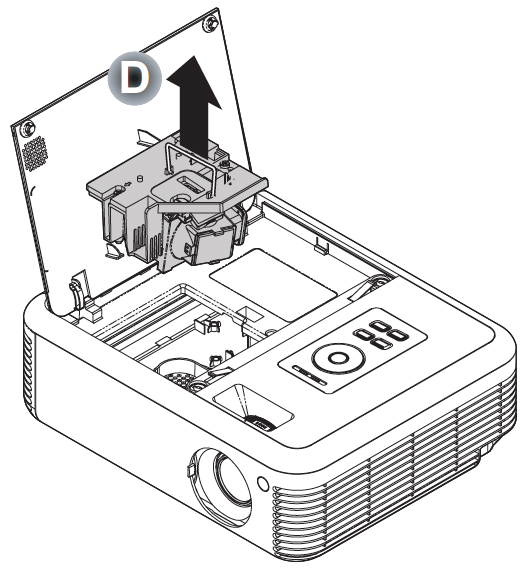
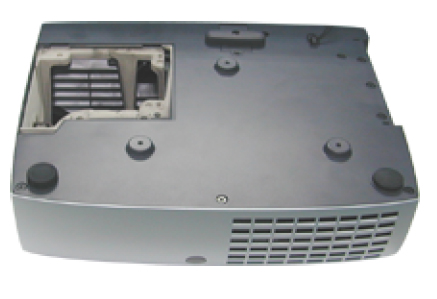
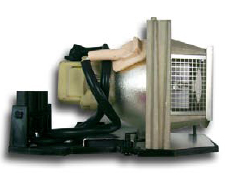
Step 5:
- Pull out the lamp manually.
- Gently slide in the new Optoma BL-FU150A. Take care not to touch the actual bulb as this may cause black spots to appear when the oil from your fingerprint heats up.
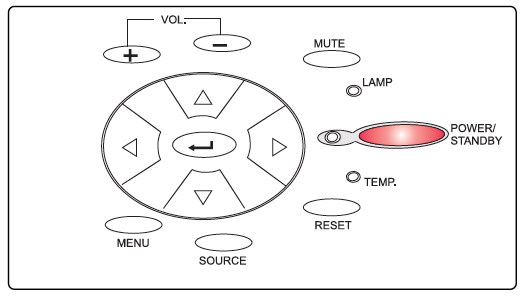
You must now reset the Lamp Replacement Timer.
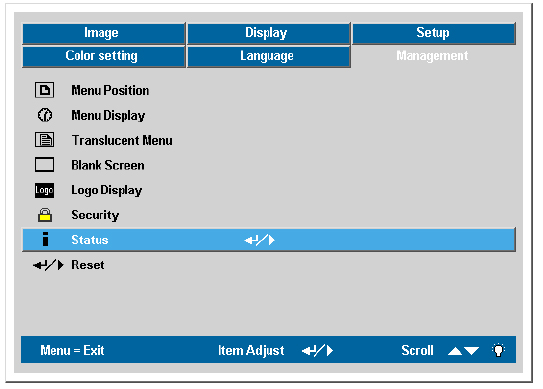
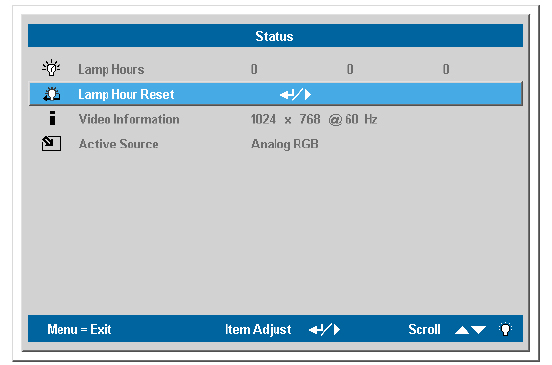
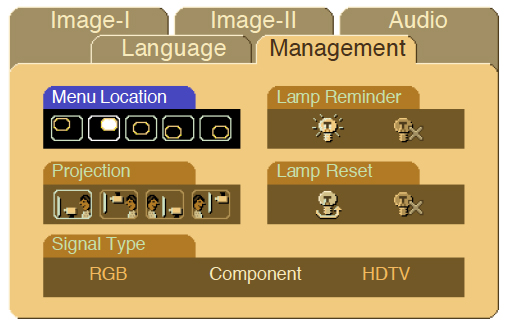
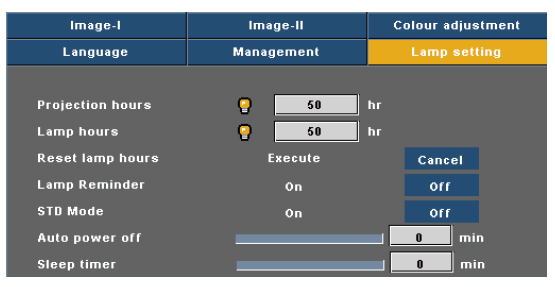
Reset the lamp timing on the Optoma EP718
- Press the Menu option on either the remote or on the projector.
- Scroll over the Lamp Setting. Press enter.
- Select Reset Lamp Hours. Press Enter
- The Execute/Cancel command line will appear.
- Scroll over to choose Execute. Press Enter.
- The lamp hours will be reset to zero.
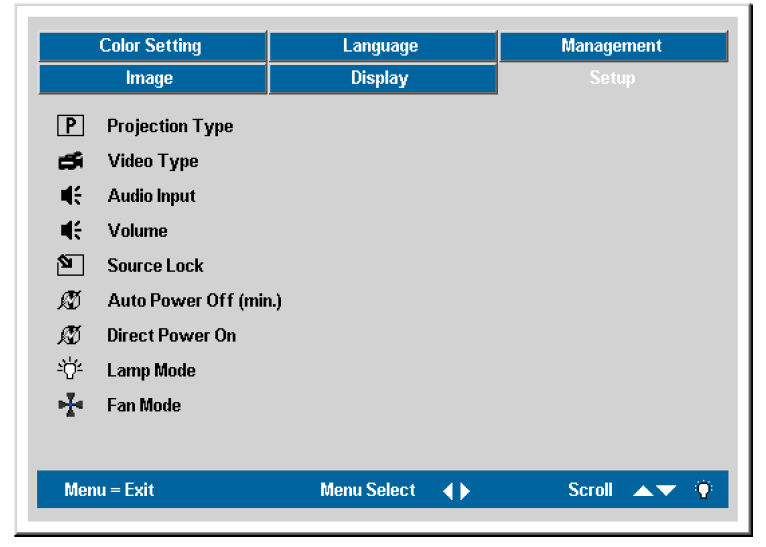
Prolong the life of the Optoma EP718 lamp:
Extend the life of the newly installed Optoma BL-FU150A with the following tips:
- Keep your air filters clean to avoid overheating the projector.
- Turn on the Eco Mode to lower power consumption and extend the lamp life by 130%
- Turn off the Optoma EP718 projector projector and let it stand for at least one hour ever 24 hours. An average use of four to five hours per day will ensure longer lamp life.
- Make sure there is enough airflow around the projector particularly if it’s been permanently mounted.
- Learn more with Top tips for extending DLP projector lamp life.