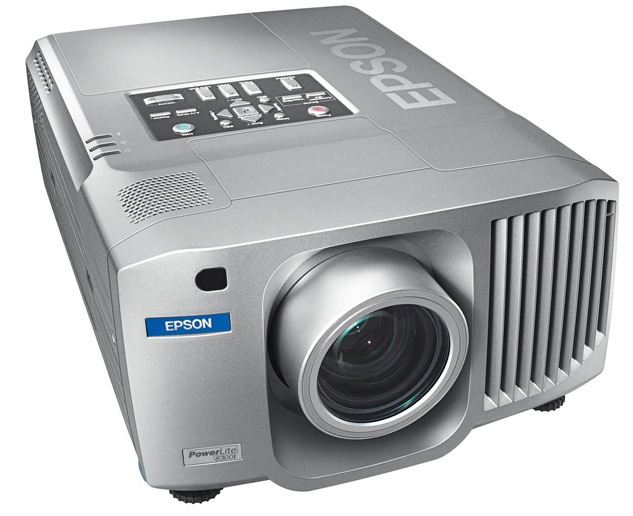
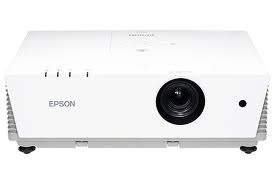
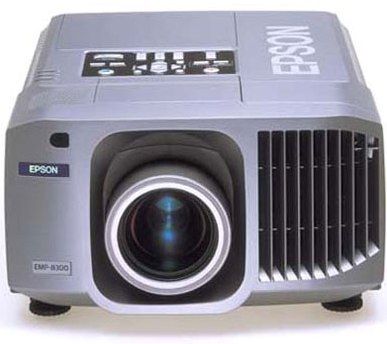
Changing the Epson PowerLite 8300NL projector lamp
 Replace the Epson PowerLite 8300NL projector lamp in three easy steps.
Step 1: Recognizing end of projector lamp
The Epson PowerLite 8300NL projector lamp lasts between 2000 to 3000 hours depending on the brightness settings. The number of hours may vary slightly depending on how much the projector is used and whether regular maintenance is done.
You will know when it’s time to replace the Epson ELPLP23 – V13H010L233 projector lamp in the Epson PowerLite 8300NL projector when the following end of life signs start to appear:
- projected image gets darks
- starts to deterioriate
- the lamp warning light begins to flash orange
- a message: “LAMP REPLACE” flashes on the screen when you start using the projector.
Using the lamp past it’s due date can seriously damage your Epson PowerLite 8300NL projector.
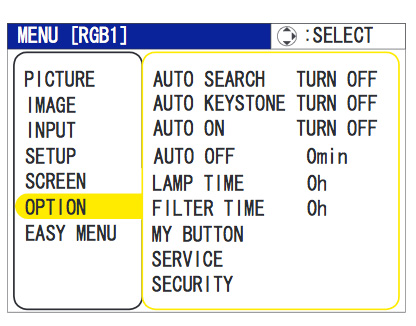
Consult the About menu to see how many hours are left until the Epson ELPLP23 (V13H010L233) projector lamp reaches end of life. To access:
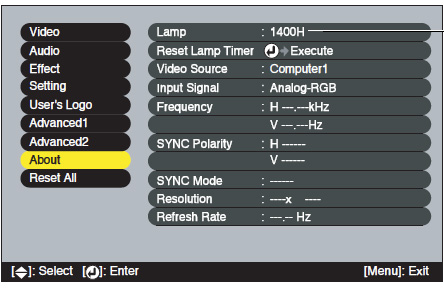
- Press the MENU button to get the projector’s main menu.
- Scroll down to the ABOUT option.
- Press ENTER.
- The lamp usage timer shows 0H until you’ve used the lamp for at least 10 hours.
Step 2: Buying the right projector lamp
Copycat manufacturers offer no guarantee or refunds and the warranty on your Epson PowerLite 8300NL projector will become void. Look for the seal of approval before buying and get the best projector lamp possible — an authentic OEM one!
Reasons for avoiding generic lamps:
- no safety guards to protect your eyesight.
- shorter life so end up costing more.
- prone to explosions.
- created with toxic substitutes
- not operly calibrated
- damage the sensitive and expensive electronics optics
Learn how to spot the copycat fake lamps with 7 Ways to Spot a Counterfeit Lamp.
Find this lamp on Amazon sold by these authorized dealers:
- Epson ELP-LP23 Projector Assembly with High Quality Osram Projector Bulb
- Epson ELP-LP23 Projector Lamp Replacement. Lamp Assembly with High Quality OEM Compatible Bulb Inside
Step 3: Installing the Epson ELPLP43 projector lamp
Do these four safety steps BEFORE installing the new Epson ELPLP23 V13H010L233 projector lamp:
- The Epson PowerLite 8300NL projector operates under very high temperatures. Let it cool for one full hour before attempting to replace the lamp in order to avoid being burned.
- Turn off the projector by pressing the power button. Wait for the light to stop flashing.
- Turn off the power switch at the back on the projector
- Unplug any power cords.
To replace the V13H010L233 projector lamp:
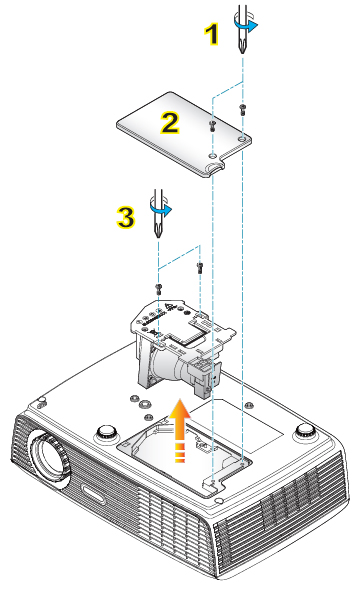
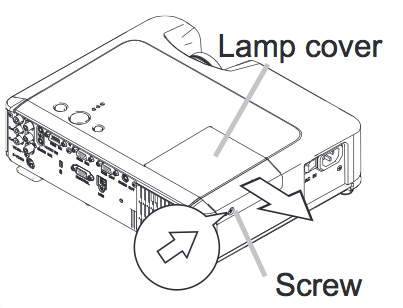
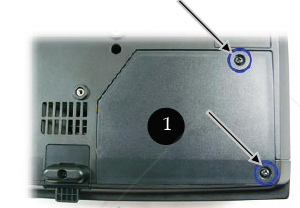
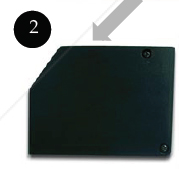
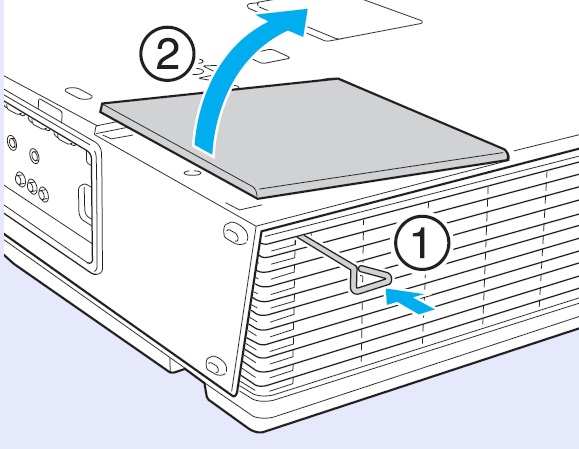
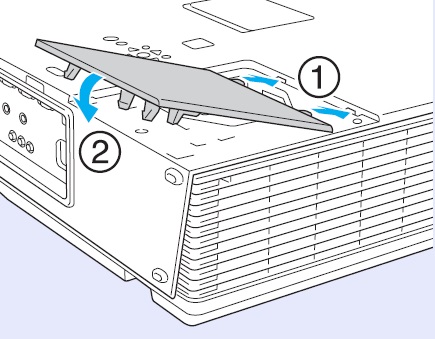
 Remove the cover on the Epson PowerLite 8300NL projector. Take extra precaution if the projector is mounted on the ceiling. If you have installed the rear cover after mounting on the ceiling, you should remove that cover first.
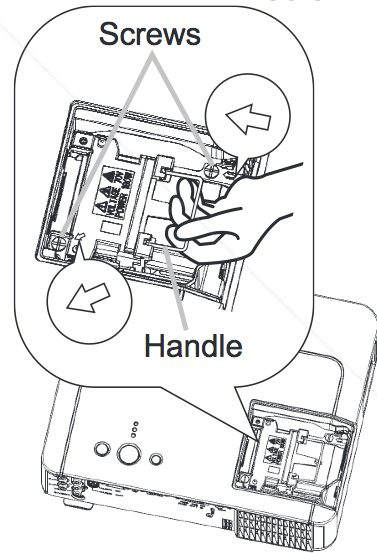
Loosen the projector lamp cover screws –they won’t come all the way out. Put the projector lamp cover to one side.
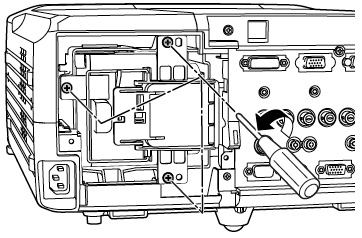
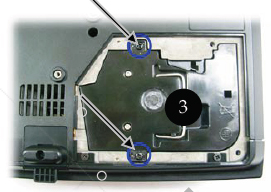
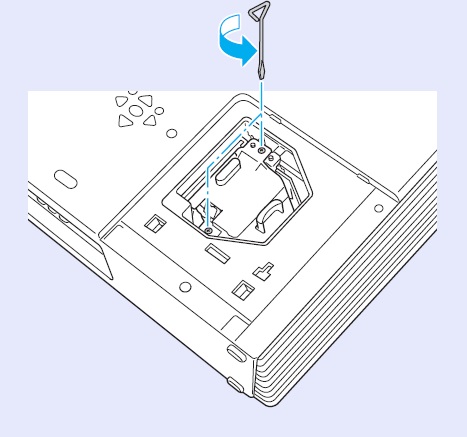
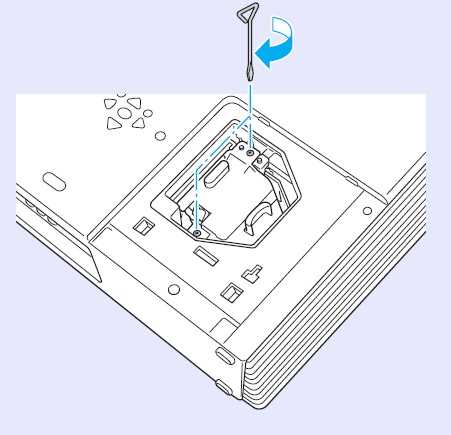
Loosen the three screws holding the projector lamp in place (screws don’t come out the whole way).
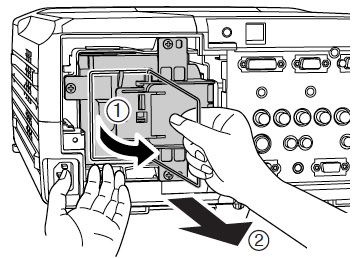
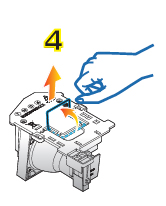
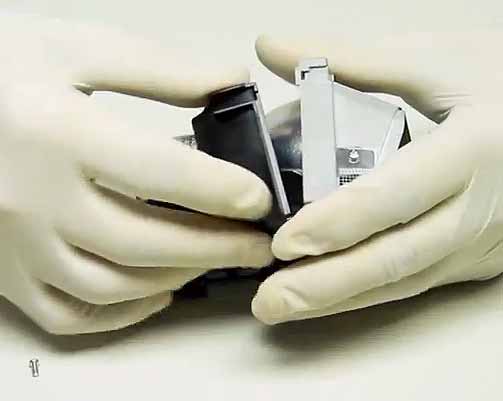
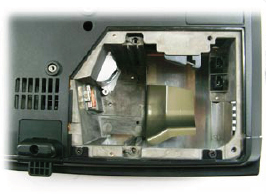
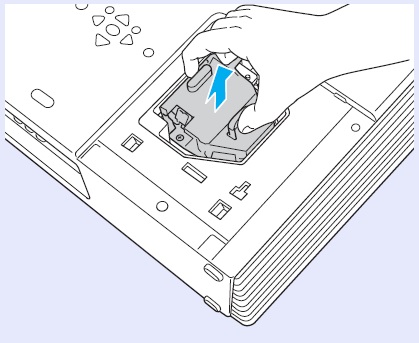
Lift up the wire handle on the projector lamp. Grasp it and and pull the Epson ELPLP23 – V13H010L233 projector lamp straight out
Pulling too quickly can cause the bulb to shatter. Learn what to do should the bulb shatter.
NOTE: The Epson ELPLP23 projector lamp contains mercury and should be properly recycled. Don’t place it into regular garbage.
To finish the Epson ELPLP23 – V13H010L233 projector lamp installation:
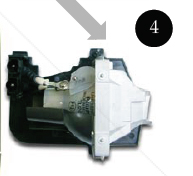
- Gently insert the new Epson ELPLP23 – V13H010L233 projector lamp.
- Take care not to touch the actual glass bulb as your fingerprint will burn into a black spot when the lamp heats up. This will cause black spots on the screen.
- Once the lamp is fully inserted, tighten three screws that will hold the lamp in place.
- Replace the Epson PowerLite 8300NL projector cover.
- You must now reset the lamp timer.
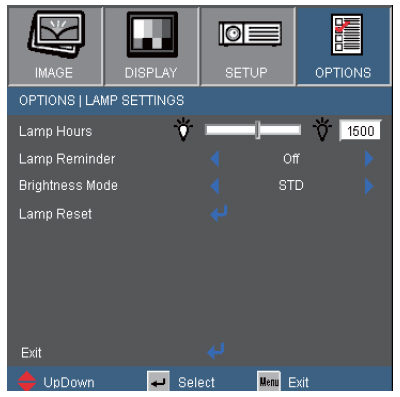
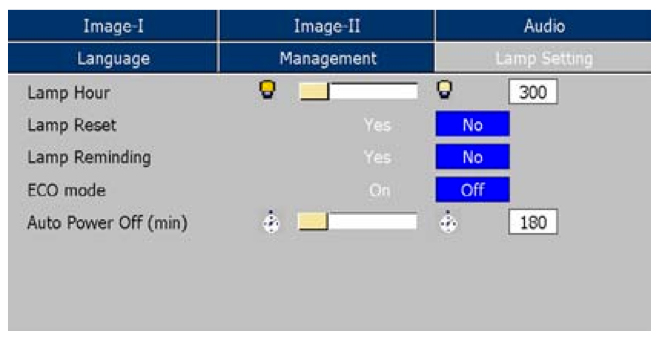
Resetting the Projector Lamp Timer
It’s important to reset the Lamp Usage Timer so the Epson PowerLite 8300NL projector can accurately track the lamp lie and send the Lamp replacement message when it’s time for a new Epson ELPLP23 – V13H010L233 projector lamp.
- Press the MENU button on the remote control projector’s control panel to open the main menu.
- Use the pointer buttons on the remote control to scroll down the menu on the left and highlight the ABOUT option.
- Scroll down to RESET LAMP TIMER.

- Press ENTER to bring up the Execute prompt.
- Select YES.
- Press ENTER.
- Press ESC or MENU.
Resetting the timer before installing a new Epson ELPLP23 – V13H010L233 projector lamp can cause serious damage to your projector.
Get more life from your Epson ELPLP43 projector lamp
Get more hours from your Epson ELPLP23 lamp by following these maintenance tips:
- Keep your air filters clean to avoid overheating the projector.
- Turn off the Epson PowerLite 8300NL projector and let it stand unused for at least one hour ever 24 hours. An average use of four to five hours per day will ensure longer lamp life.
- Make sure there is enough airflow around the projector particularly if it’s been permanently mounted.
- Learn more with Top tips for extending DLP projector lamp life.
- Press the MENU button to exit.