
Replacing the Samsung 50A650C1FXZA DLP chip
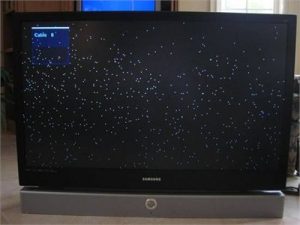
 White dots on the Samsumg 50A650C1FXZA means the DLP chip needs replacing
Replace your Samsung 50A650C1FXZA DLP chip for under $300 and get rid of those white dots.
Note: These instructions can also be used for the following Samsung models:
H50A650C1FXZA, HLT5055WX/XAA , HLT5076SX/XAA, HLT5087SX/XAA, HLS5087WX/XAA, HL56A650C1FXZA, HLT5656WX/XAA, HLT5676SX/XAA, HLT5687SX/XAA, HLT5687SAX/XAA, HLT5689SX/XAA, HLT6156WX/XAA, HL61A650C1FXZA, HL61A750A1FXZA, HLT6156WX/XAA, HLT6176SX/XAA, HLT6187SAX/XAA, HLT6187SX/XAA, HLS6187WX/XAA, HLT6189SX/XAA, HL67A750A1FXZA, HLT6756WX/XAA, HL72A650C1FXZA, HLT7288WX/XAA
Find this New Mitsubishi/Toshiba 4719-001997 DLP Chip 1910-6143W on Amazon.
Equipment needed
- Electric Philips screwdriver
- needle nose pliers or a 5mm nut driver
- antistatic gloves OR plastic gloves used with an antistatic wrist band
- soft cloth or brush
Replacing the 4719-001997 50A650C1FXZA DLP Chip
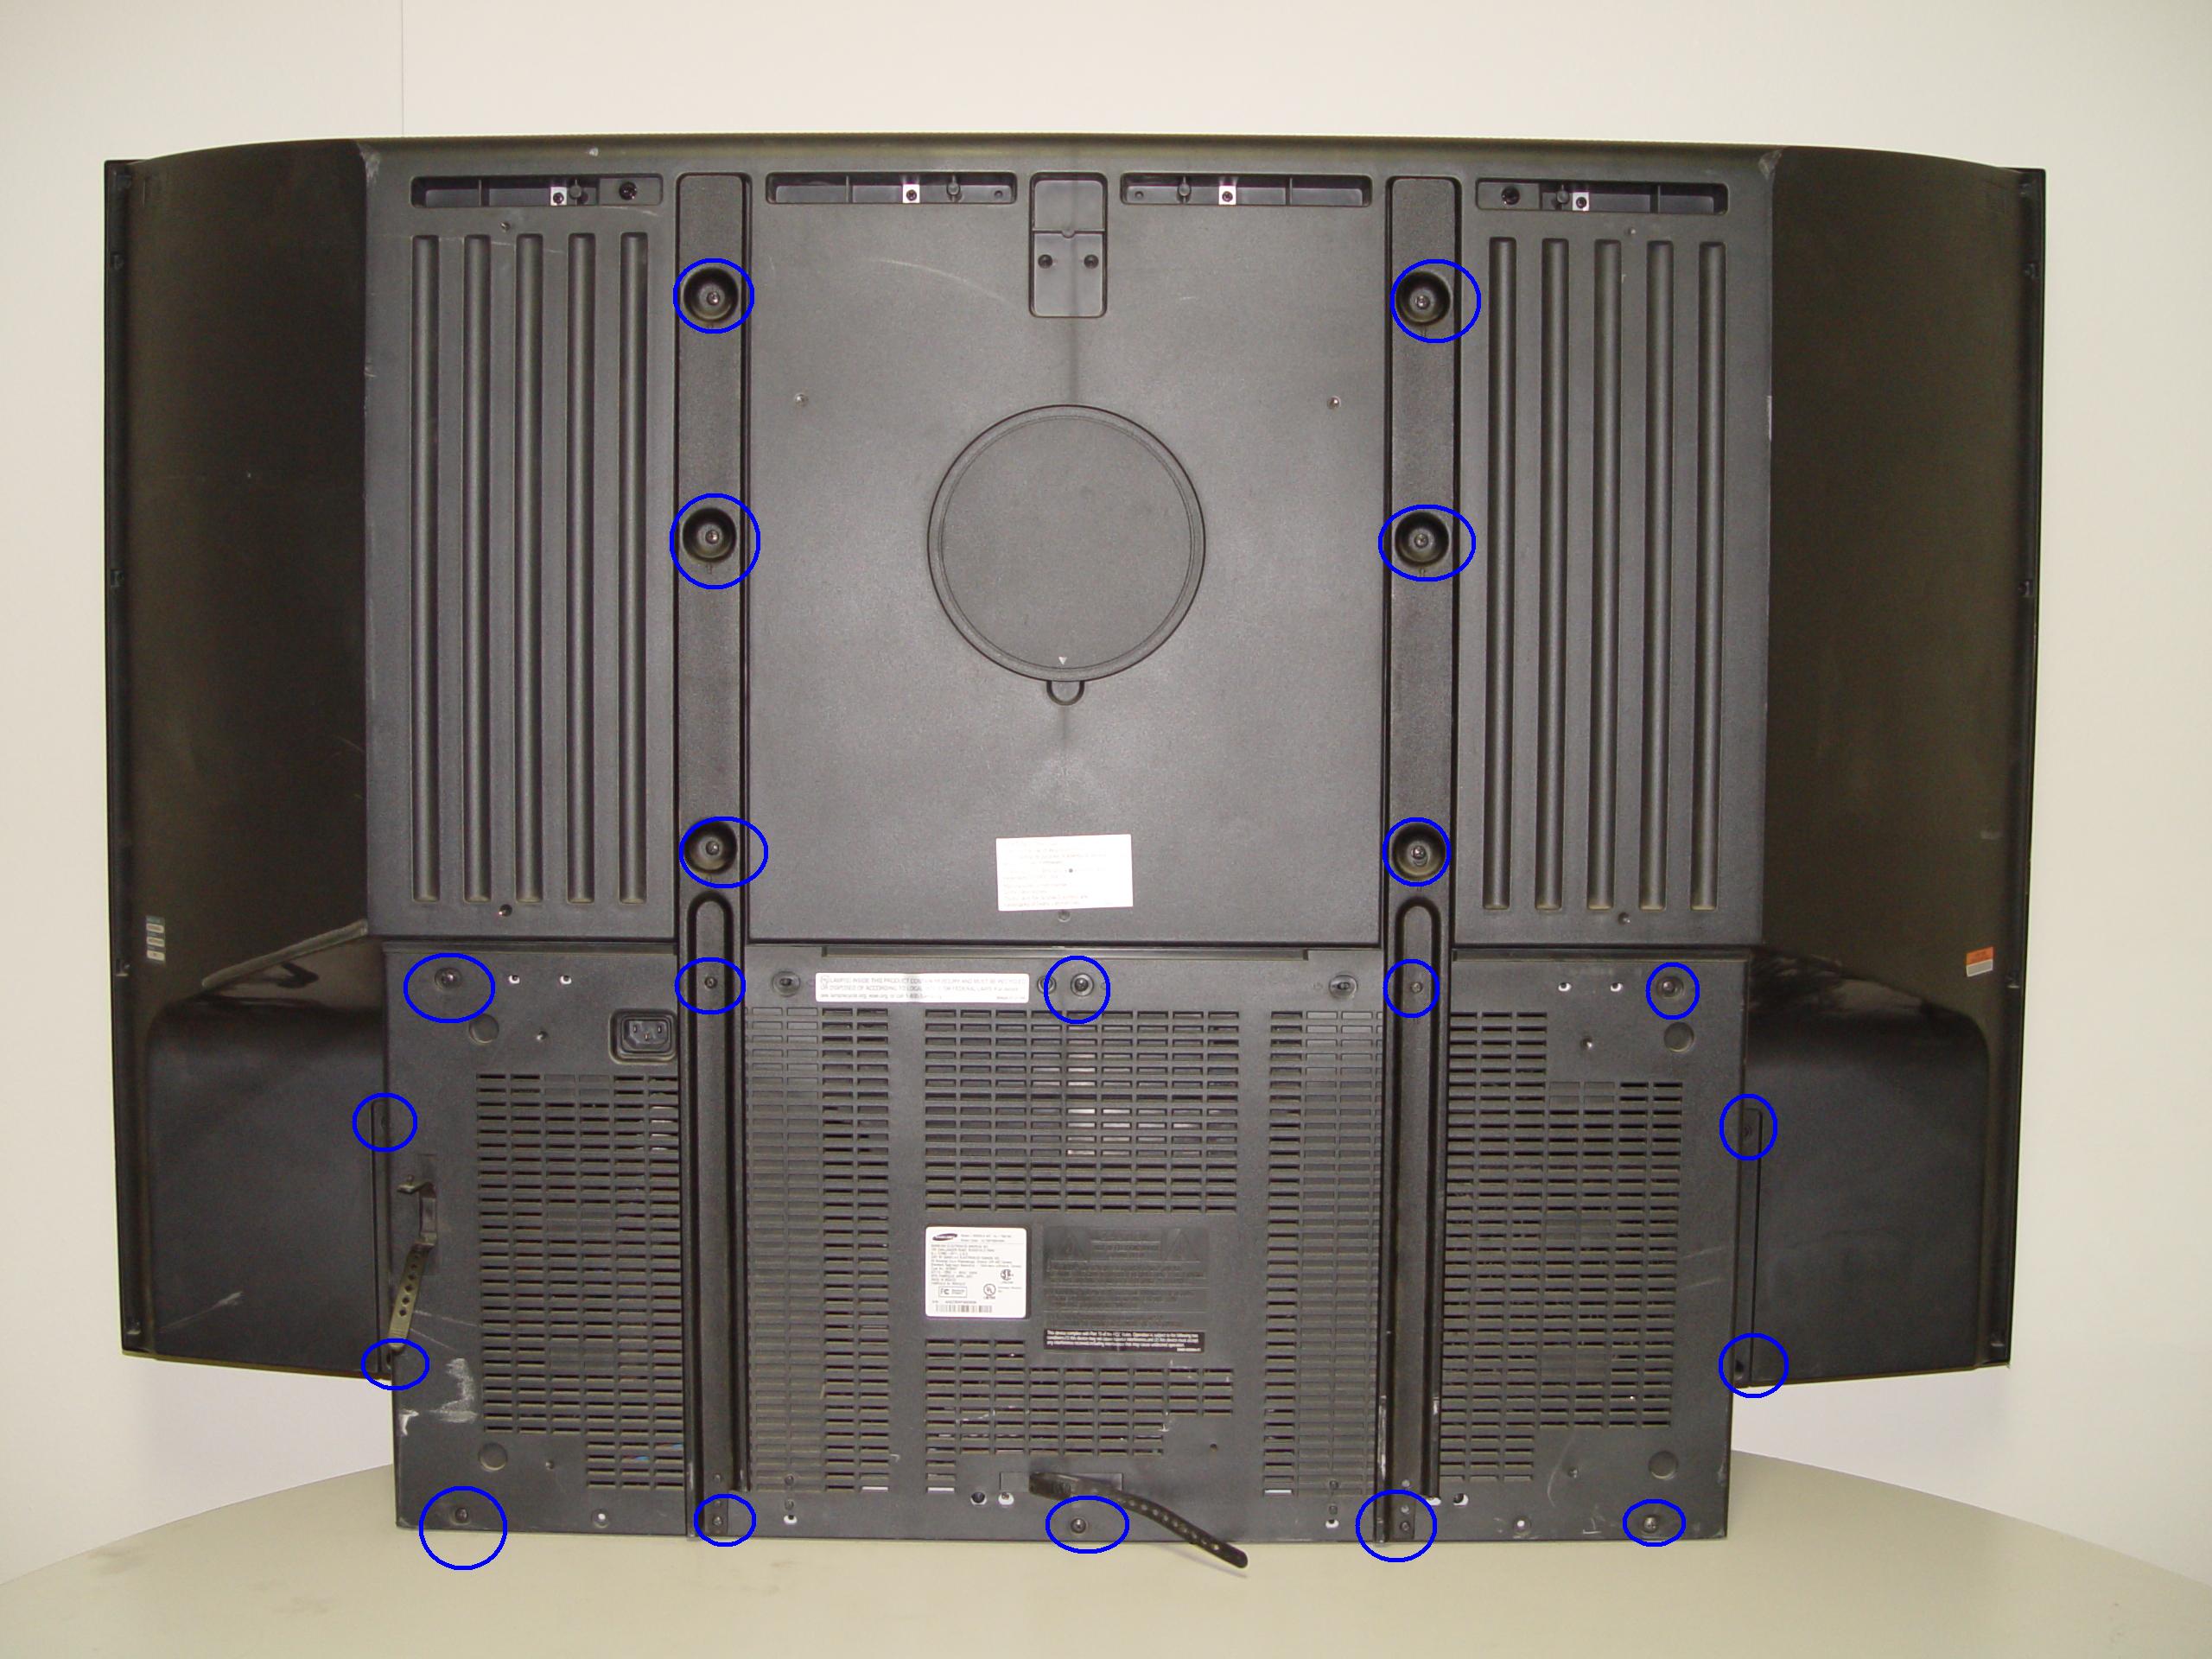
Step 1
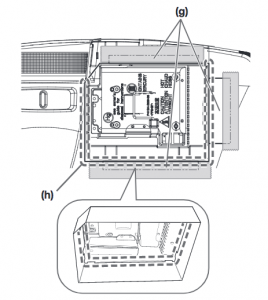
Step 1: Put on the plastic gloves. Loosen all the screws found on the back panel. Put the screws to one side and remove the back panel.
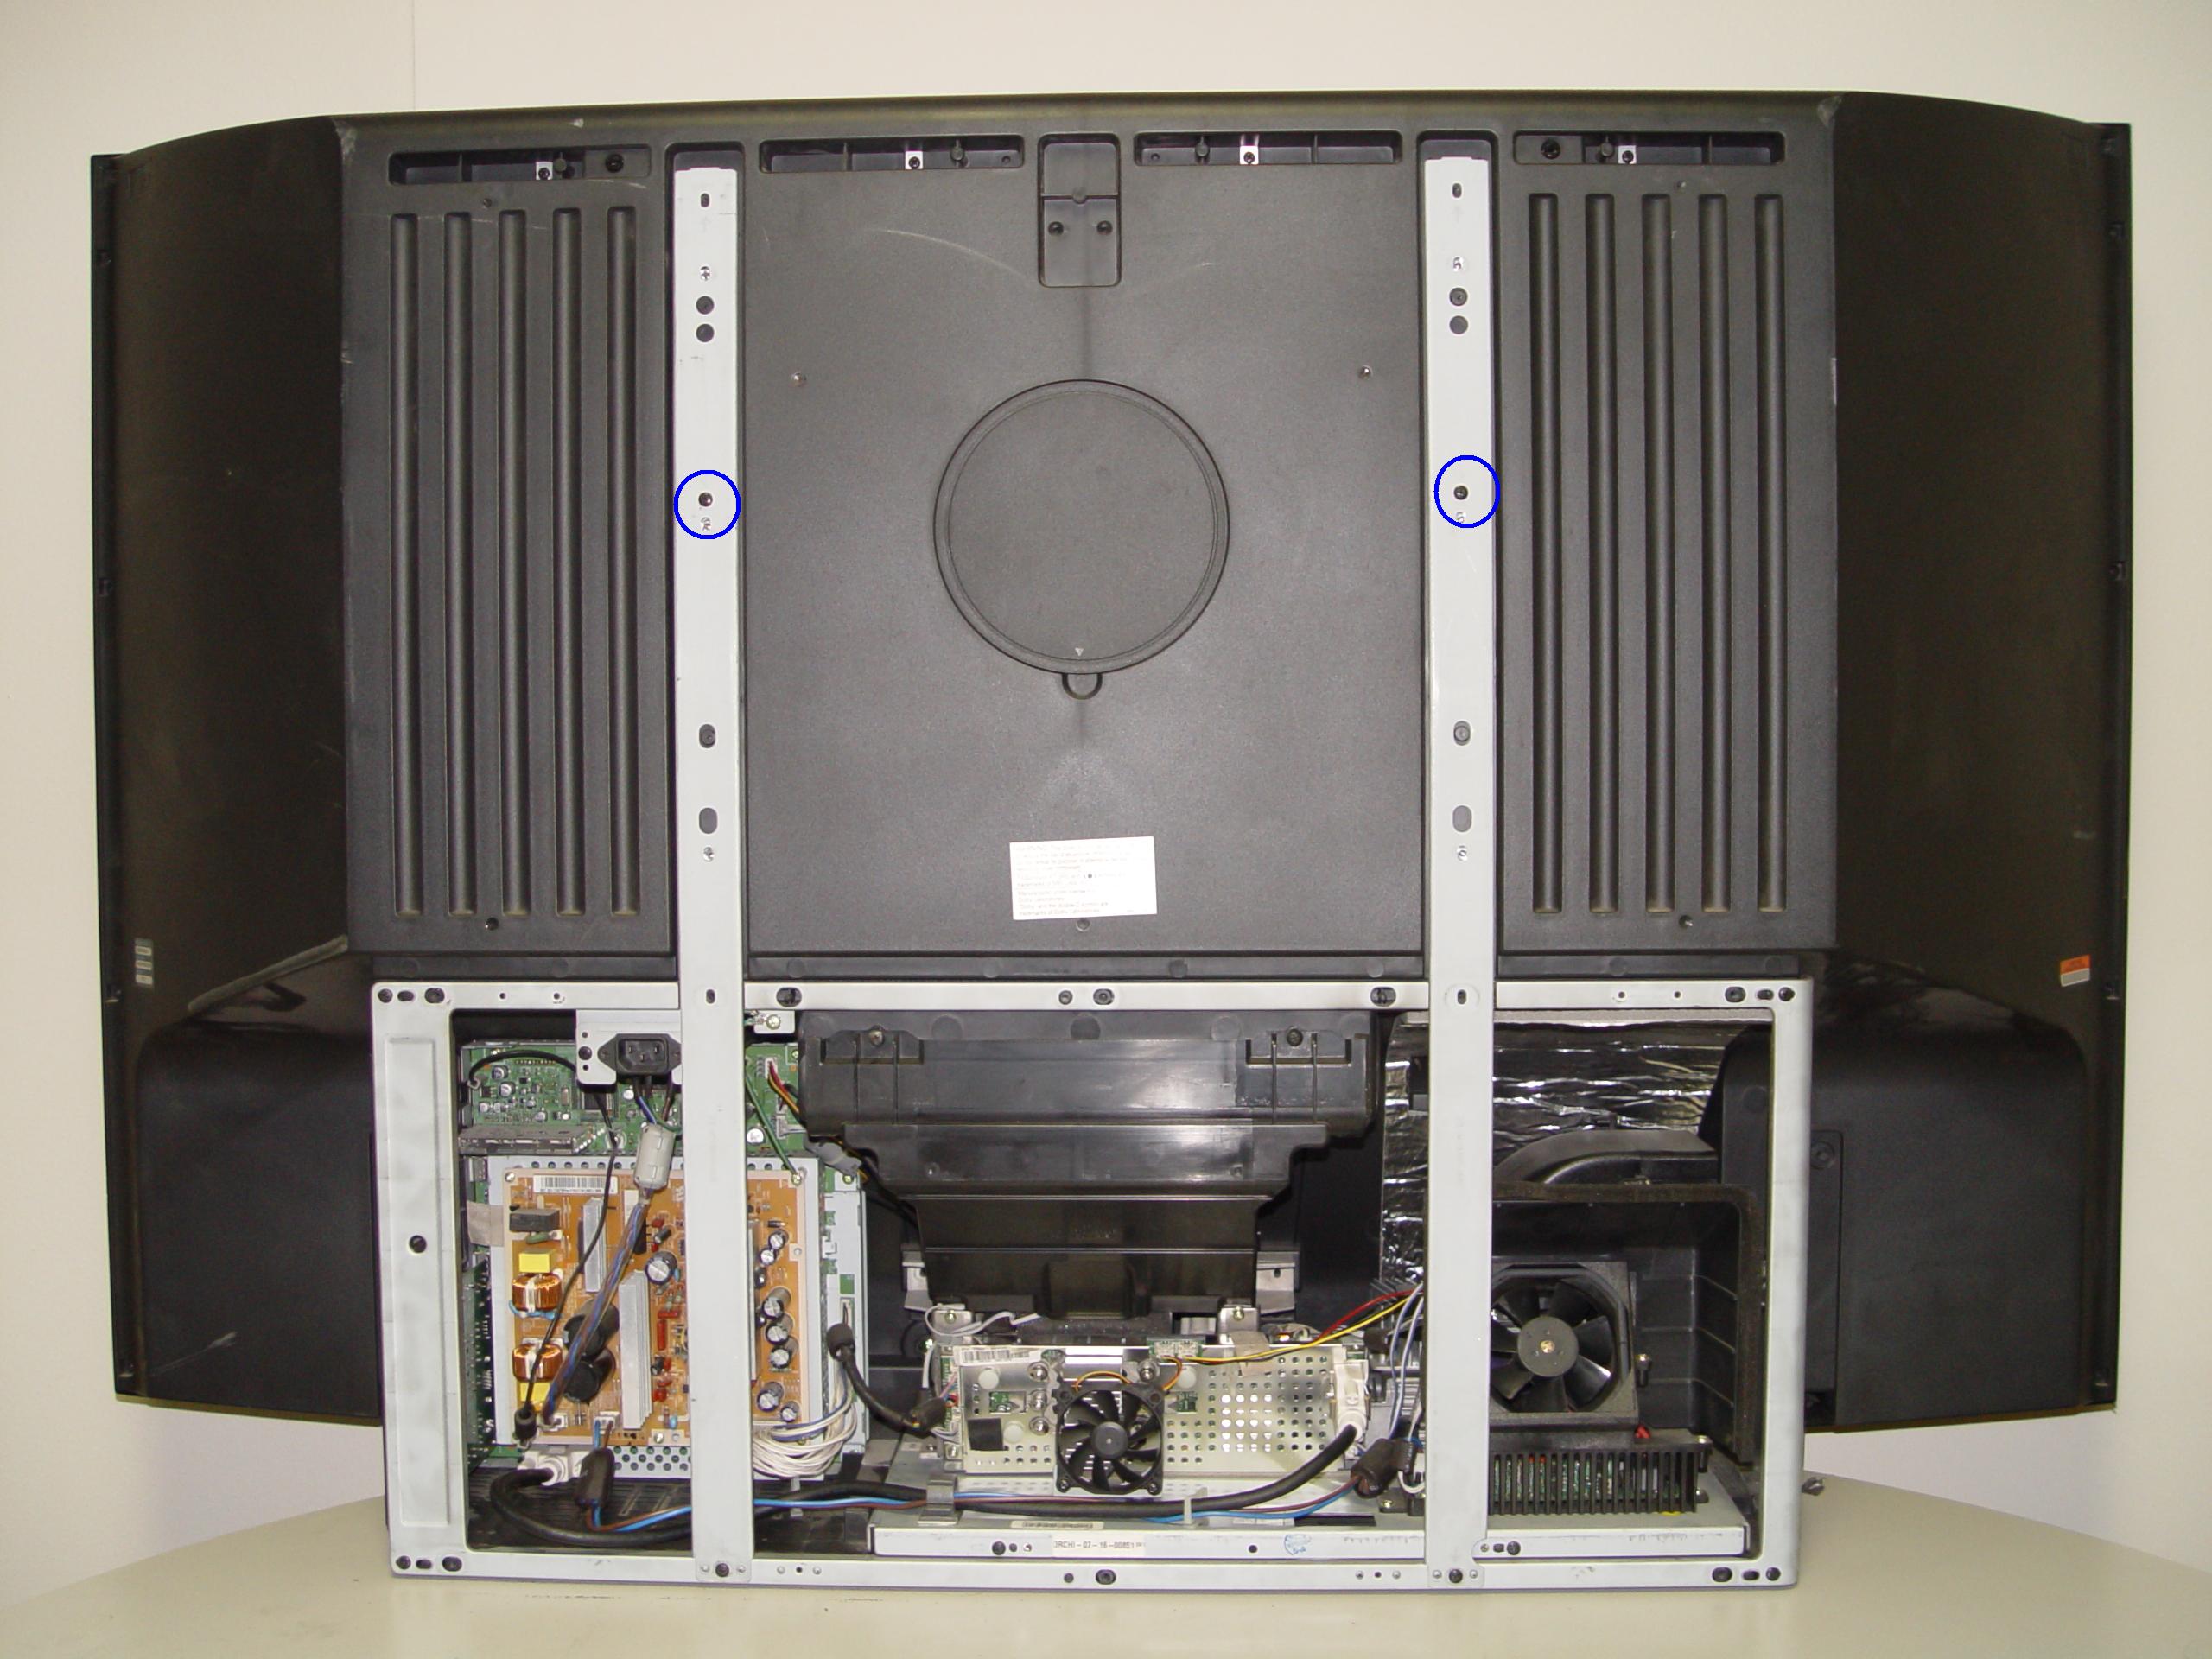
Step 2
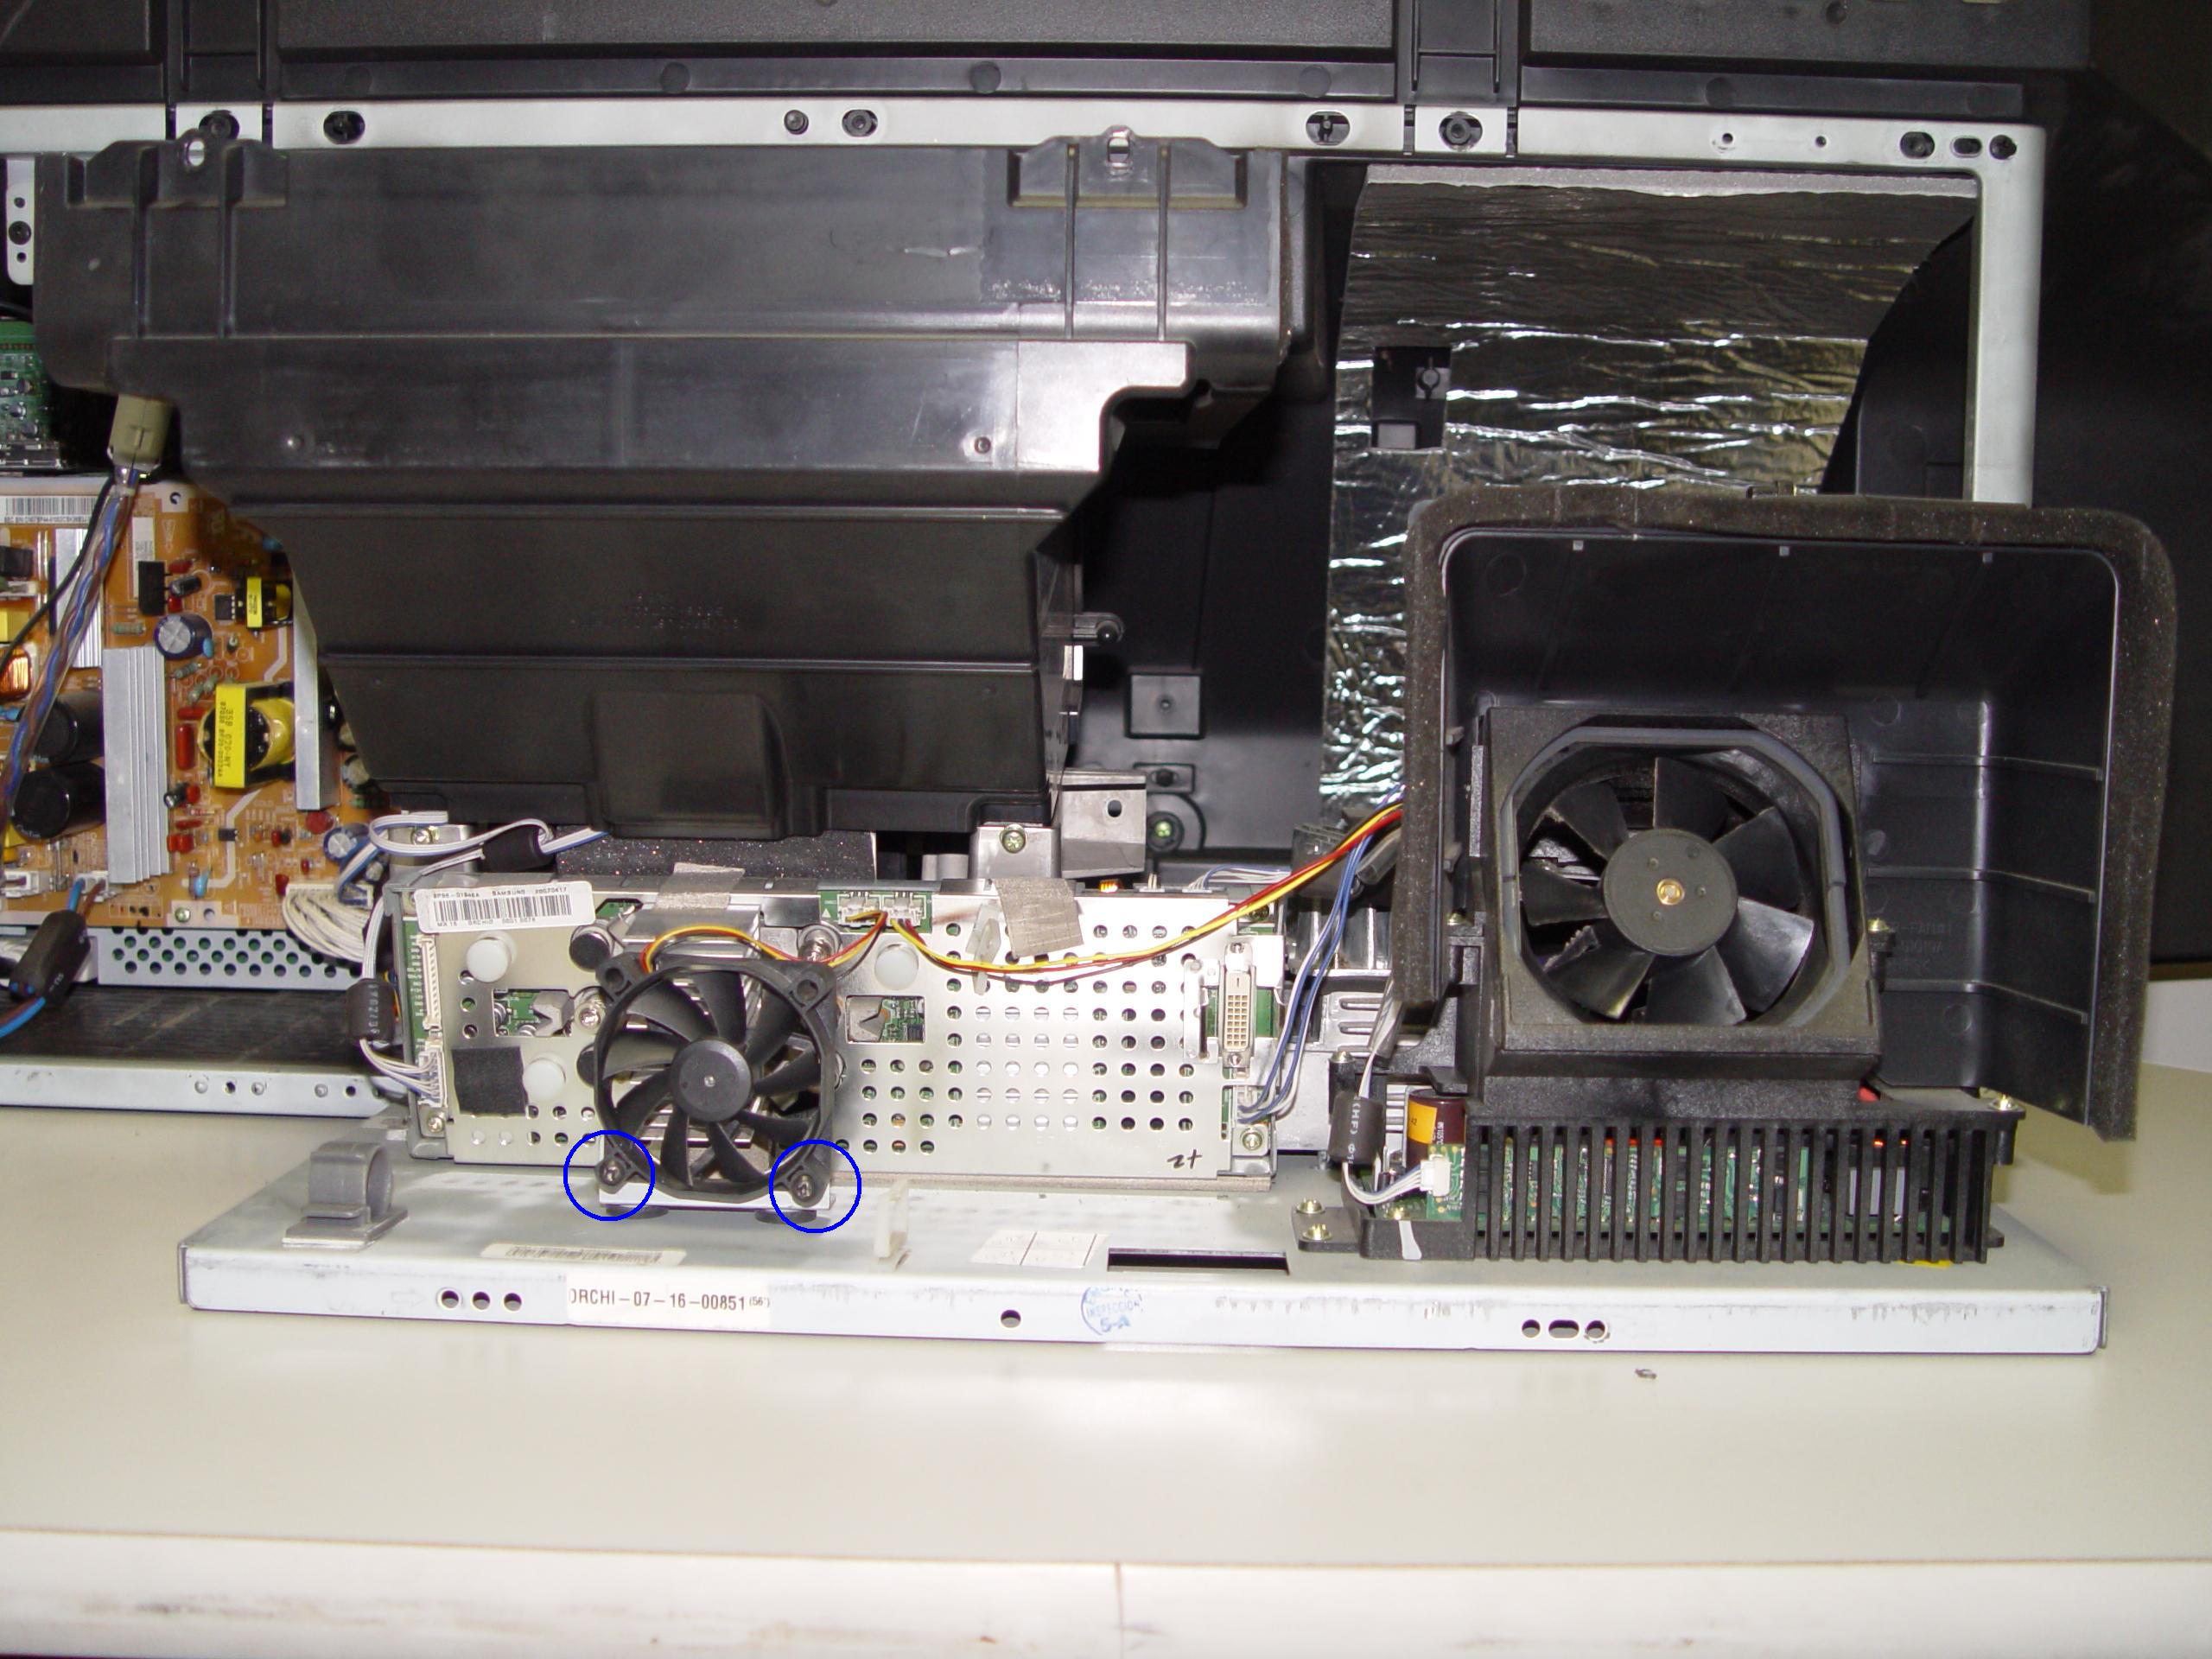
Step 2: Loosen the two screws holding the lamp bracket in place.
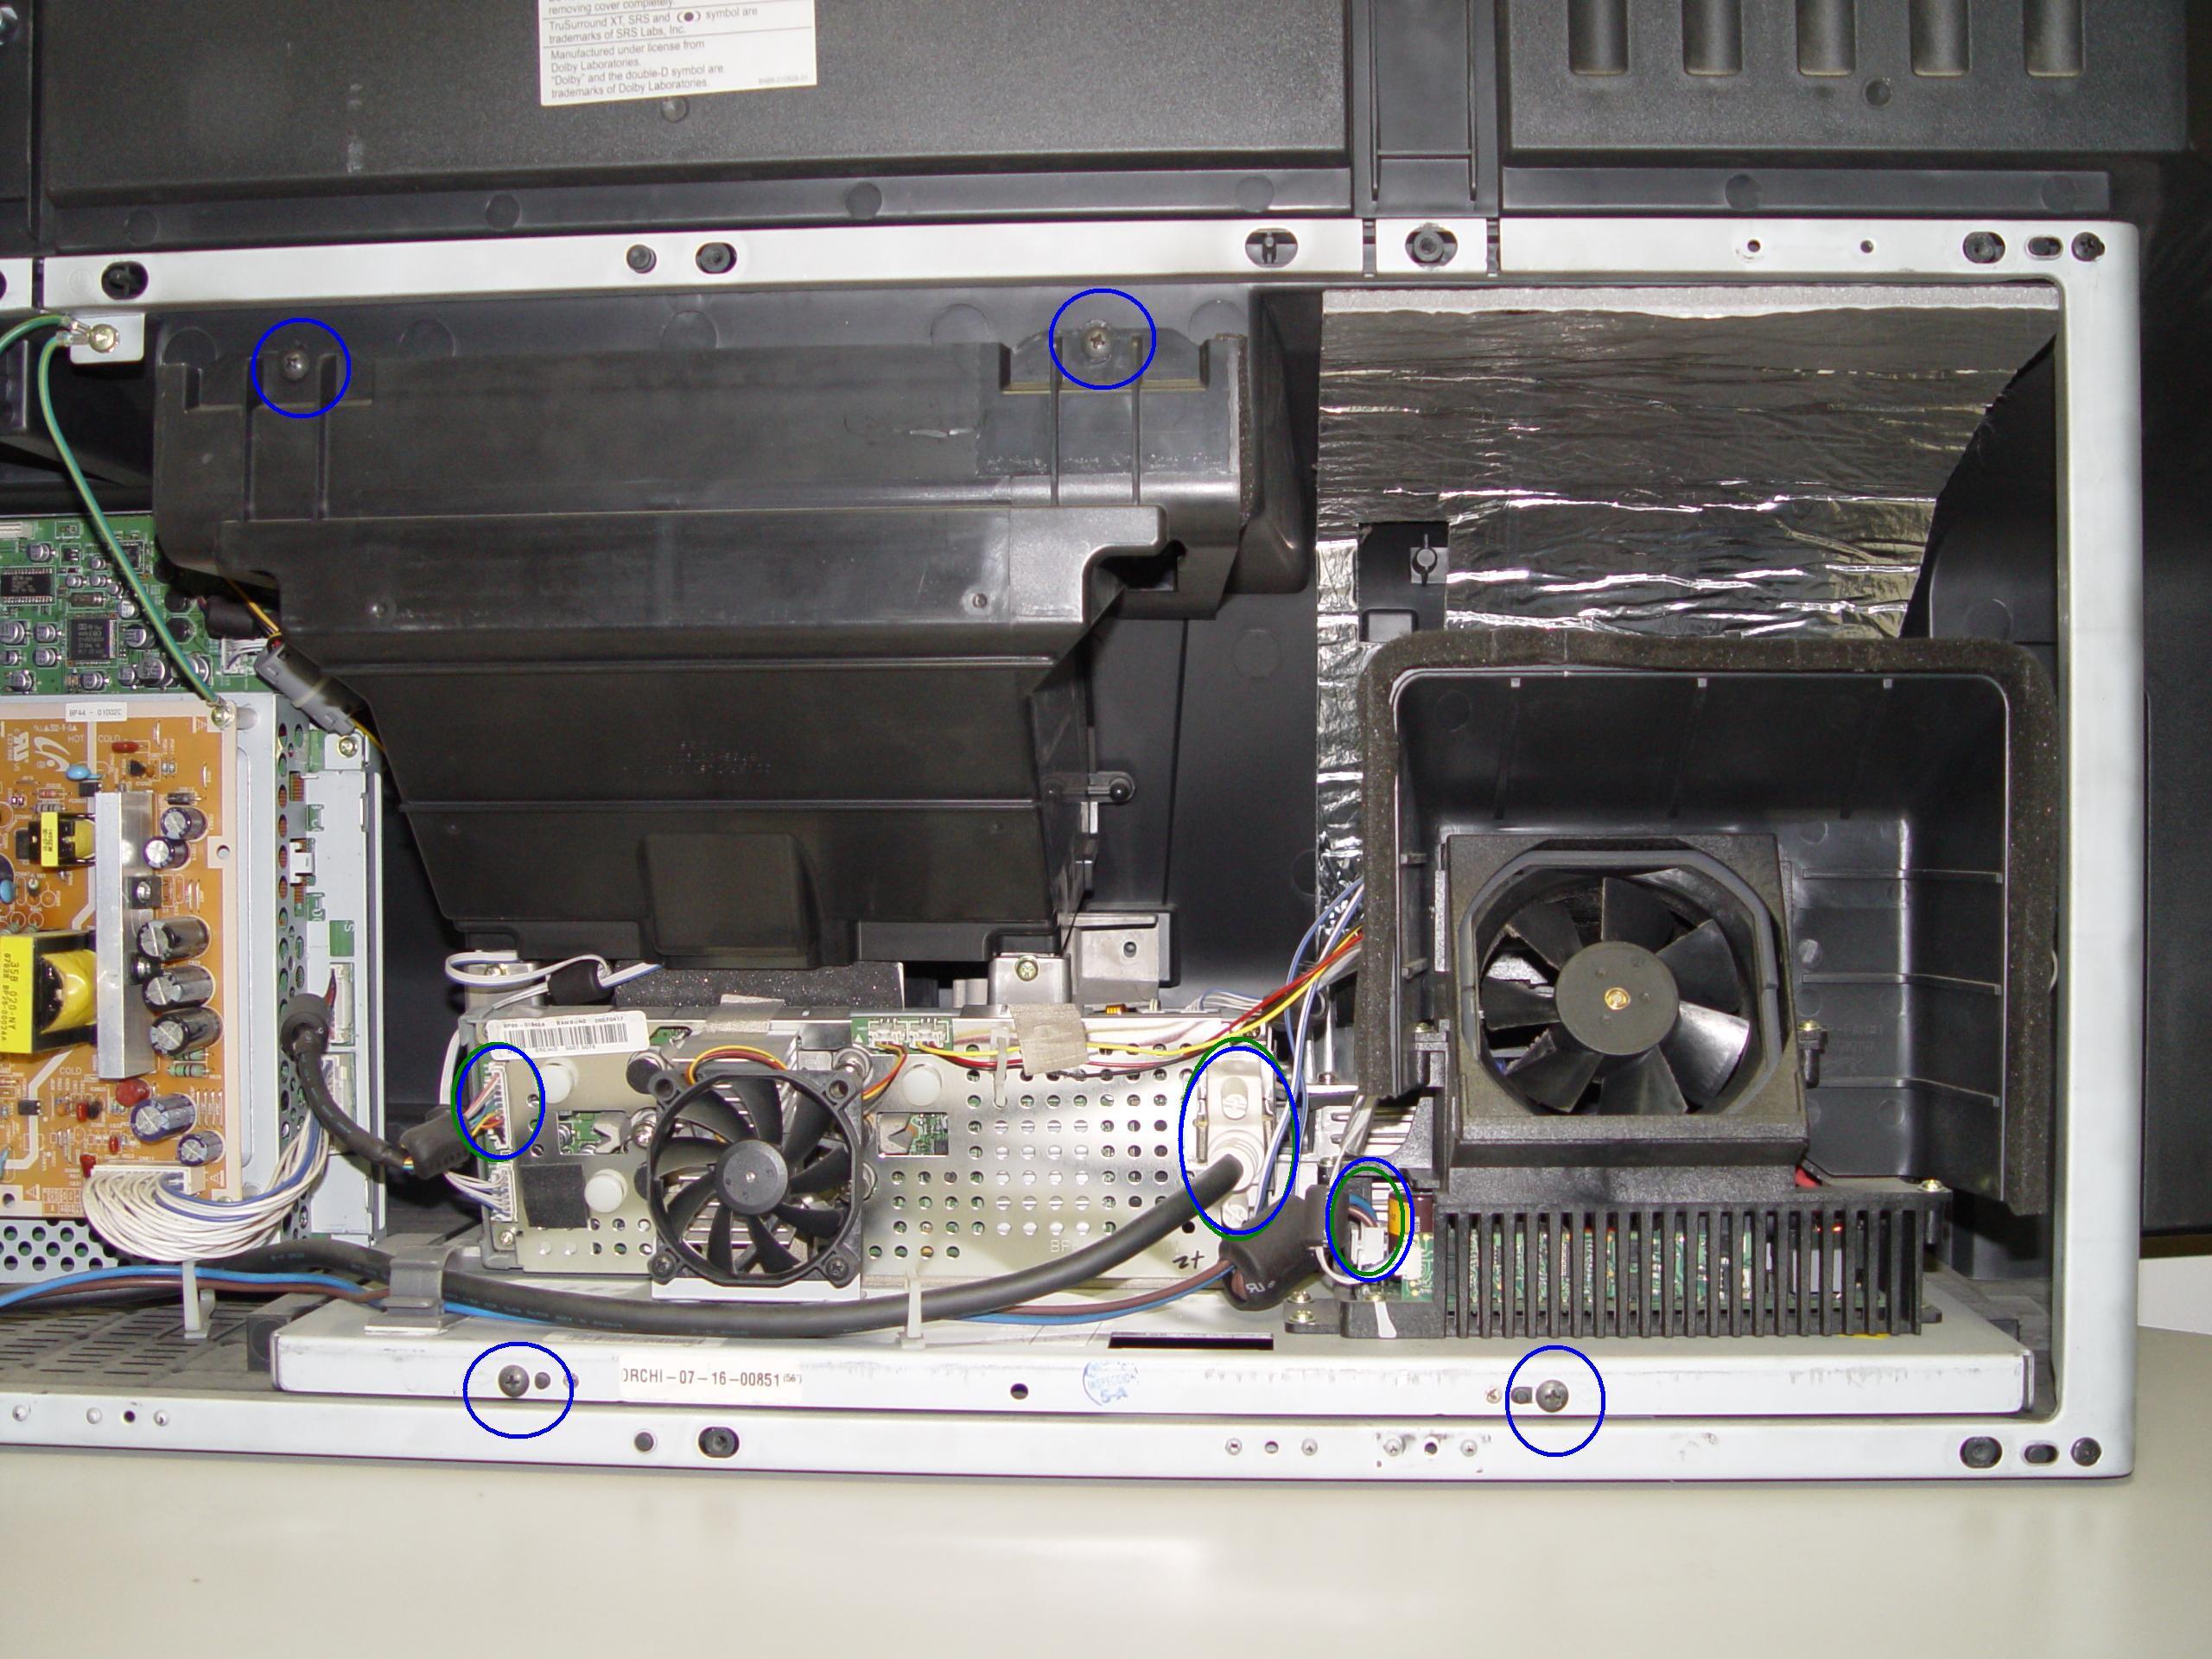
Step 3
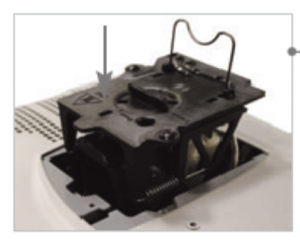
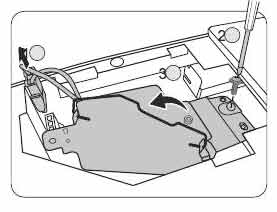
Step 3: Remove the 4 screws holding the lamp engine in place. Disconnect all the connectors. Important: don’t yank any cables.
Step 4
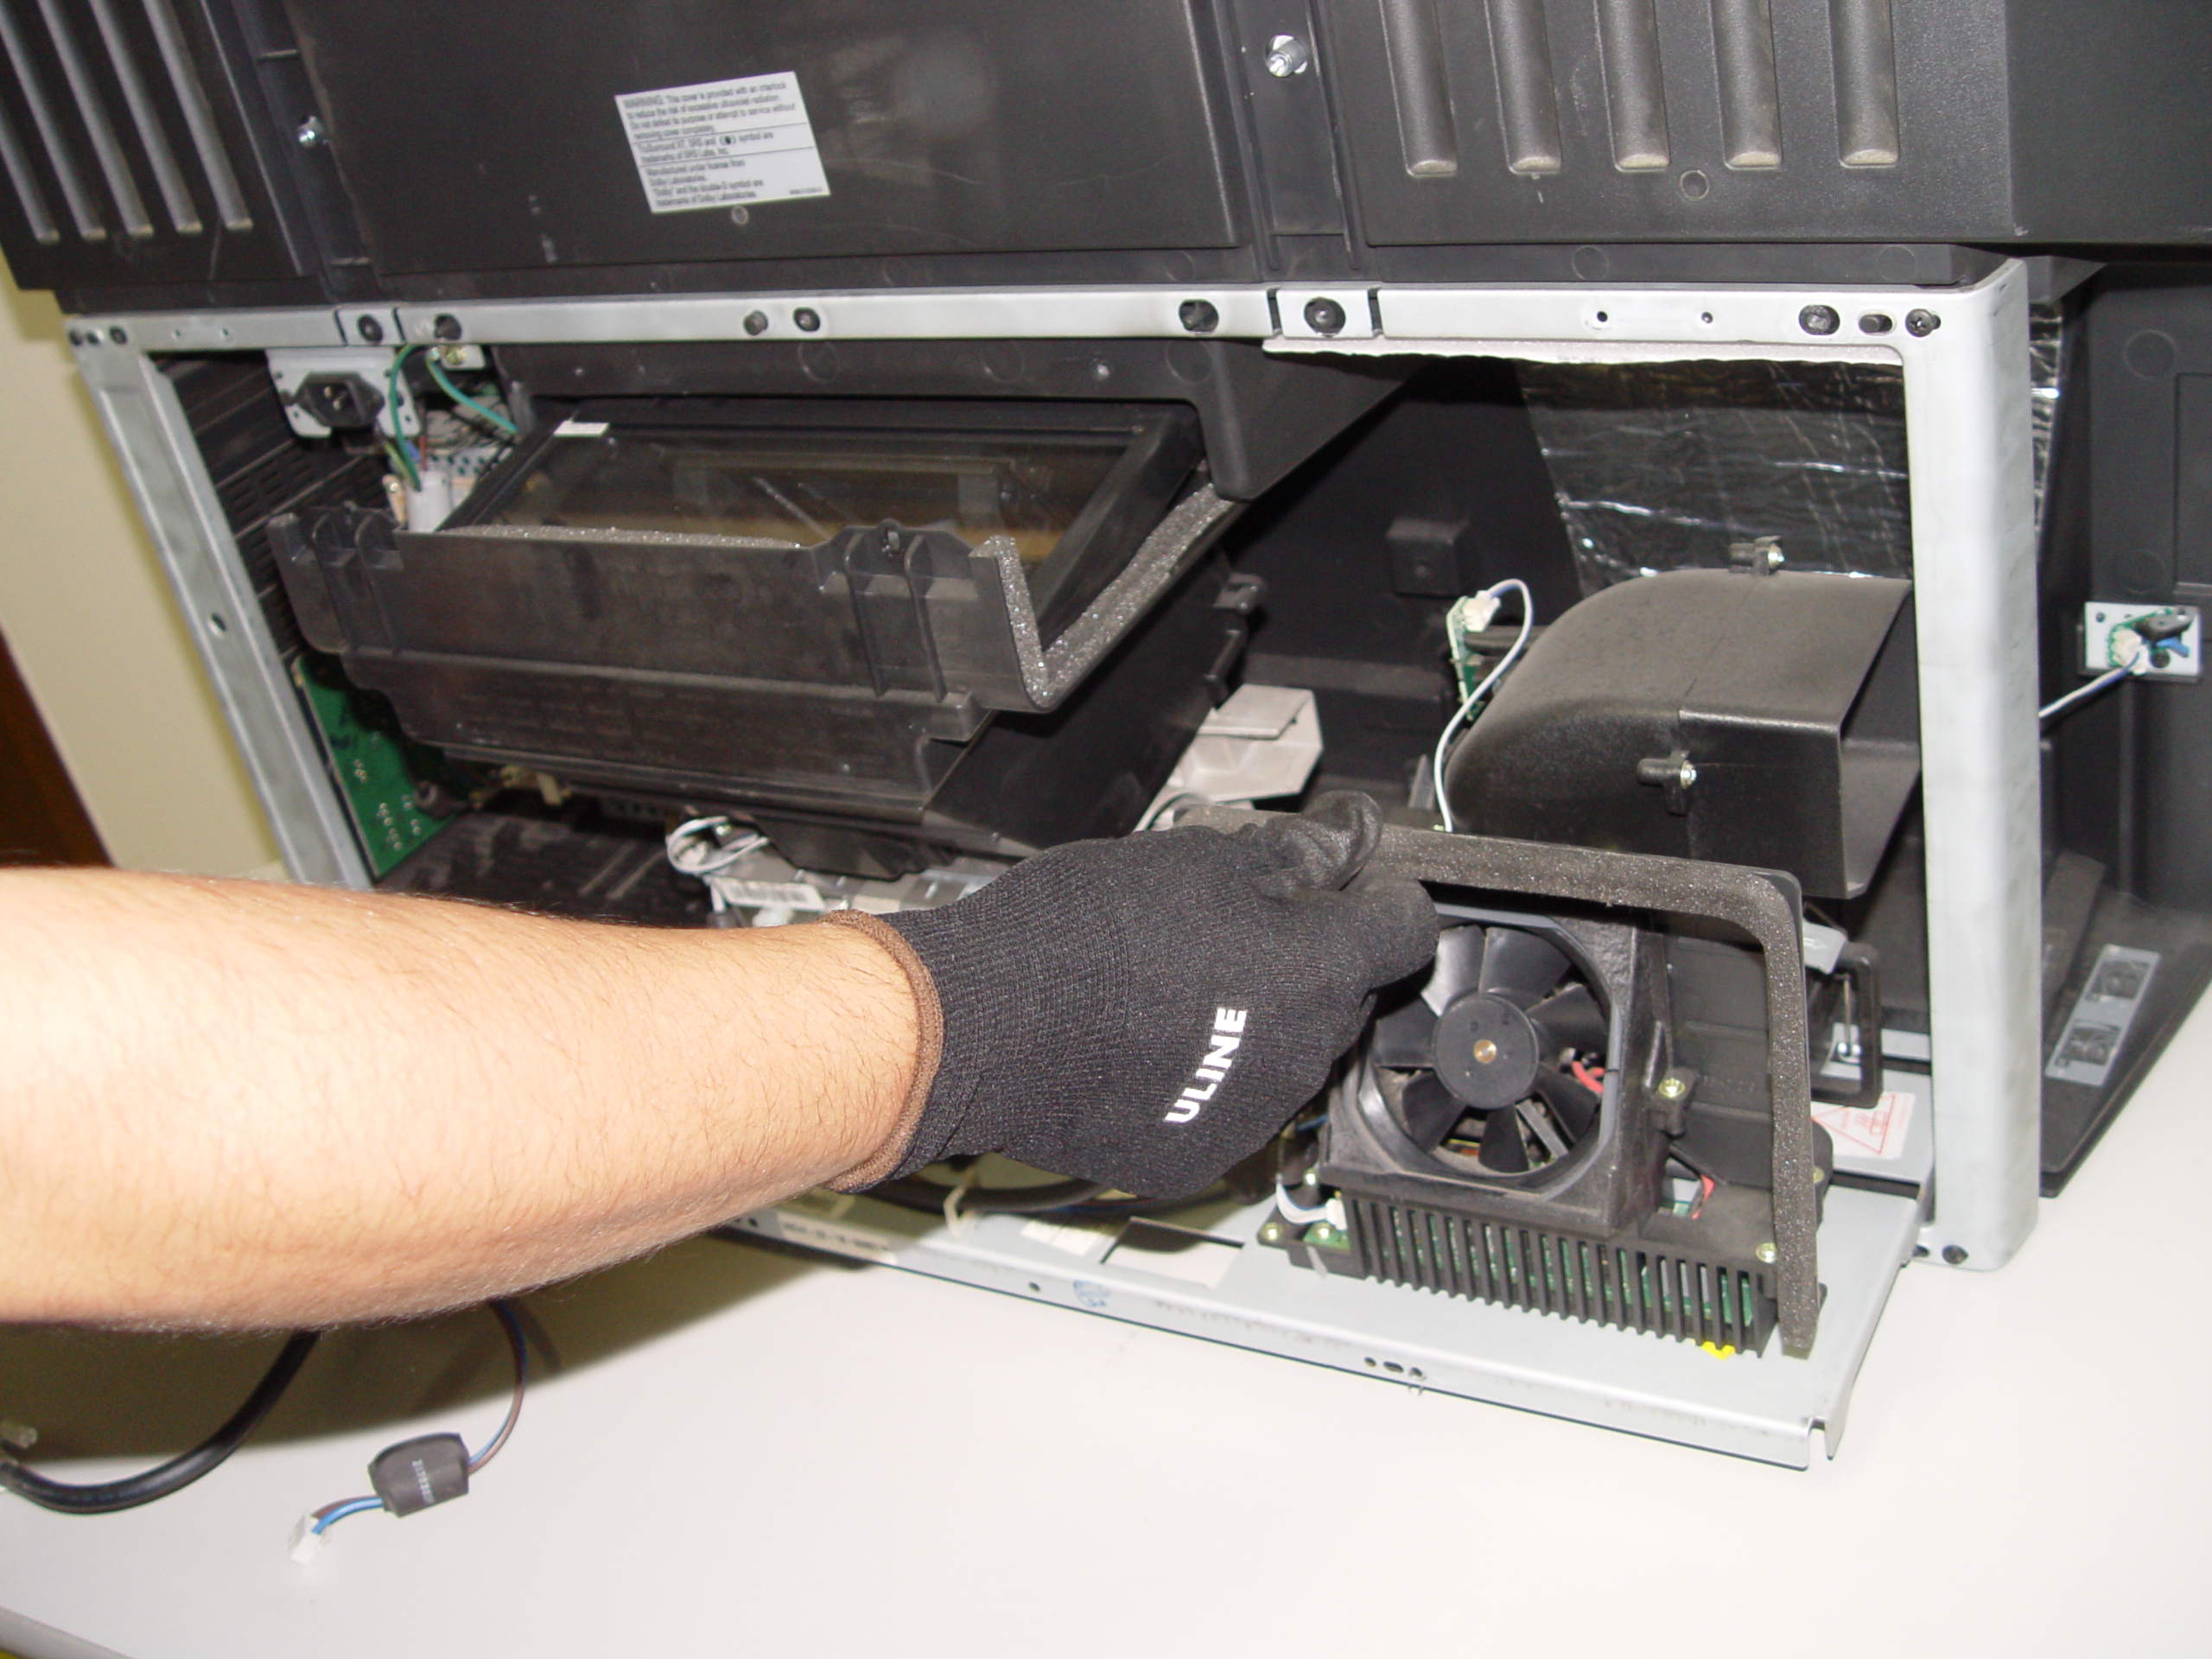
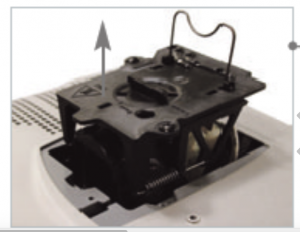
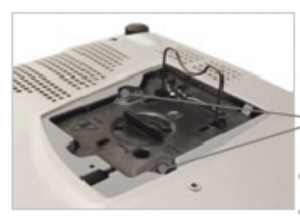
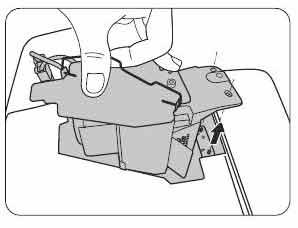
Step 4: Carefully remove light engine from the cabinet.
Step 5
Step 5: Remove the 2 screws holding the color wheel protective cover in it place. Avoid touching any of the optical components as this can affect the quality of your picture.

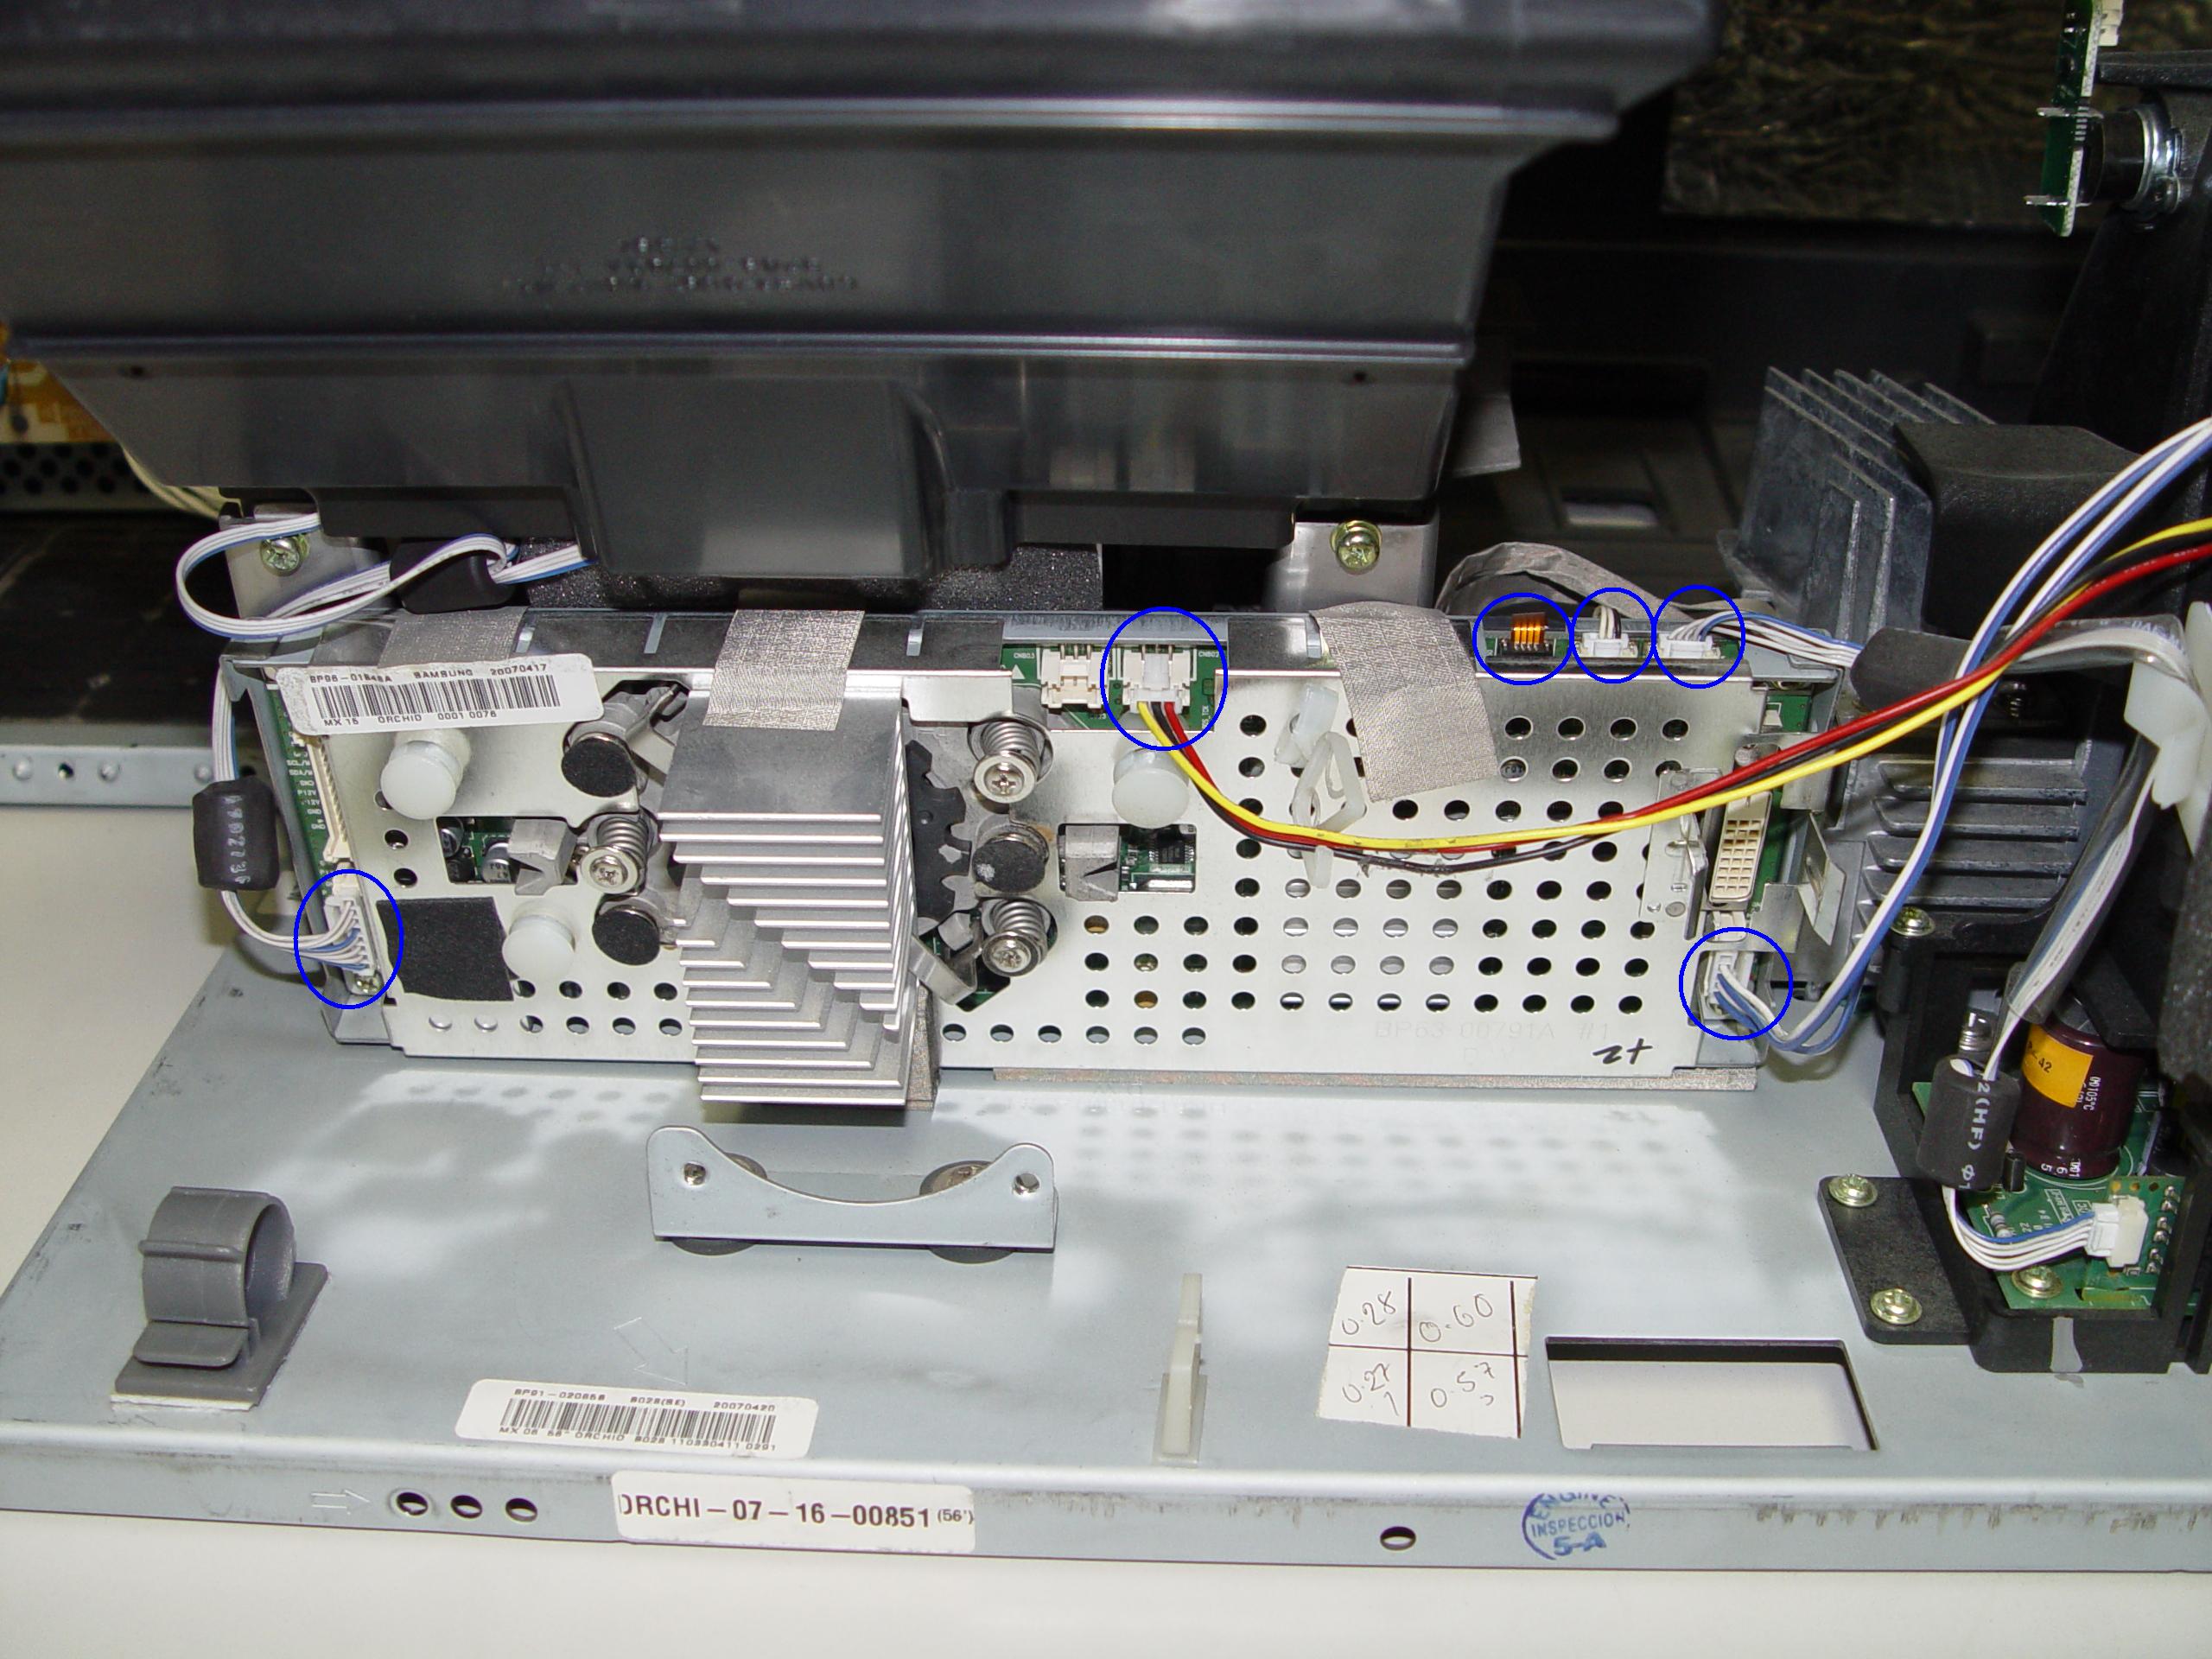
Step 6
Step 6: Carefully disconnect the cables between the terminal board and lamp.

Step 7
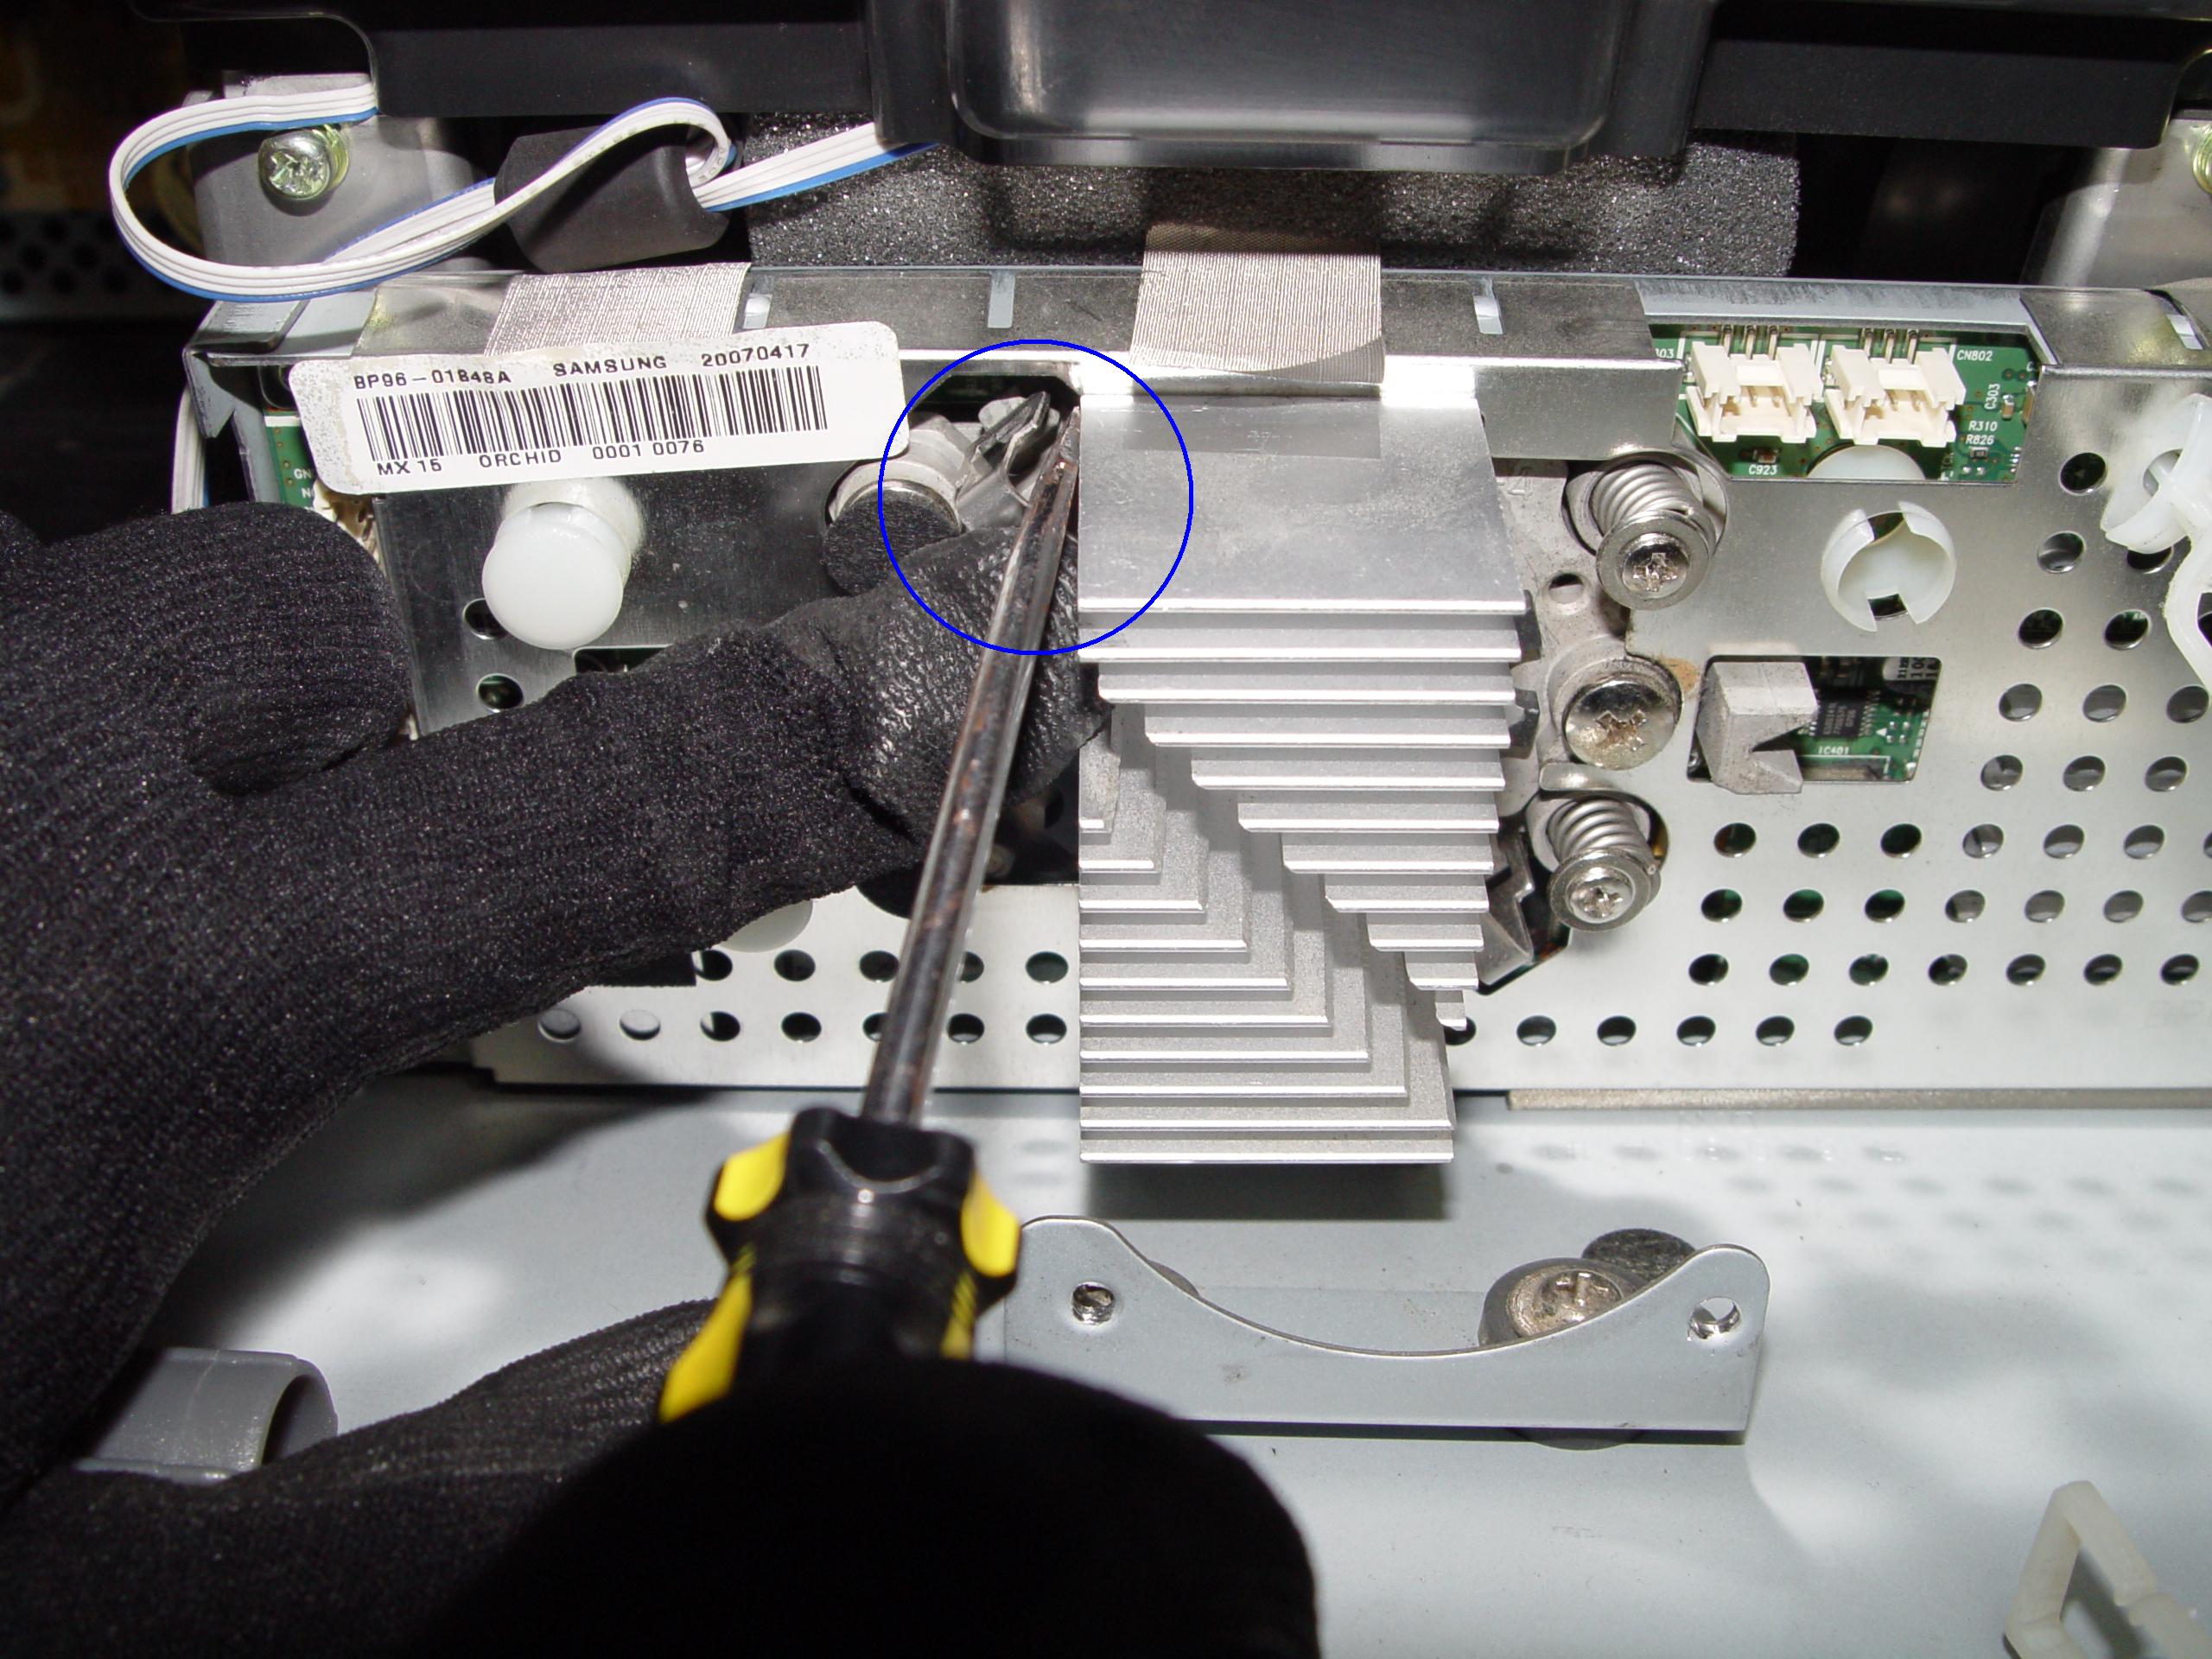
Step 7: Disconnect the clip connecting the cooling unit.
Step 8
Step 8: Remove the cooling unit and terminal board.
Step 9
Step 9: Remove the terminal board.
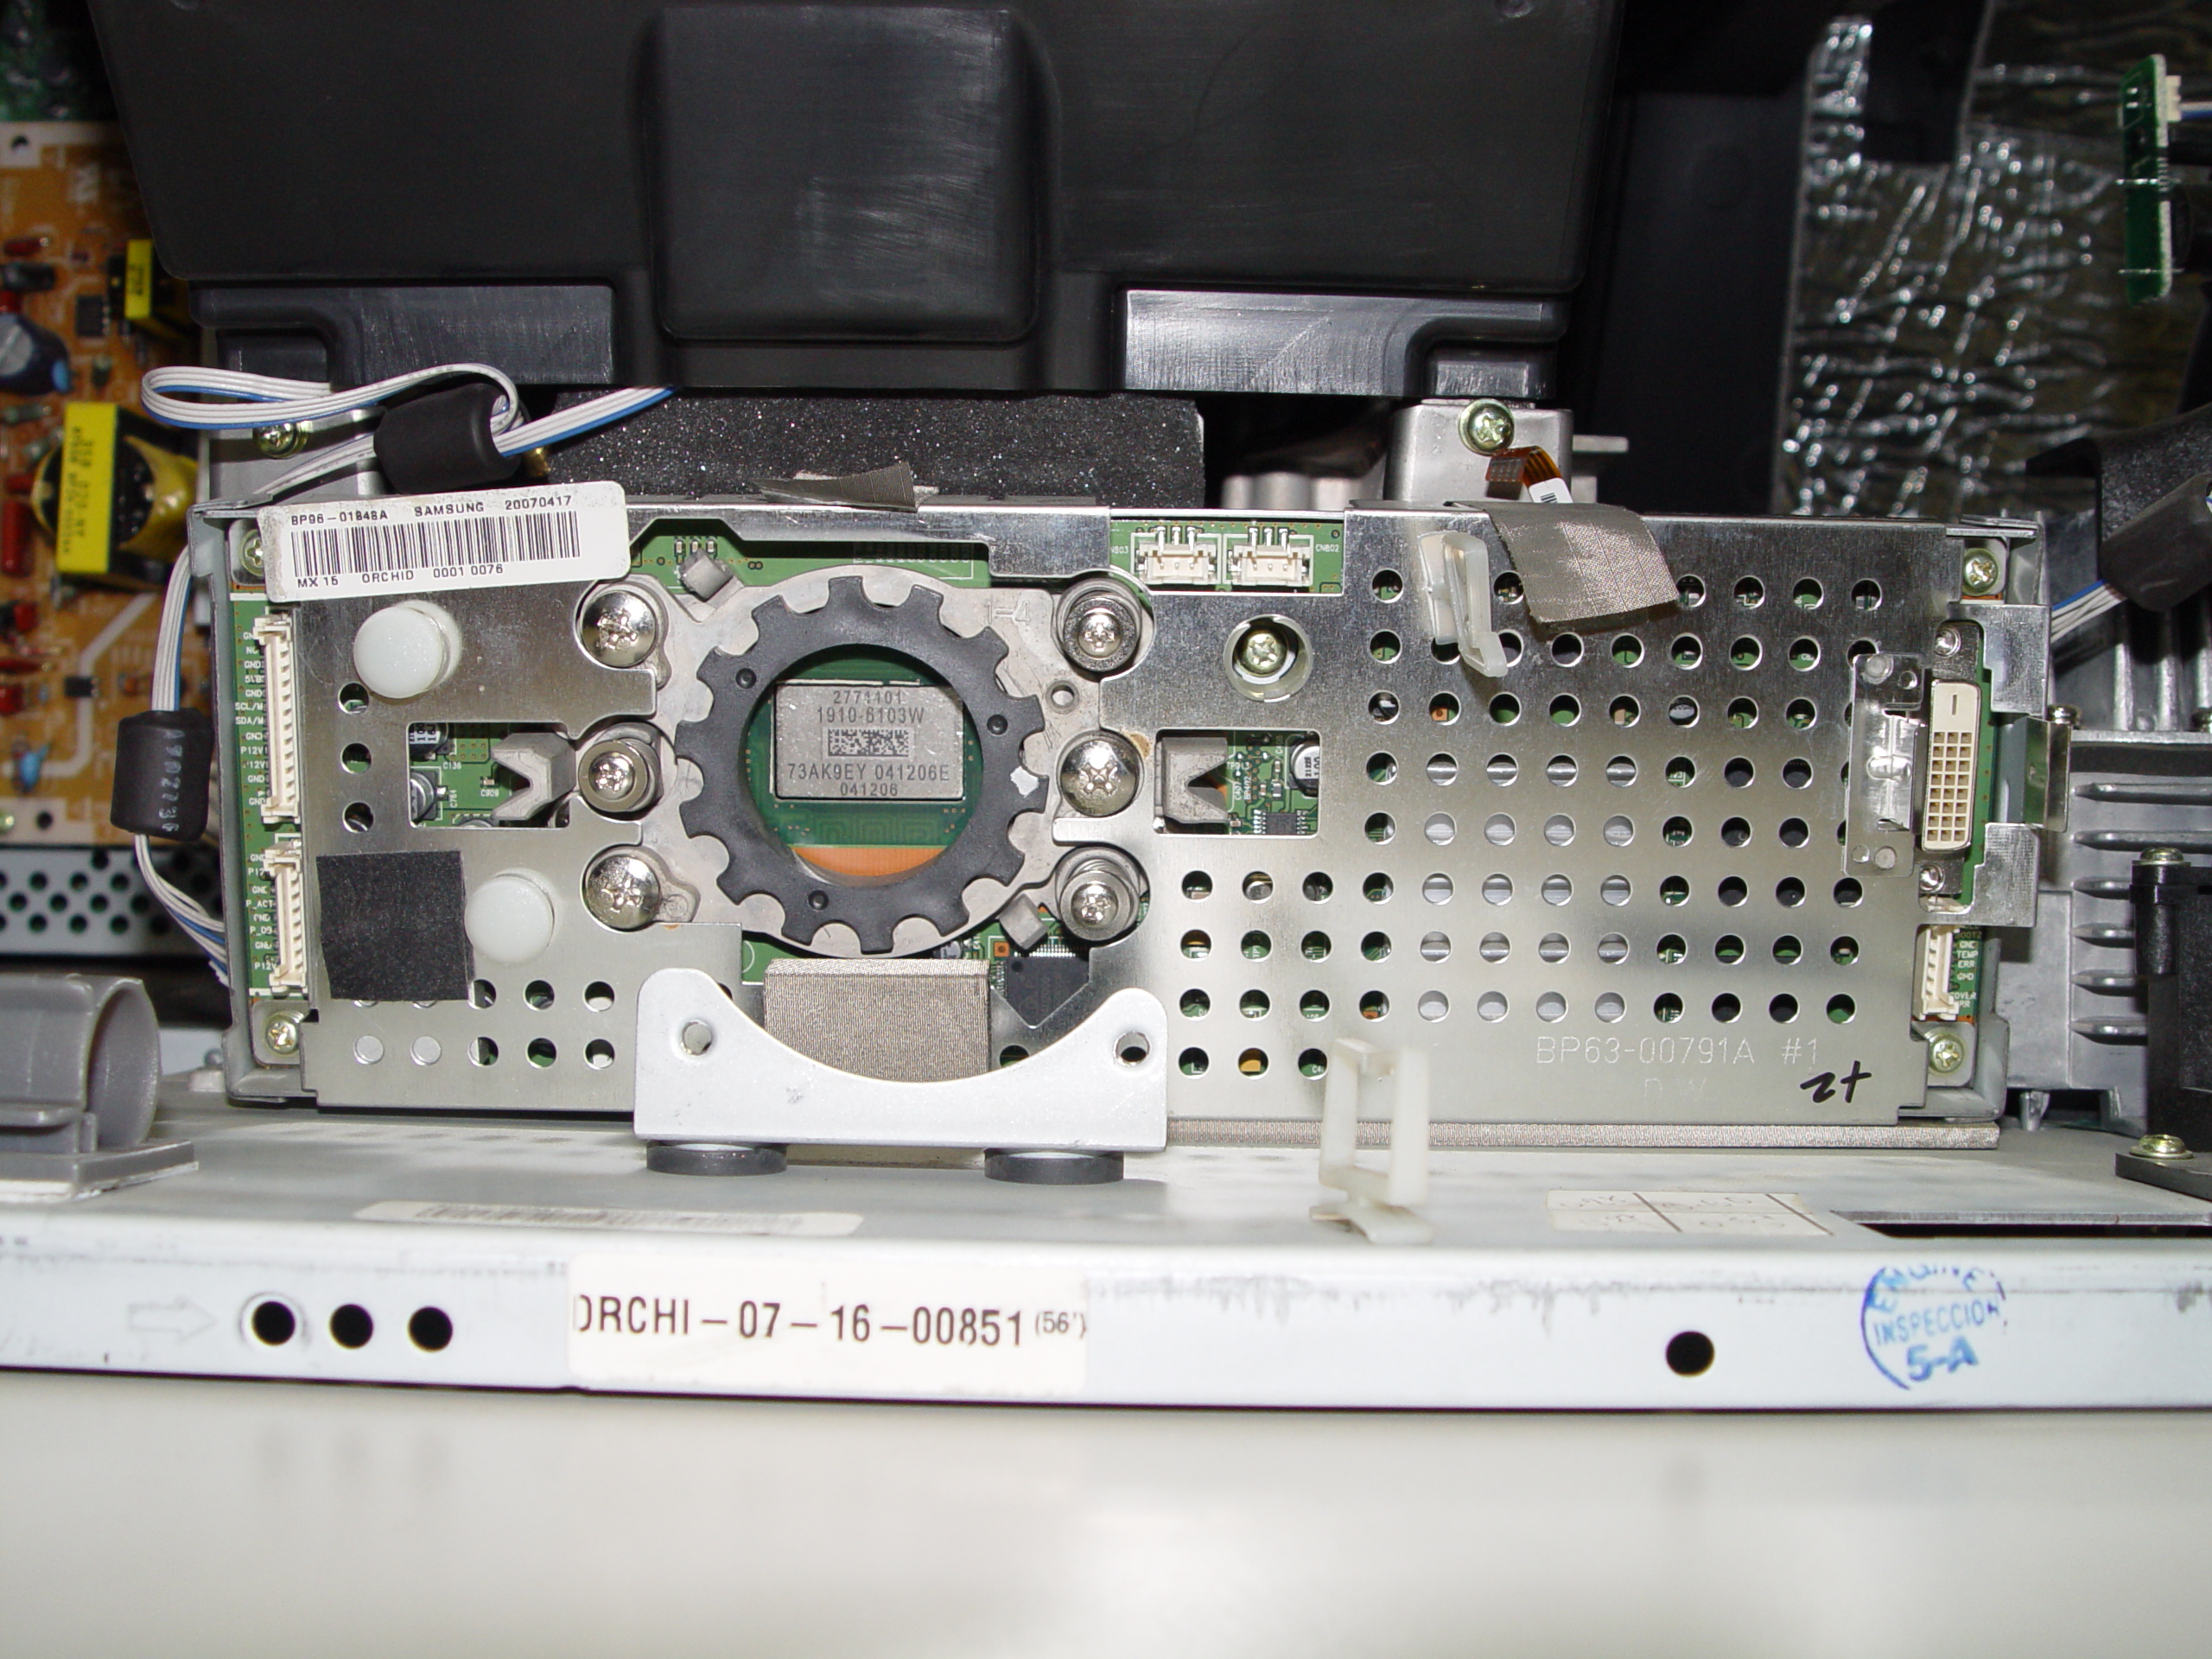
Step 10
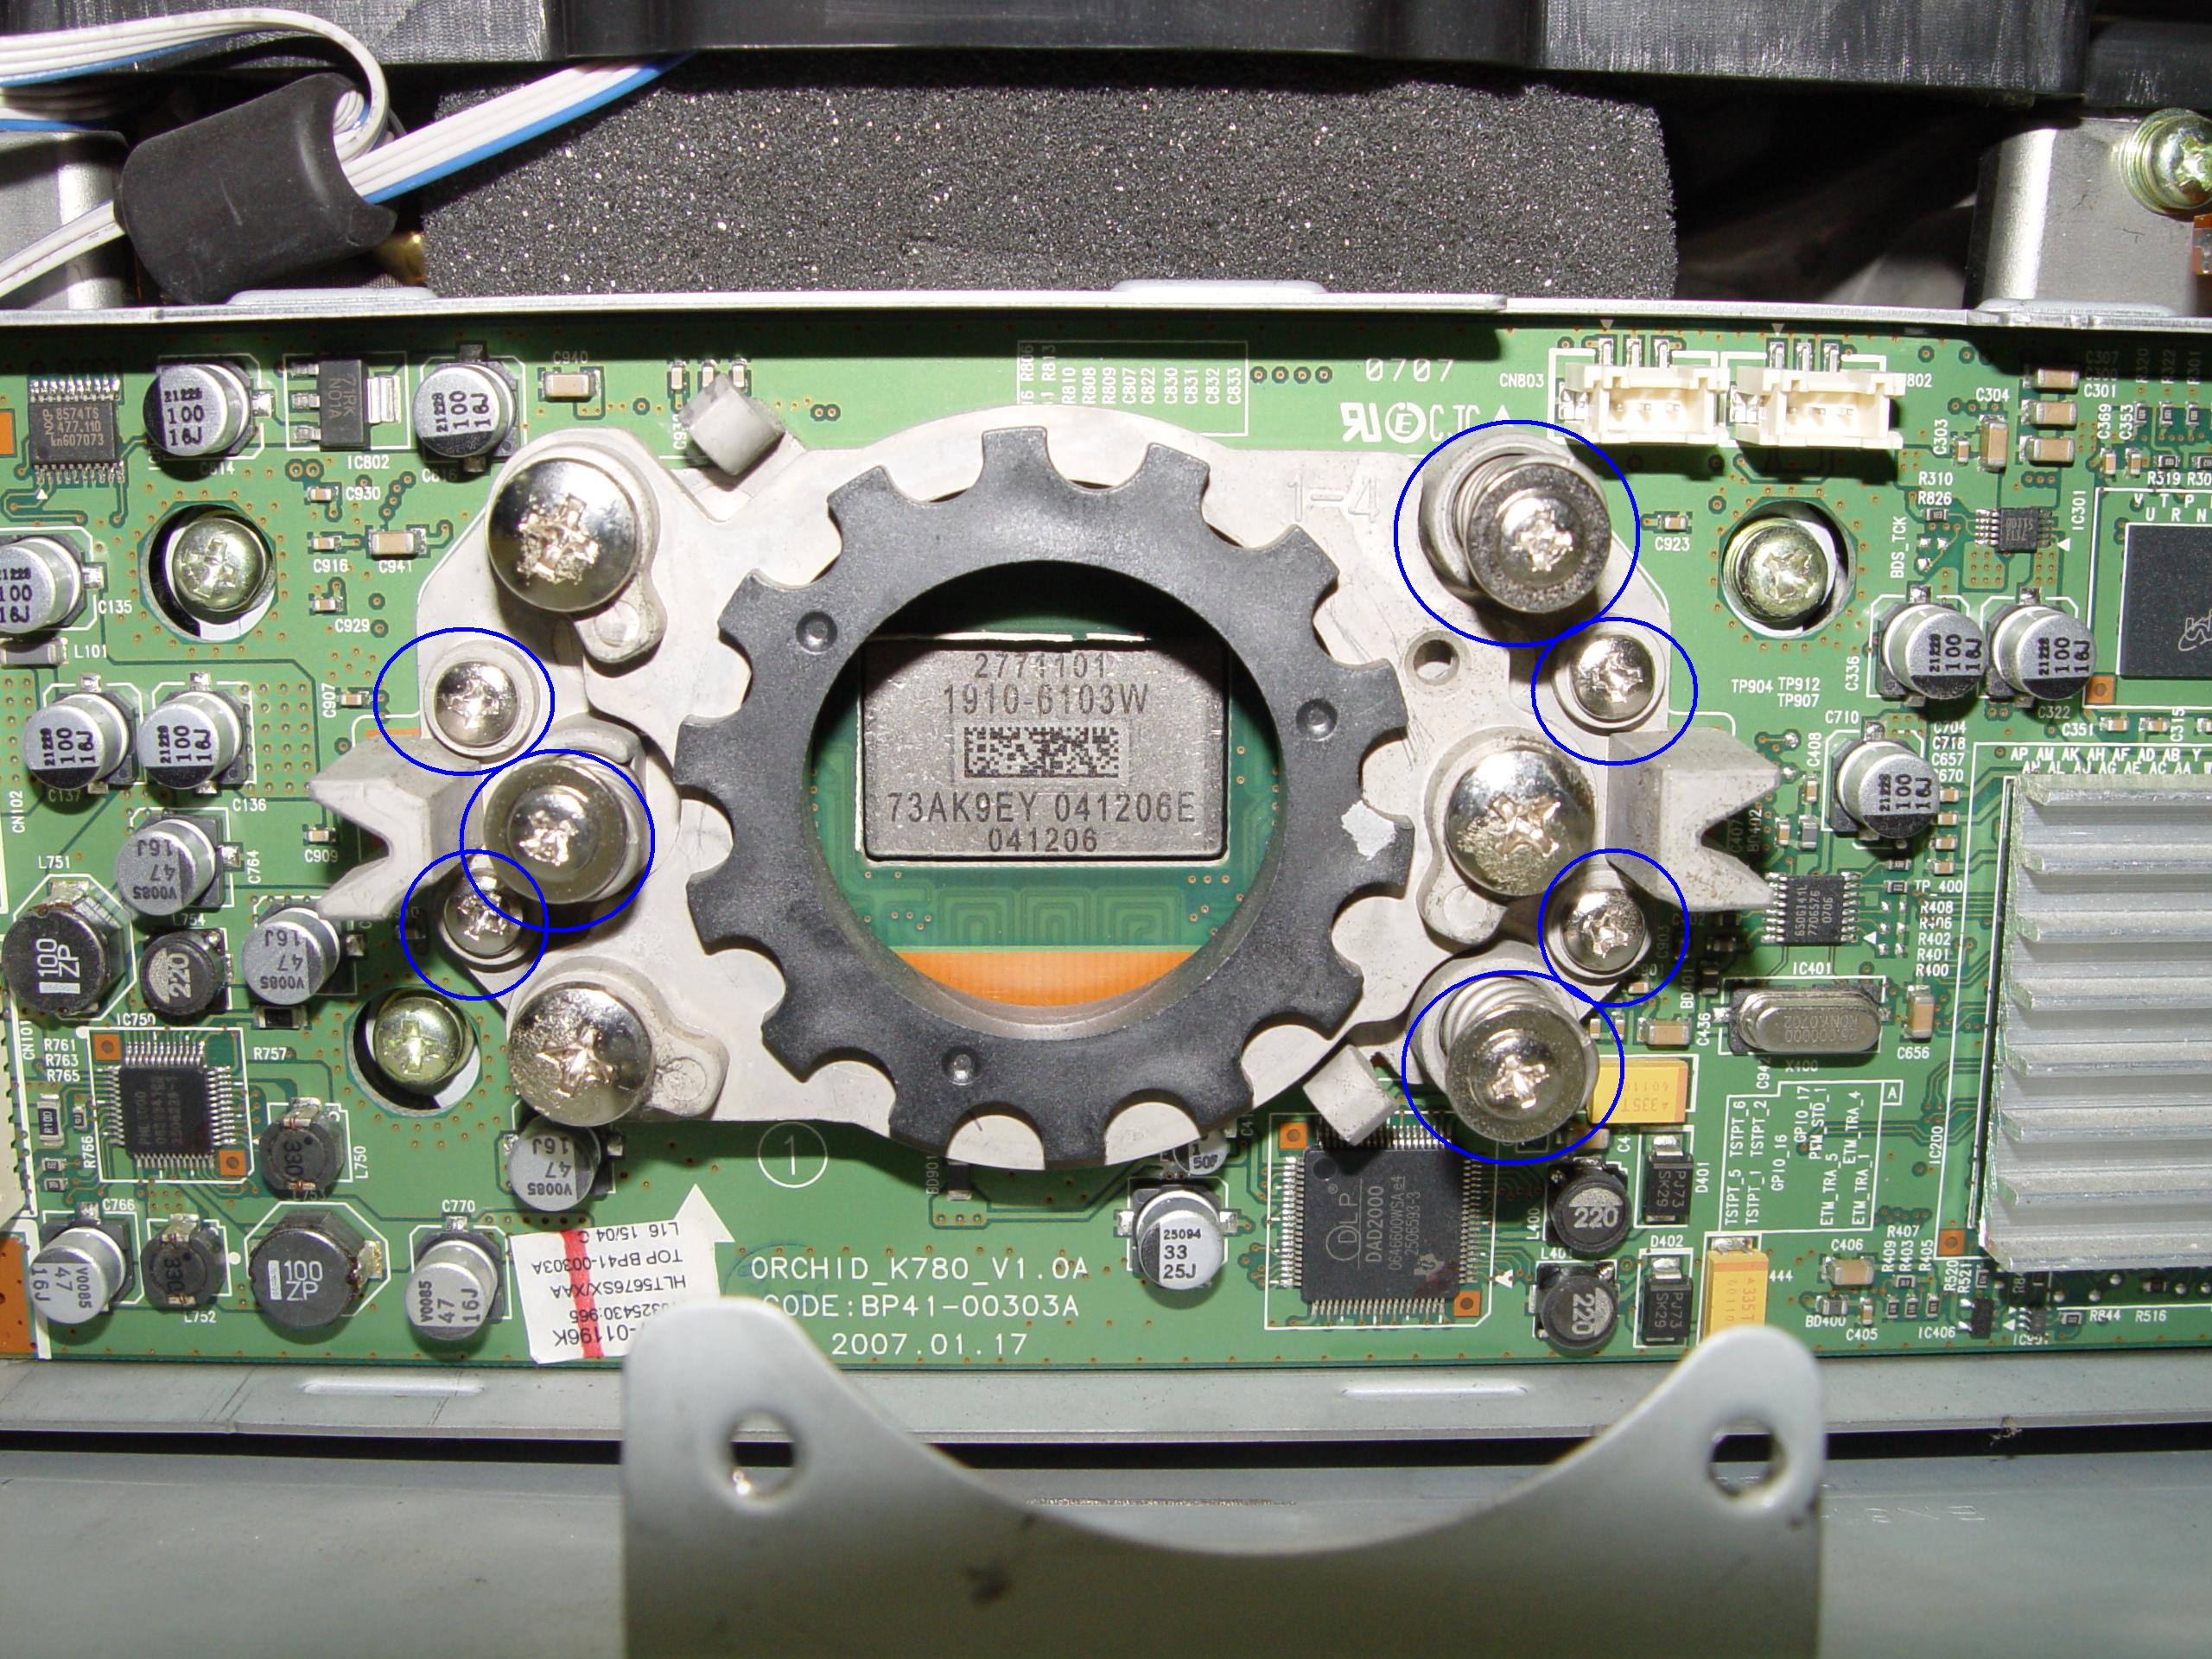
Step 10: Loosen the 7 screws holding the terminal cover in place. (Good time to dust this section).
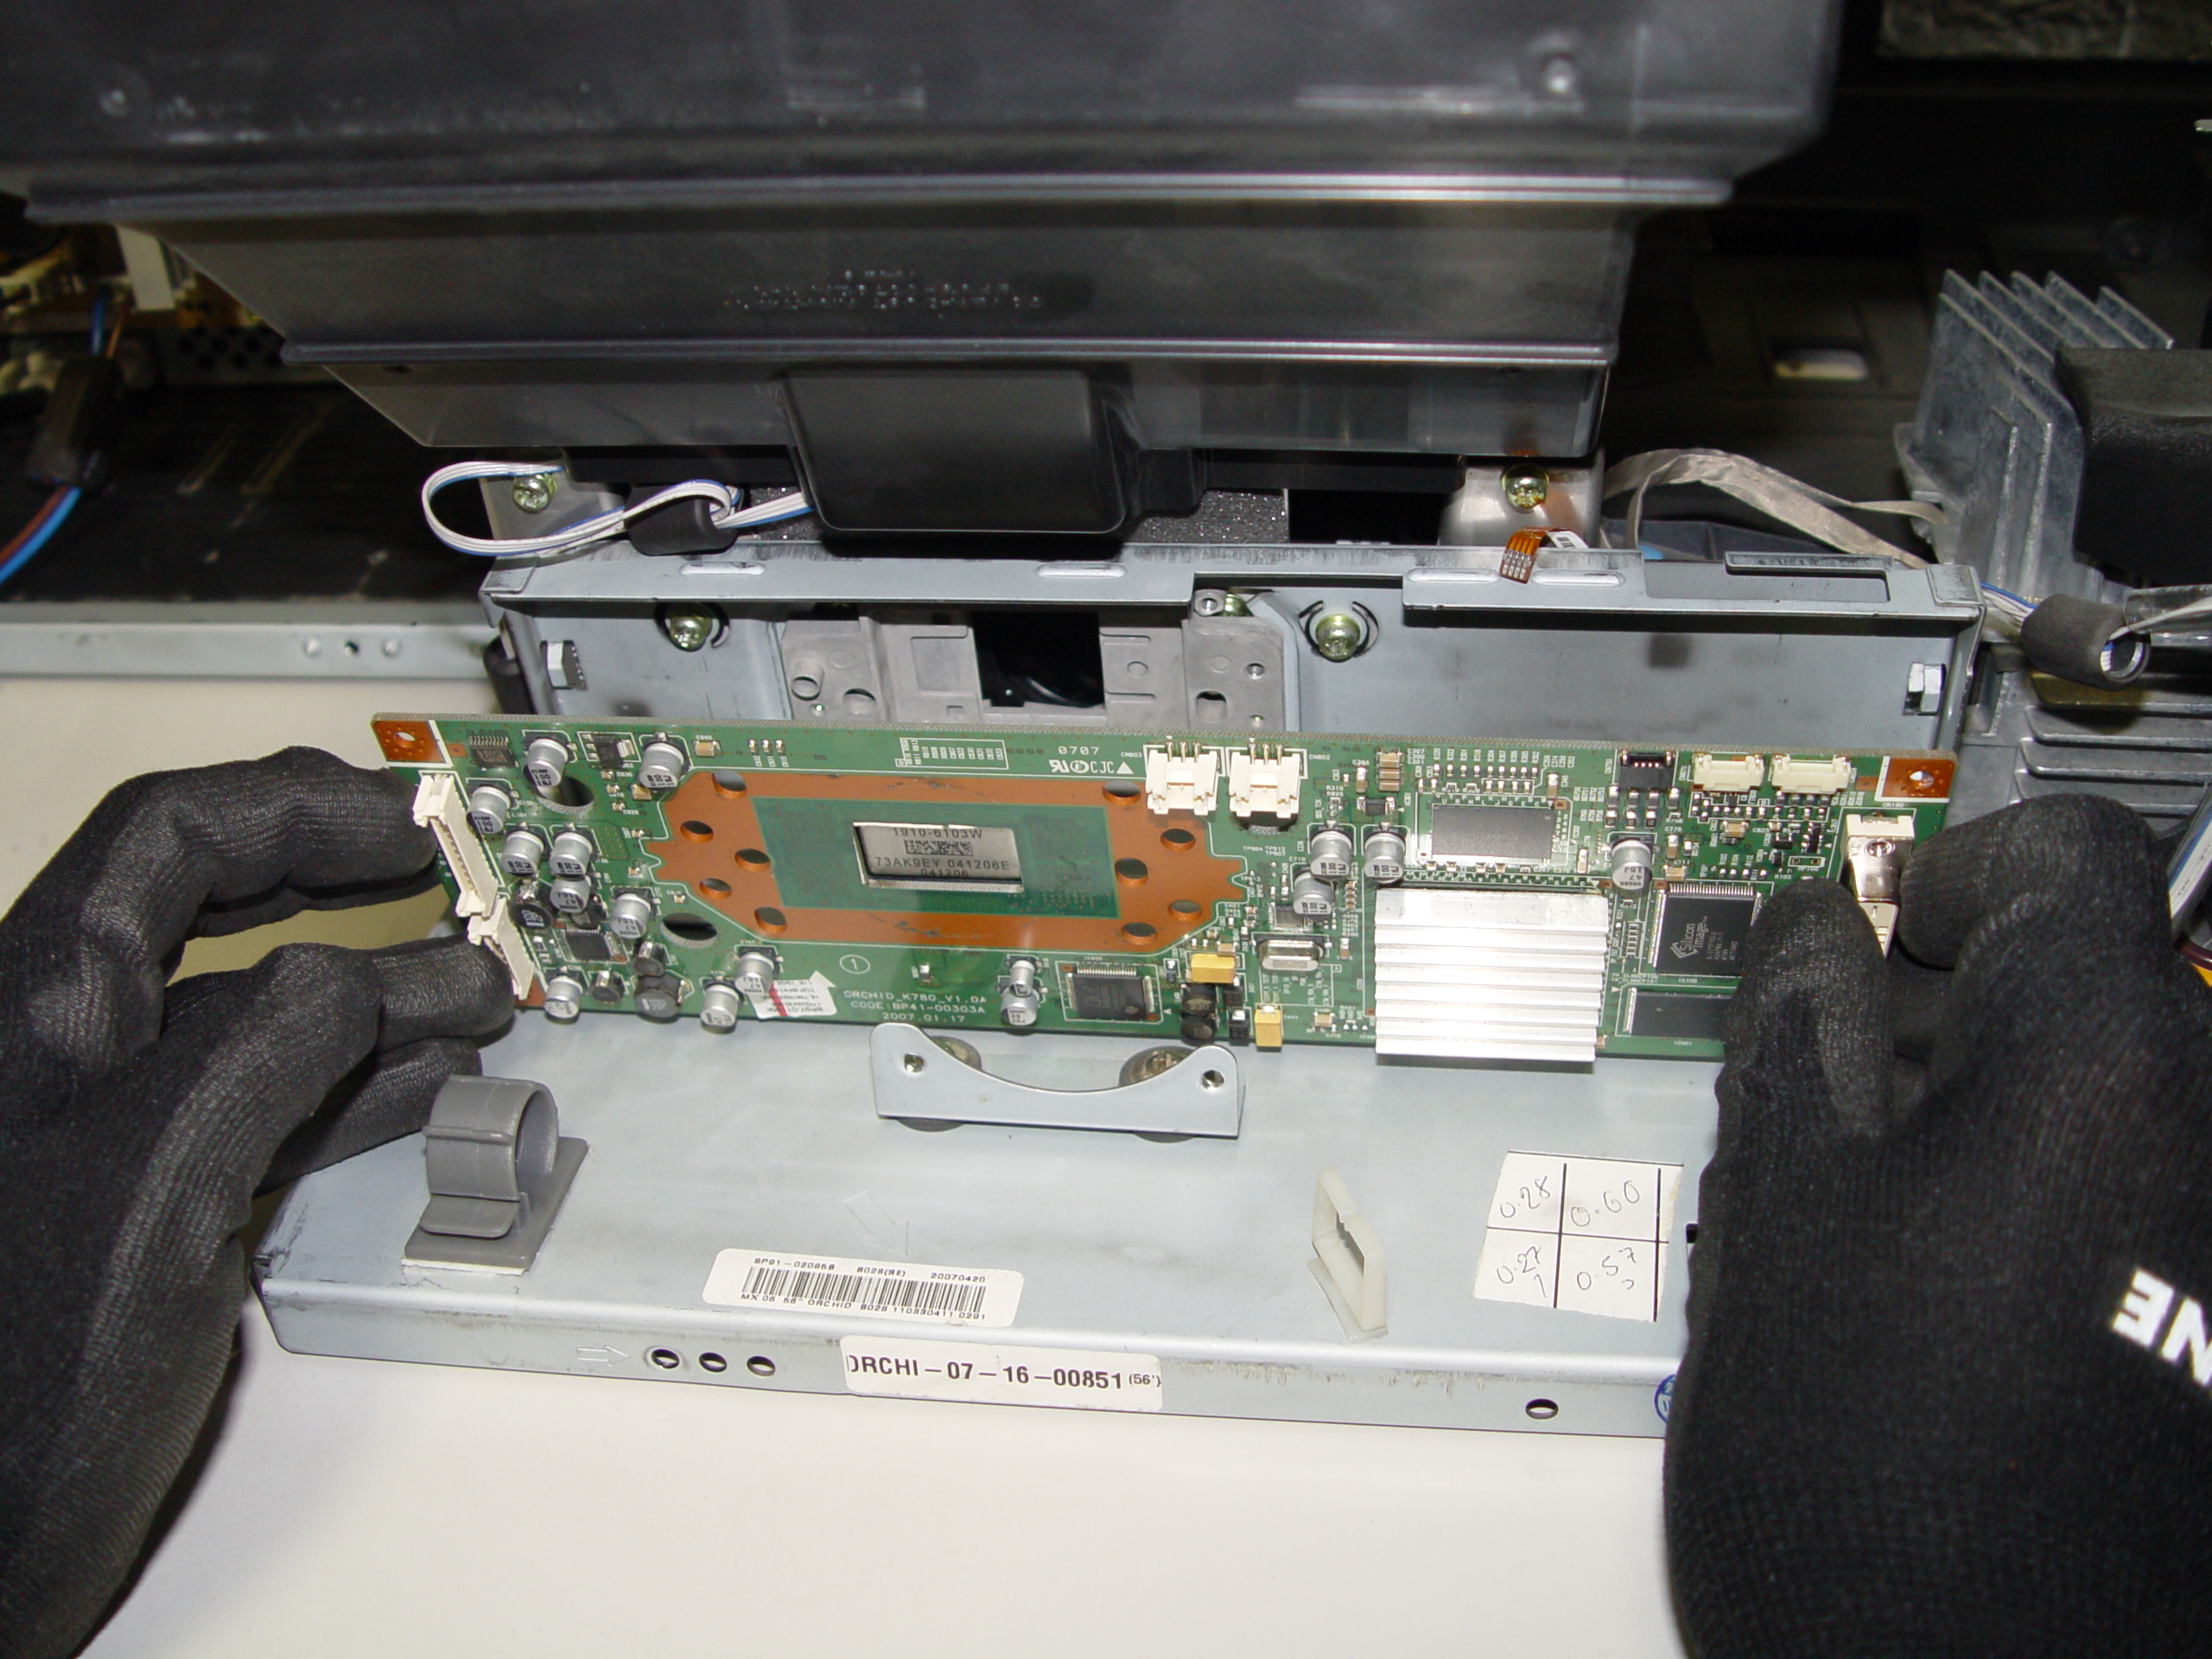
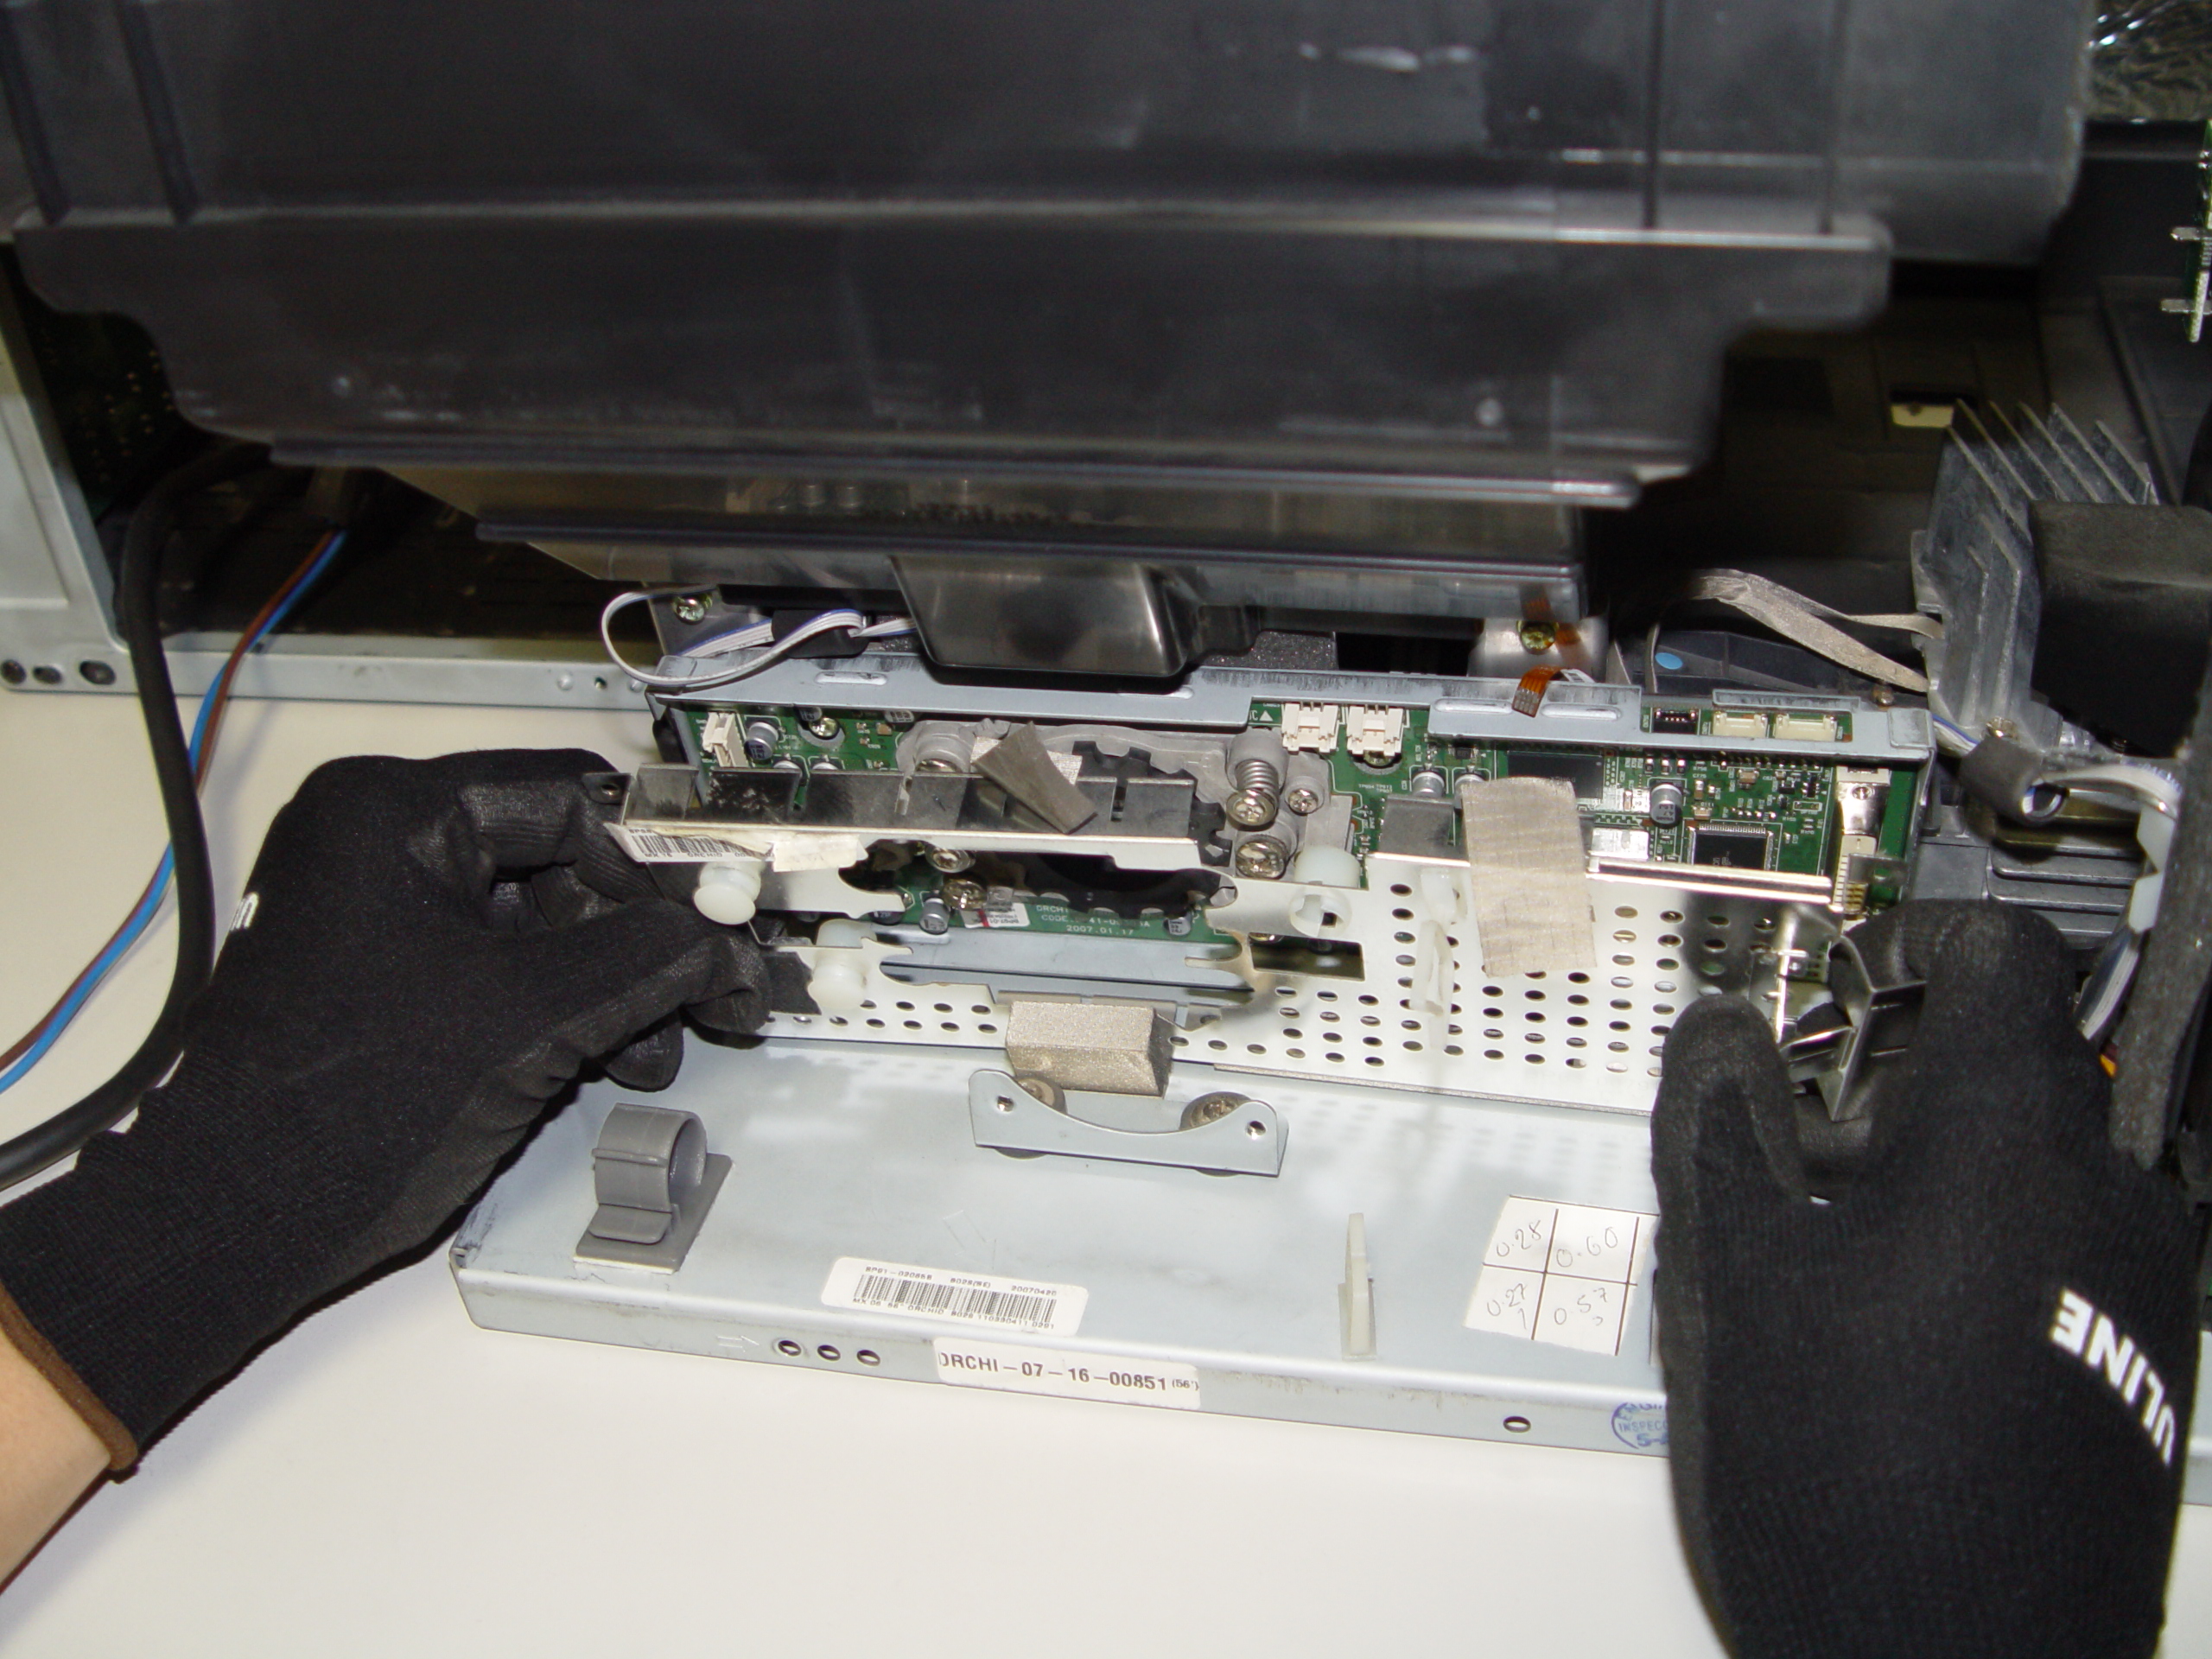
Step 11
Step 11: Carefully pop the terminal out of its holder.
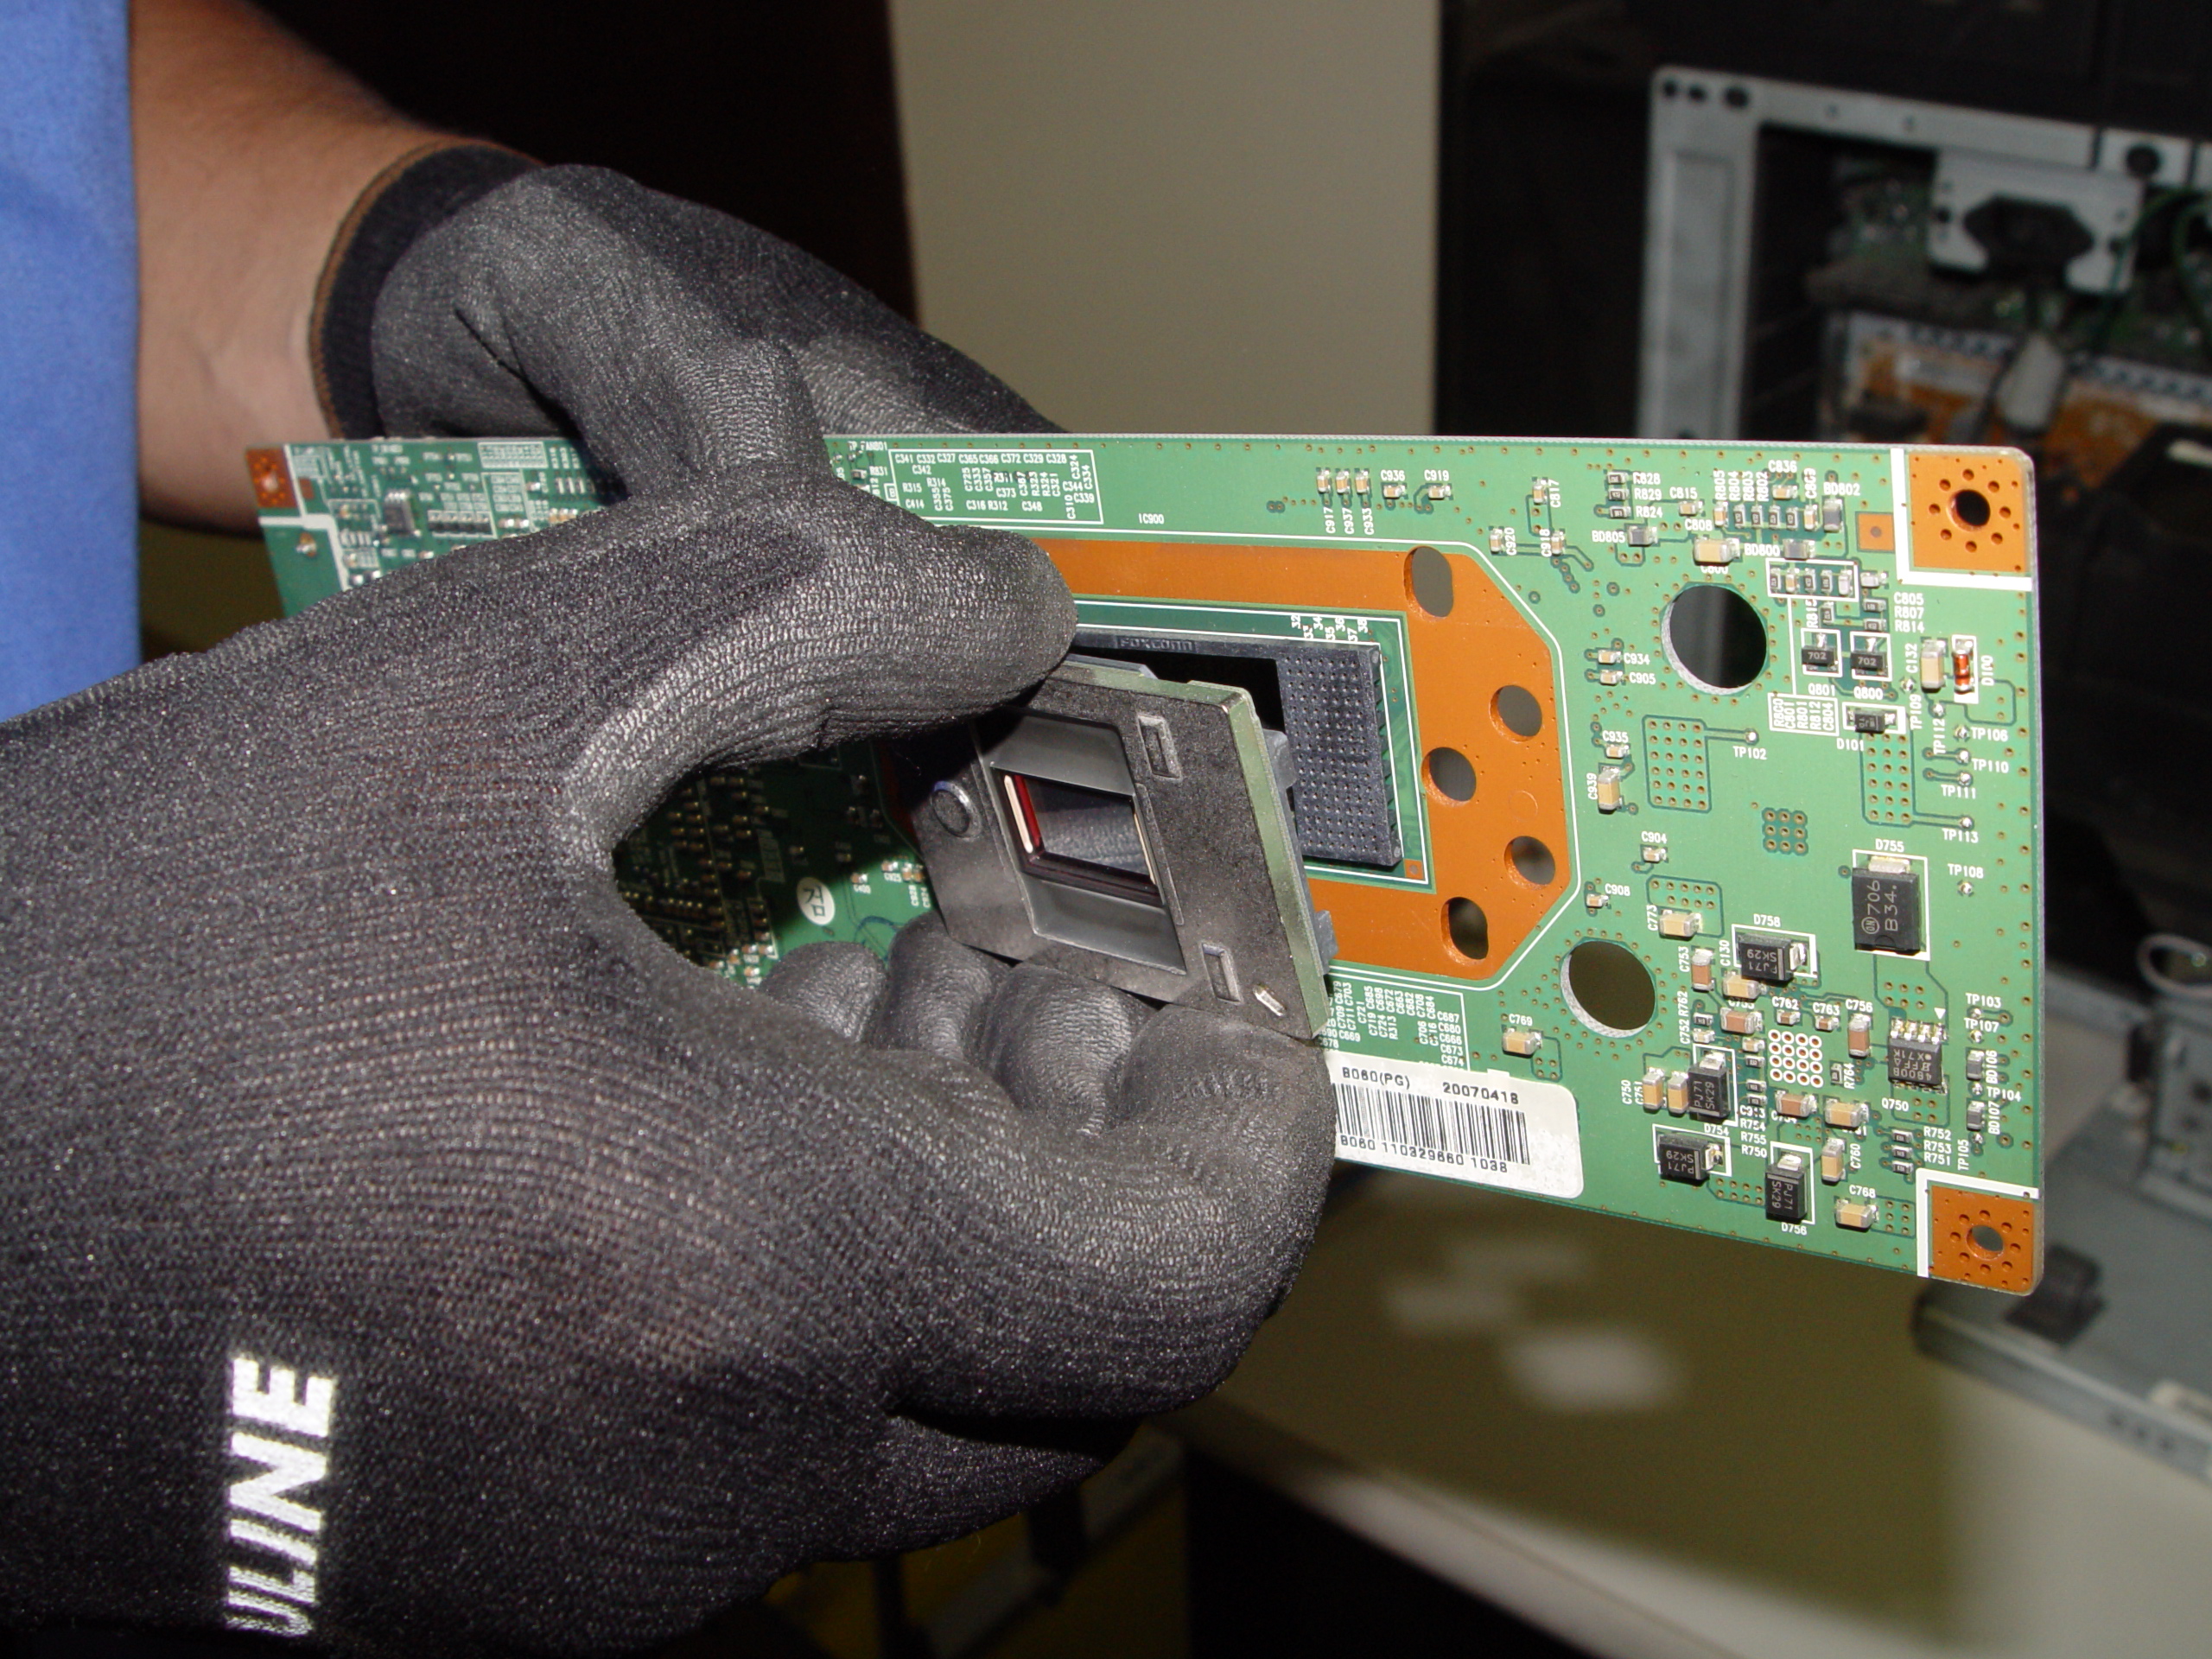
Step 12
Step 12: Unlock the old DLP Chip from the terminal. You may need to use a flat edged screwdriver to pop it out.
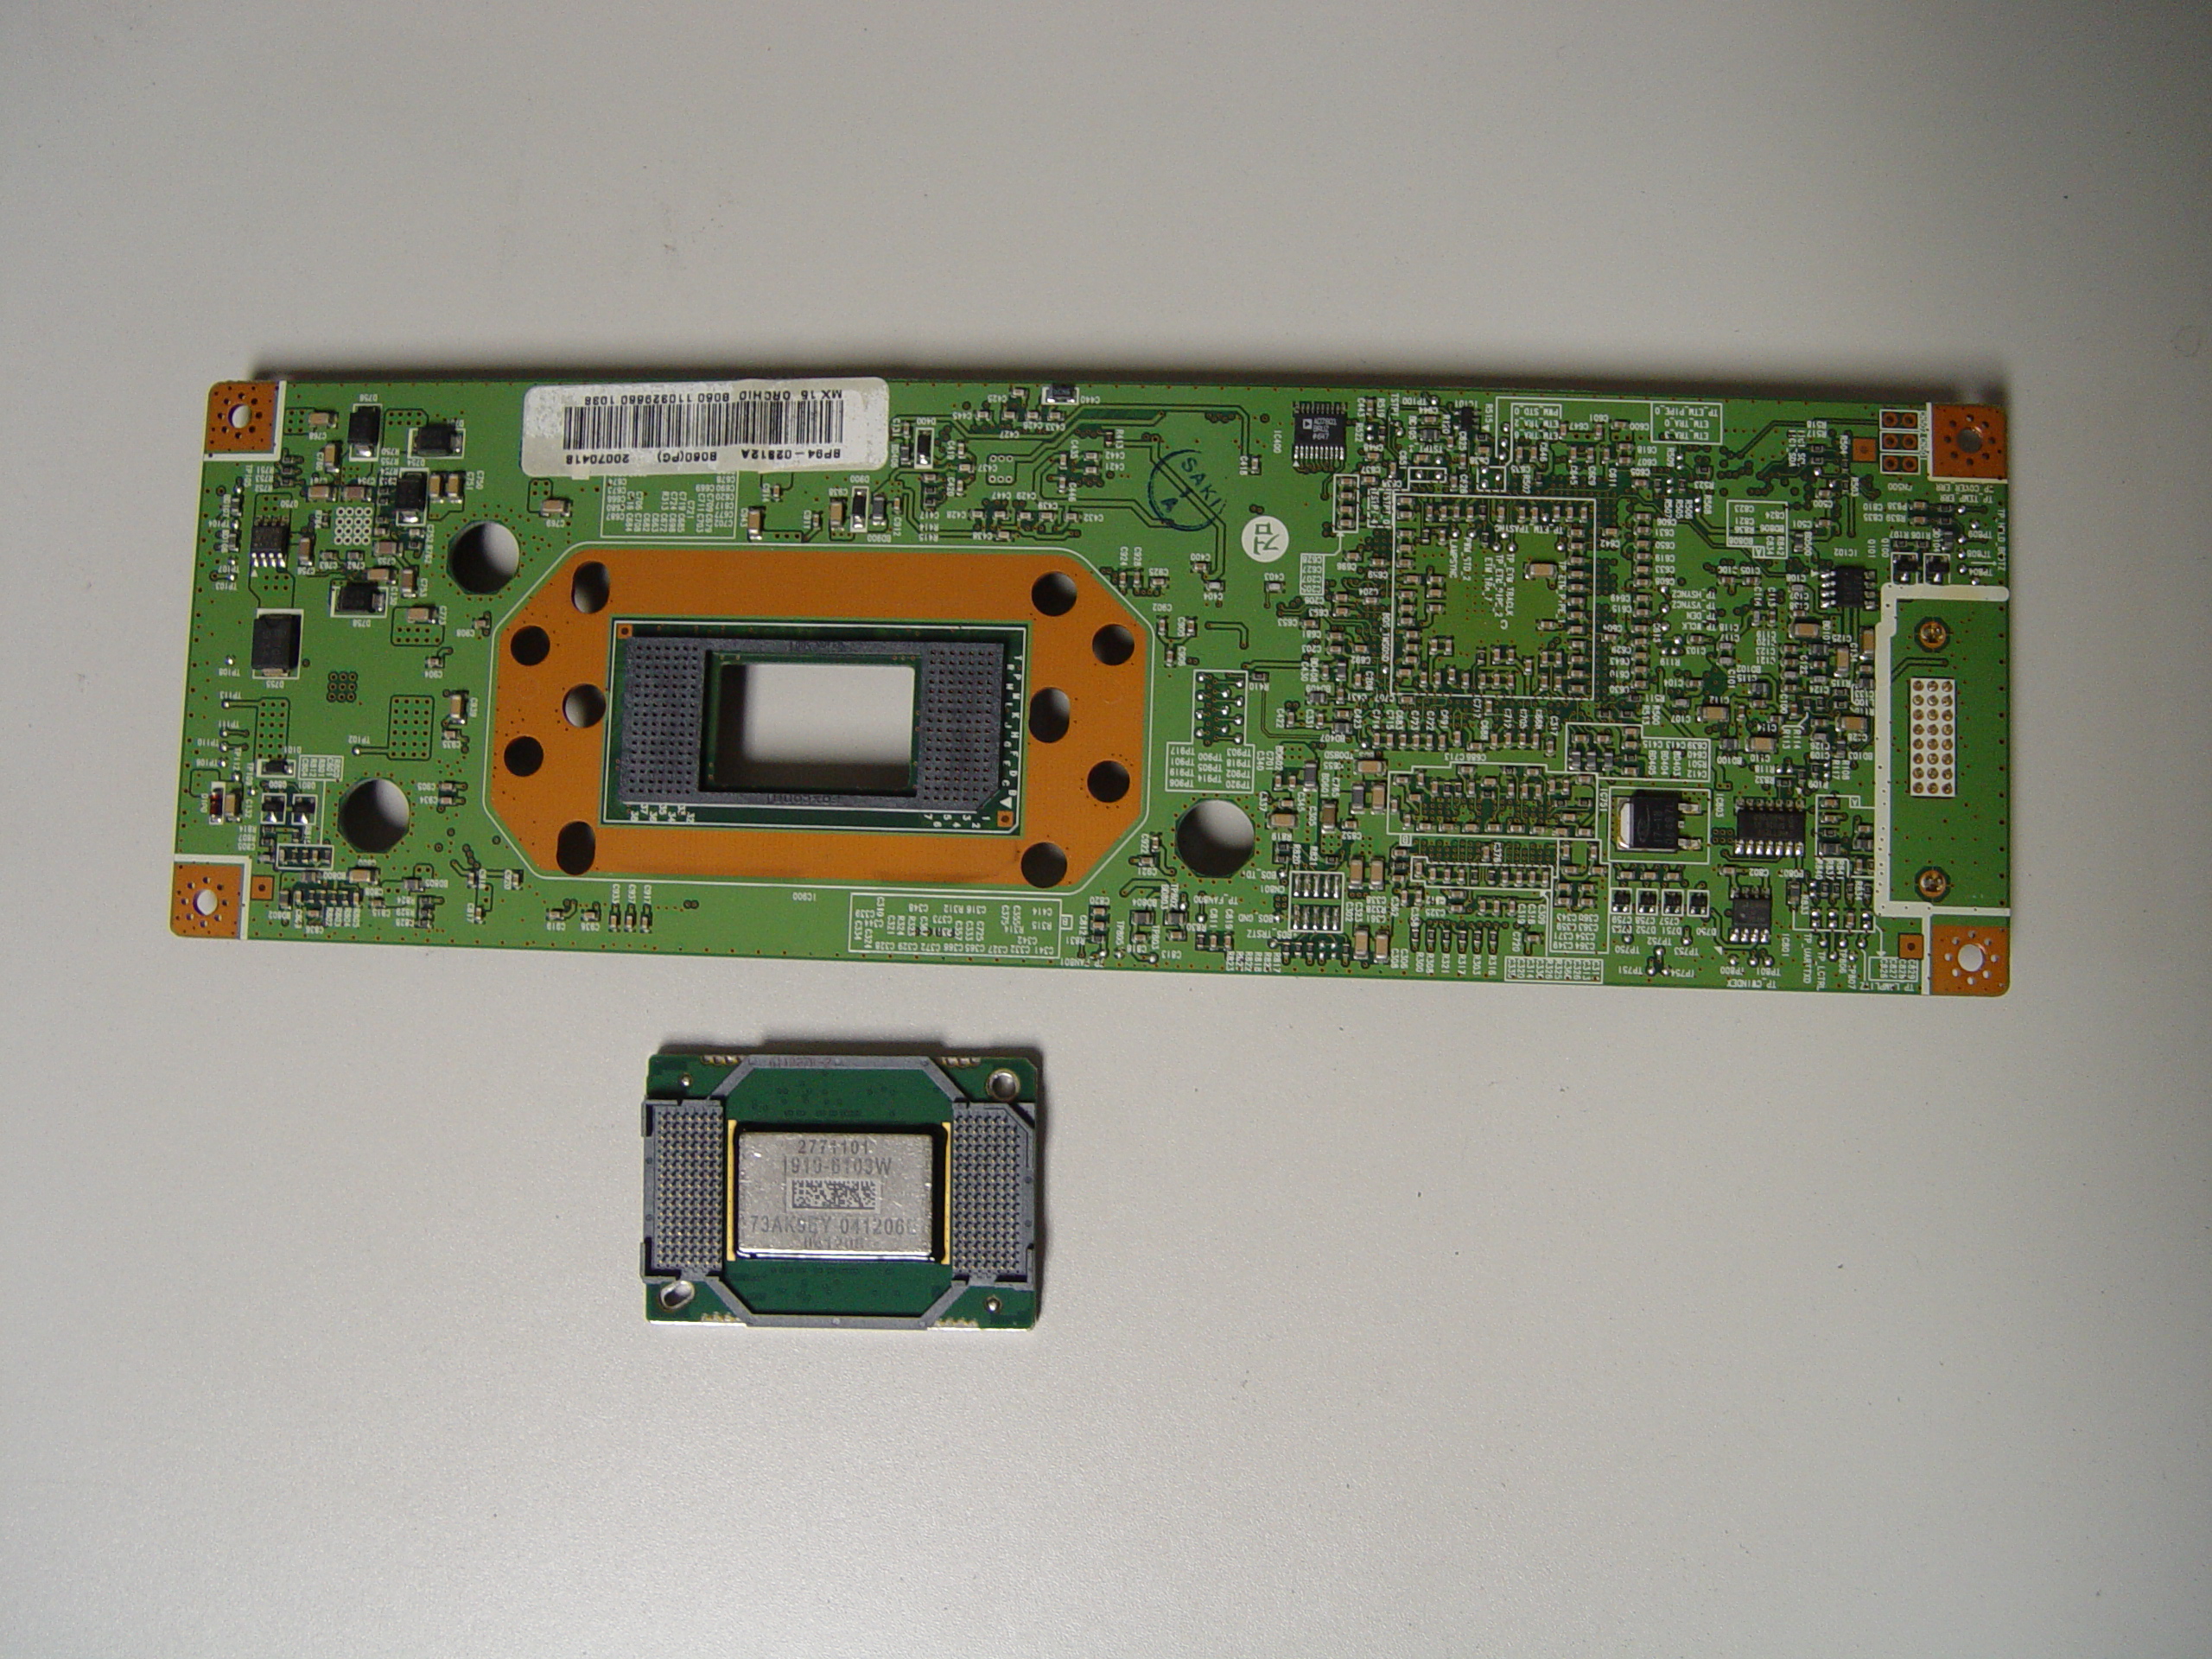
Step 13
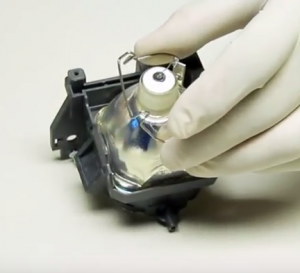
Step 13: Place the new DLP chip into place. Handle the DMD DLP CHIP only by the edges because it is very sensitive to static electricity.
Step 14
Step 14: Put the terminal back into its holder.
Step 15
Step 15: Tighten the 7 screws holding the terminal in place.

Step 16
Step 16: Replace the terminal board’s cover.
Step 17
Step 17: Reconnect the clip holding the cooling unit.

Step 18
Step 18: Re-connect the cables between the terminal board and lamp.
Step 19
Step 19: Tighten the 2 screws holding the color wheel protective cover in it place. Avoid touching any of the optical components as this can affect the quality of your picture.

Step 20
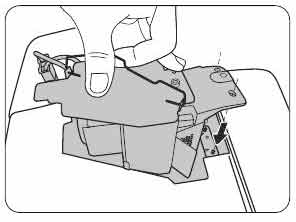
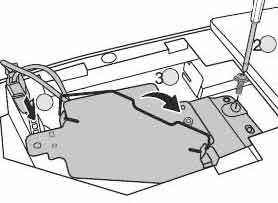
Step 20: Carefully replace the light engine back into the cabinet.

Step 21
Step 21: Replace and tighten the 4 screws holding the lamp engine in place. Re-connect all the connectors.

Step 22
Step 22: Put the light engine back into the RPTV. Tighten both screws that keep the back bracket in place.
Step 23
Step 23: Put the back panel back onto the TV. Put the screws back into place and tighten them. Enjoy the crisp, clear picture on your Samsung 50A650C1FXZA RPTV.
 White dots on Samsung HL72A650C1FXZA screen can easily be repaired
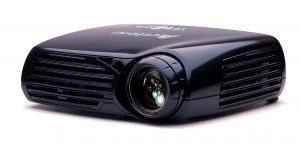 Replacement ProjectionDesign Action Model One projector lamp
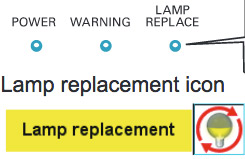
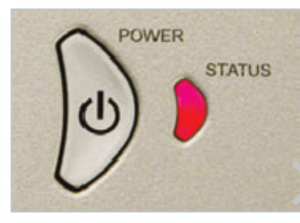 When it’s time to replace the ProjectionDesign Action Model 1 projector lamp the projector lamp status indicators will turn red. Other warning signs may include a darker screen or colors that appear washed out or an deteriorating screen image.
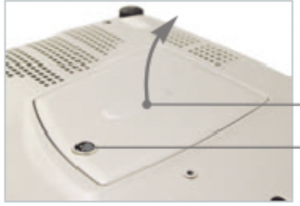
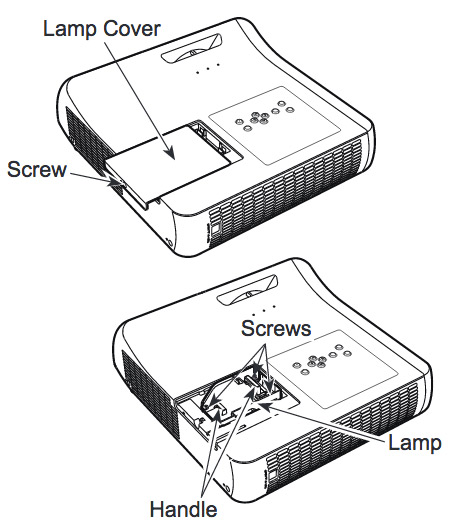
 Guide to installing a new Mitsubishi WD570U projector lamp
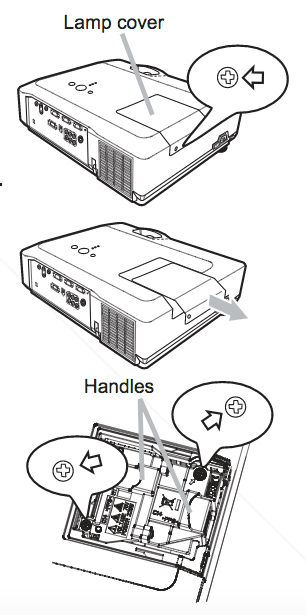
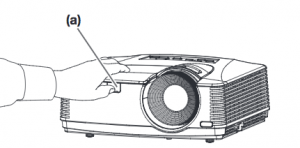 Step A: Remove the cover of the screw fixing the lamp cover with a fingernail or head screwdriver.
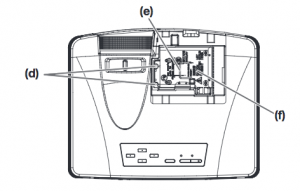
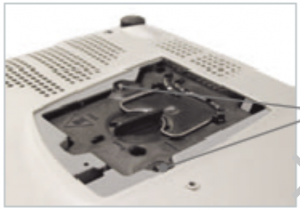
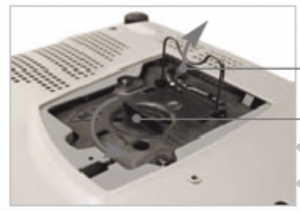
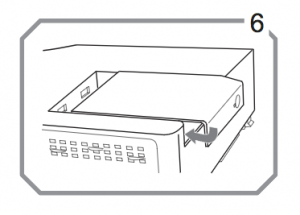
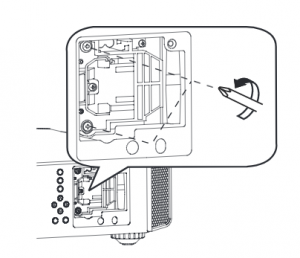
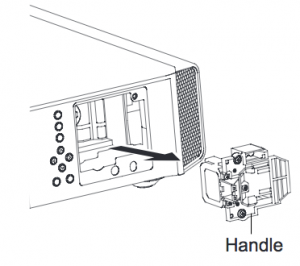
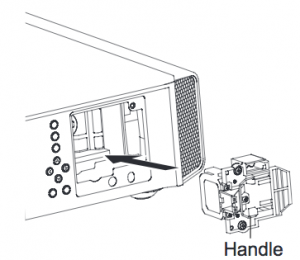
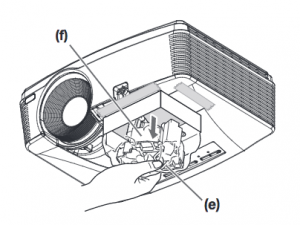 Step E & F: Pull out the lamp unit in the bag by the handle. Remove the tape holding the attachment in place. Pull the lamp unit out of the projector slowly.
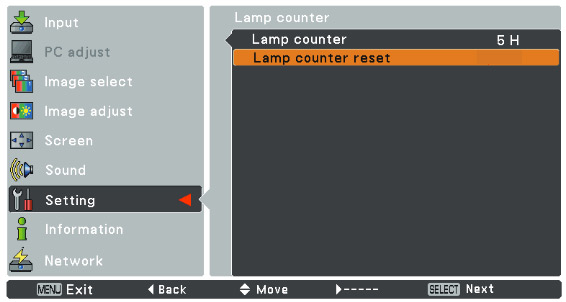
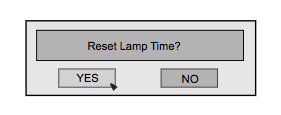
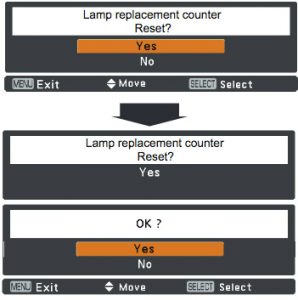 The Lamp Reset message appears.
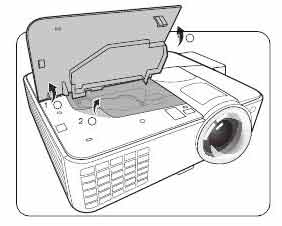
 This guide shows how to install a new 3M X26i projector lamp
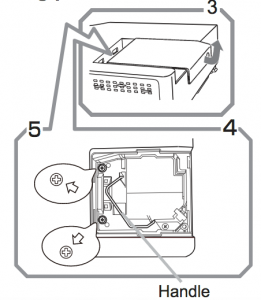
 Re-install the 3M X26i projector lamp cover. Tighten the lamp cover screw. You are now ready to reset the lamp timer.
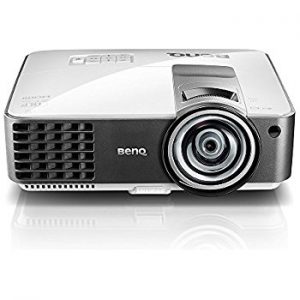
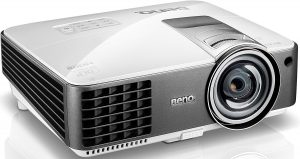 Replace the BenQ MX819ST projector lamp
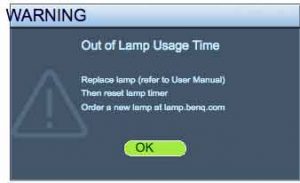 A flashing red light BenQ MX819ST projector lamp is reaching end of life. You’ll see four warning screens on the projector screen. You may also notice the image
 Change the BenQ DX819ST projector lamp
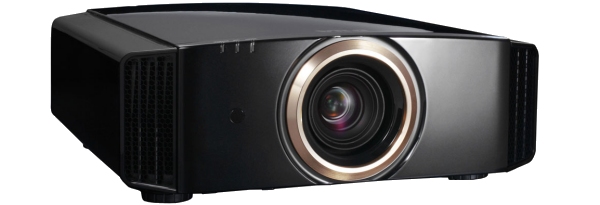 Replace the JVC DLA-RS40 projector lamp
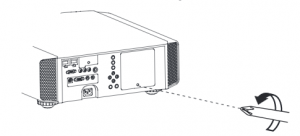
 Place the replacement
 Press the Enter button