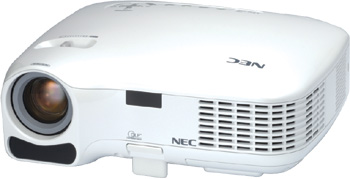
Install a replacement 3M MP8770 projector lamp
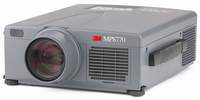 This how-to guide teaches you how to replace the 3M MP8770 projector lamp
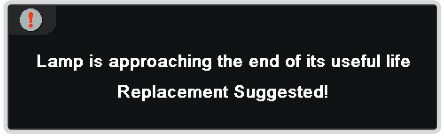
You need to change the 3M MP8770 projector lamp when the lamp indicator lights up red and “CHANGE THE LAMP” message appears on the screen and if the colors are washed out or distorted.
Invest in authentic
One of the best things you can do to keep your 3M MP8770 projector is to install an OEM projector lamp. Counterfeit lamps can create a number of problems:
- damage the projector’s sophisticated optics
- a shorter life means more frequent replacements
- prone to explosions
- exposes you to toxic materials
- no protective guards to protect your eyes
Invest in an authentic and look for the seal of approval before buying.
Buy this lamp on Amazon sold by these authorized dealers:
- 3M 78-6969-8919-9 LCD Projector Assembly with High Quality Original Bulb
- 3M MP8770 Replacement Projector Lamp EP1635 / 78-6969-8919-9
Replacing the projector lamp
Your 3M MP8770 projector uses the 3M 78-6969-8919-9 projector lamp. Be sure to follow these important safety steps before installing a new projector lamp:
- Wait until the projector is cool to the touch before removing the lamp. This projector works at a high temperatures and you can get badly burned if you try to replace the lamp before the cool down.
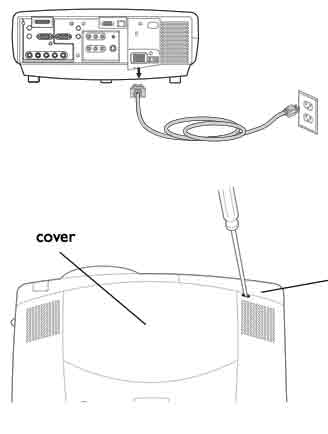
- Once cool, unplug the projector.
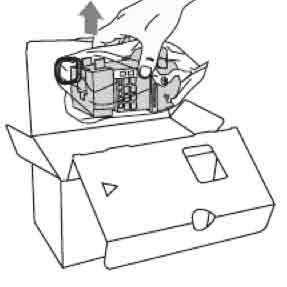
Replace the lamp
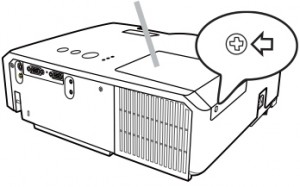
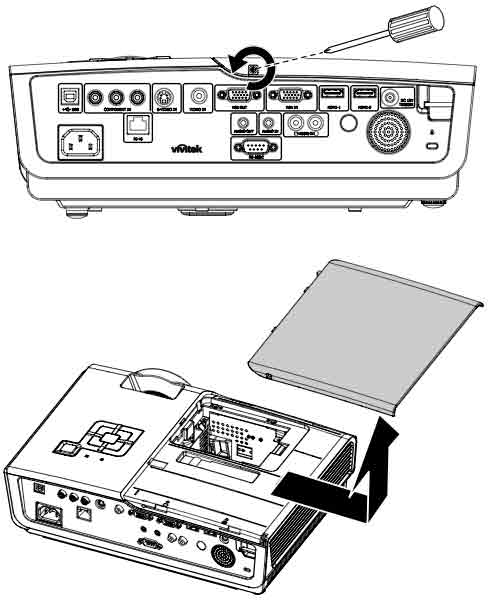
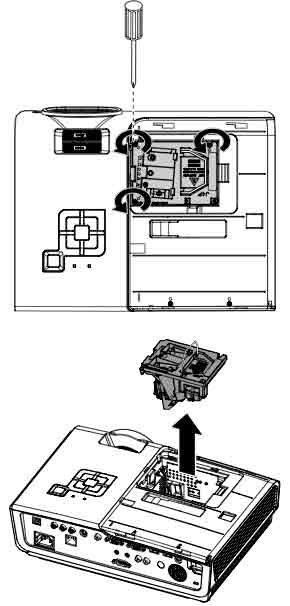
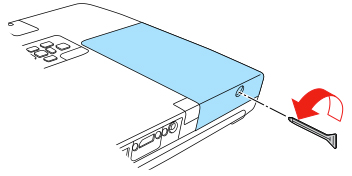
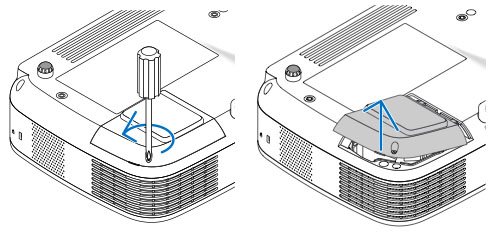
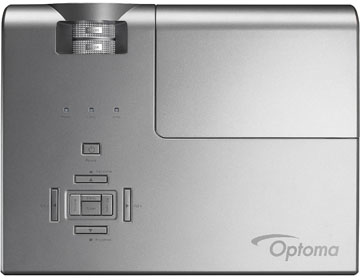
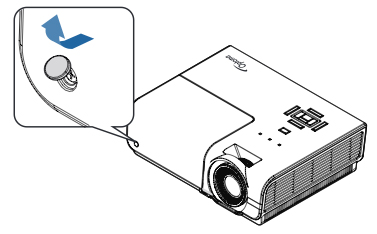
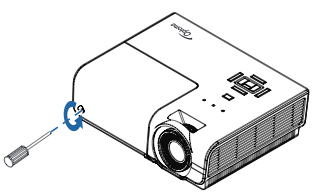
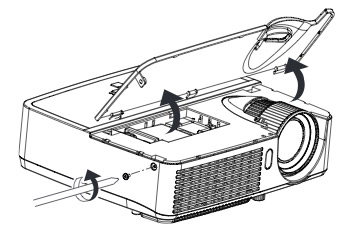
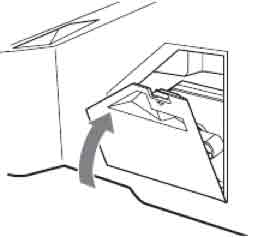
- The 3M MP8770 projector lamp access door is located on the bottom of the projector. Turn over the projector onto a soft surface to loosen the screw holding the cover in place.
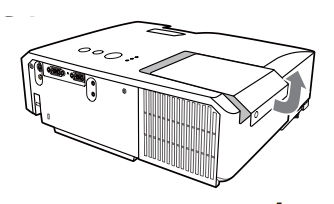
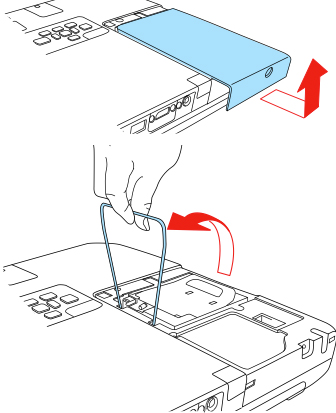
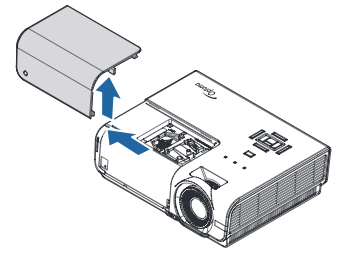
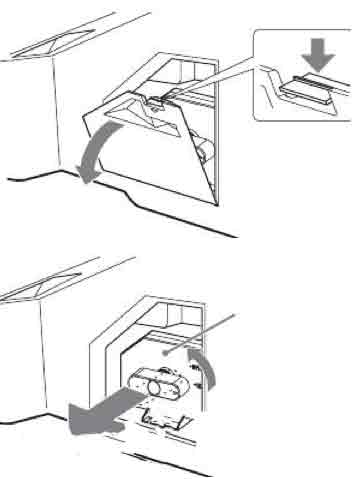
- Remove the cover. Place it to one side.
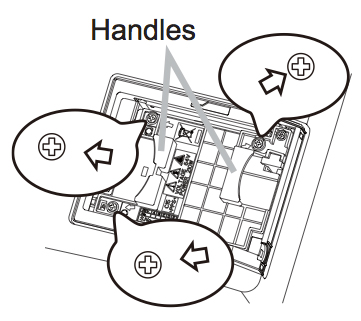
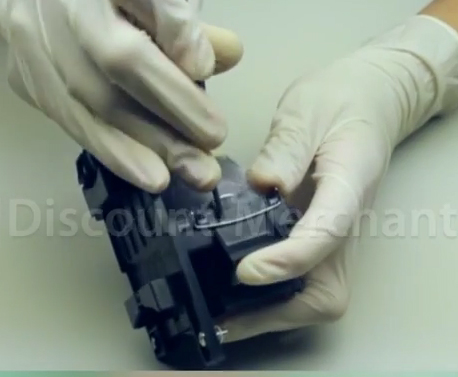
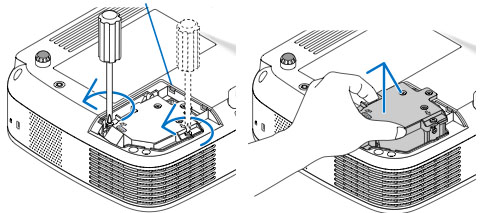
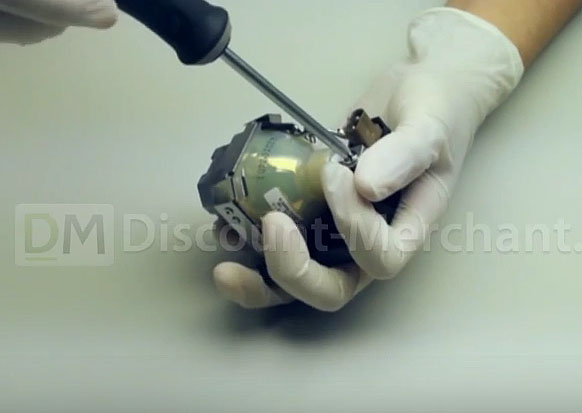
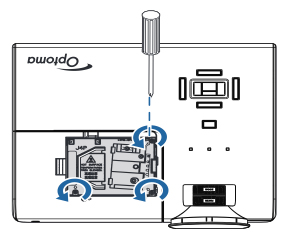
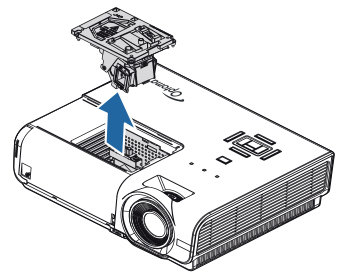
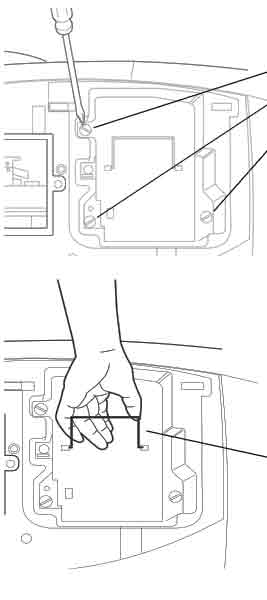
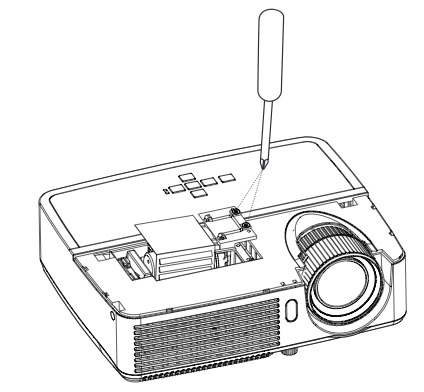
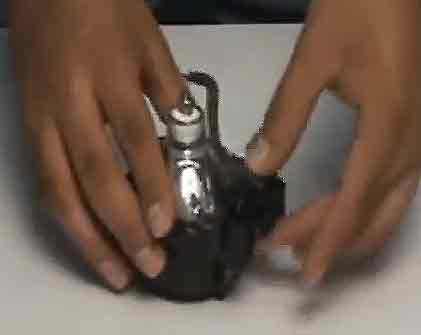
- Unscrew the two projector lamp screws. Grasp the lamp module with one hand and the projector body with the other hand. Carefully slide the lamp module out. Take care not to bang the actual 3M 78-6969-8919-9 projector lamp or it may break. Learn how to do a proper clean up if the lamp breaks or explodes.
- NOTE: The 3M 78-6969-8778-9 projector lamp contains mercury and should not be thrown into regular garbage. Recycle this lamp.
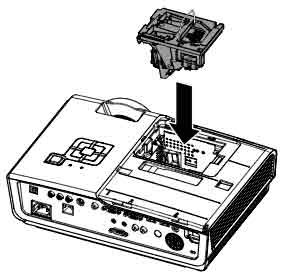
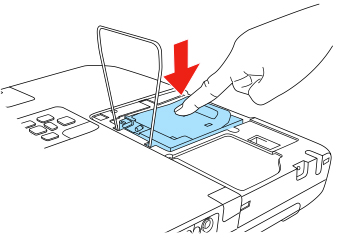
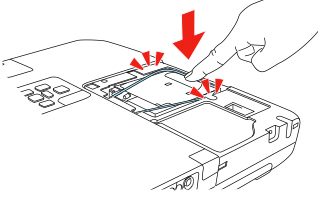
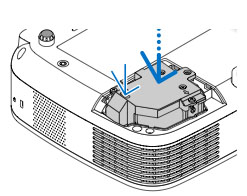
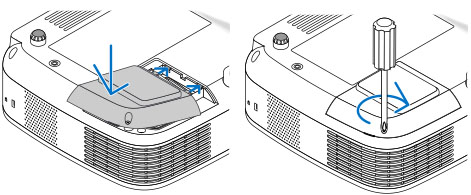
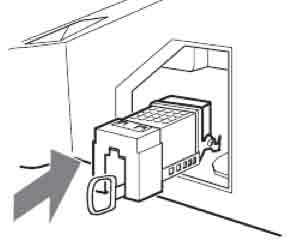
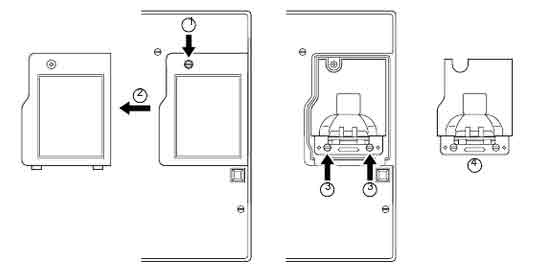
- Insert the new 3M 78-6969-8919-9 projector lamp. Tighten the two screws on the new projector lamp.Being careful not to touch the actual bulb as the oil from your fingers will burn black marks when the lamp heats up. Re-install the 3M MP8770 projector lamp cover.
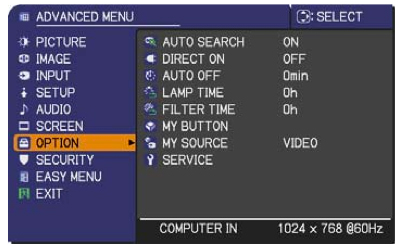
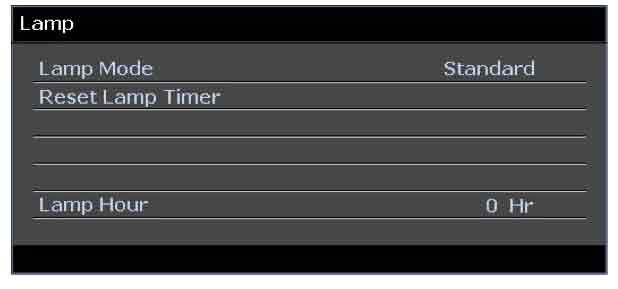
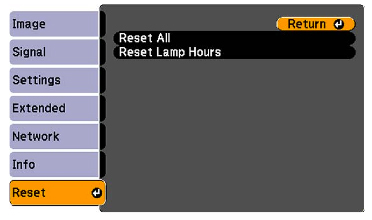
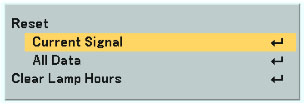
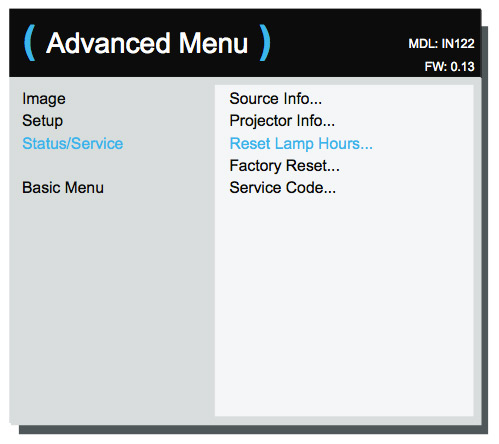
Reset the lamp timer
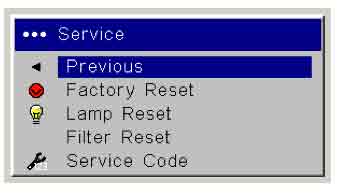
After changing the 3M 78-6969-8919-9 projector lamp you need to reset the lamp timer so the 3M MP8770 projector will turn back on. To reset:
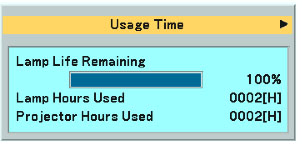
- To display the total lamp hours, press and hold for 3 seconds, the RESET button on the projector or Timer button on the remote control.
- To reset the lamp timer, press the RESET button on the projector or MENU button on the remote while the total lamp hours are displayed. Use the arrow button on the projector or remote to select ZERO or CANCEL.
Extend the 3M MP8770 projector lamp life
- Keep your air filters clean to avoid overheating the projector.
- Turn off the 3M MP8770 projector projector projector and let it stand for at least one hour ever 24 hours. An average use of four to five hours per day will ensure longer lamp life.
- Make sure there is enough airflow around the projector particularly if it’s been permanently mounted.
- Learn more with Top tips for extending DLP projector lamp life